While researching how to sculpt a cartoonish/stylized looking animal fur in Zbrush I came across an interesting tutorial.
https://www.youtube.com/watch?v=Q7_cWyIaXBE&list=PL-Ppm1AY5B0tVgnraDS-bd8XzyjqmFOGZ&index=23
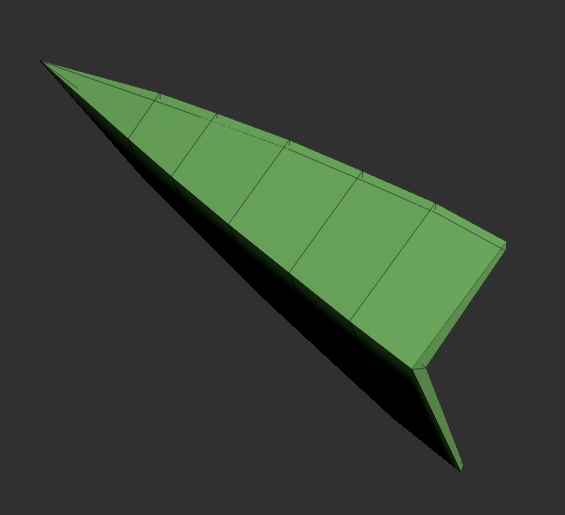
The guy creating the model adds flat triangle planes, binding them to the main mesh, which gives a really clean and nice fur effect. The program used in order to do that is Maya, however I have felt that using a similar technique in Zbrush should be possible.
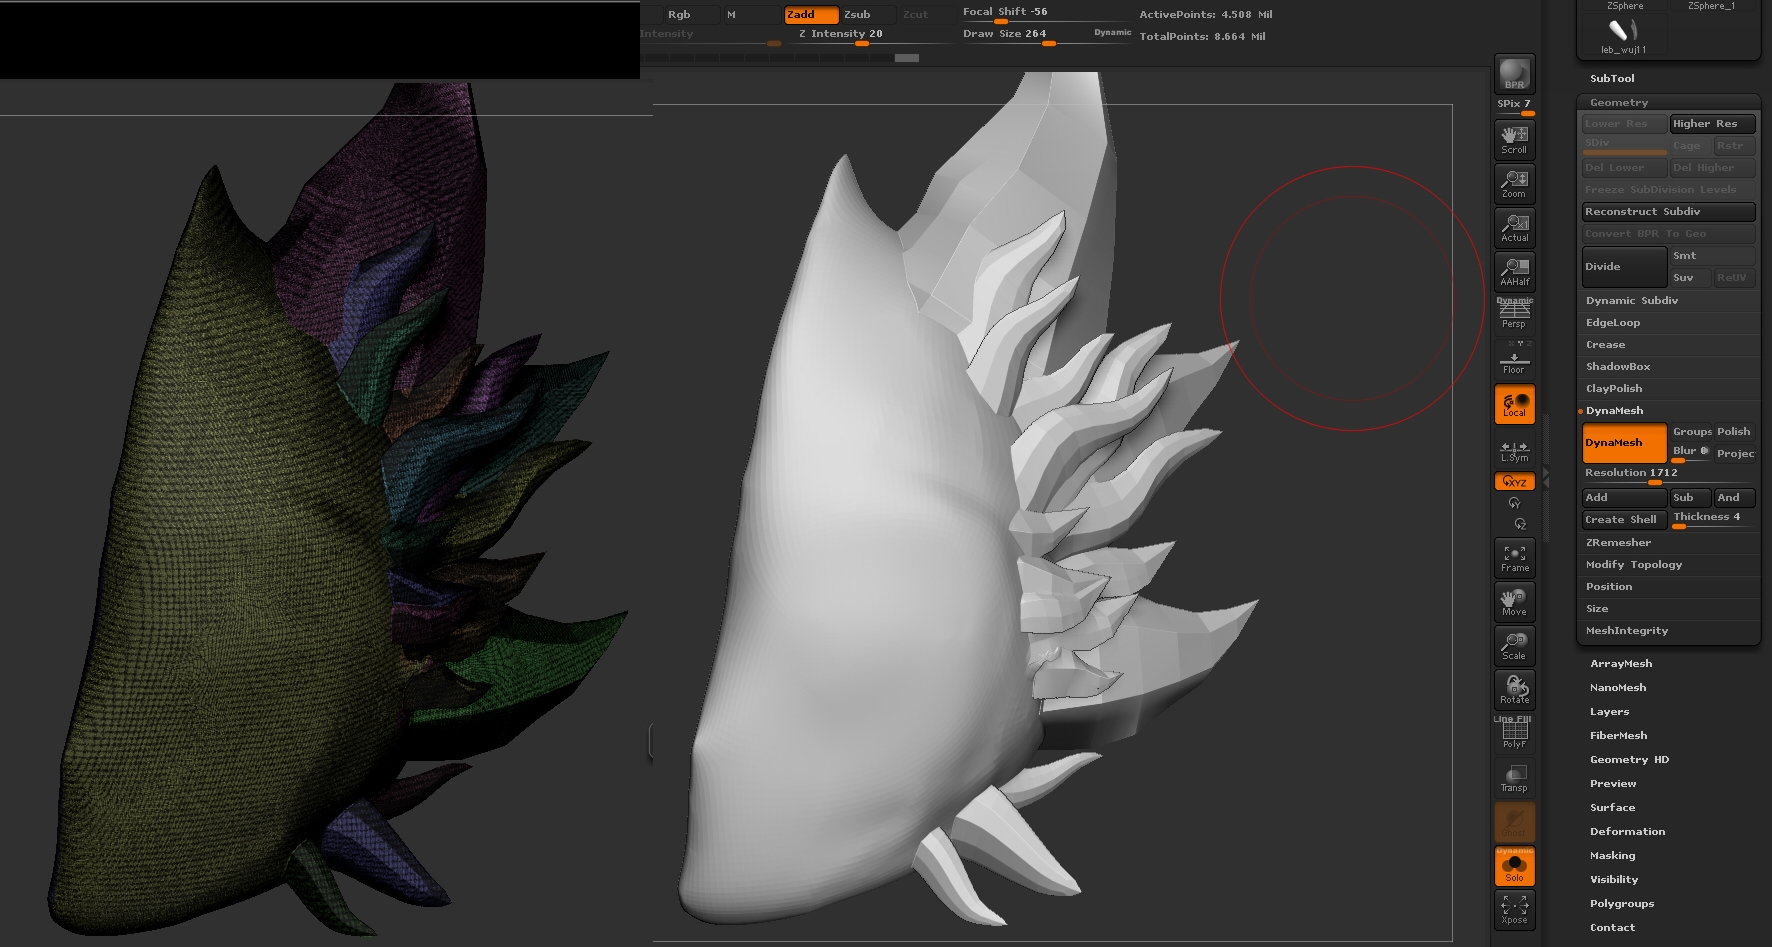
My plan was to made an insert brush using planes to add some fur clumps to my main mesh. I’ve made a similar plane, adding some thickness with Zmodeler, allowing me to use dynamesh to merge added flat triangles with the base model.
I wanted to merge it all, remesh the merged, dynameshed model, then subdivide it a few times and sculpt details.
Here, is where I stumbled upon a problem I do not know how to avoid. I’m unable to use the standard Zbrush modeling procedure with dynameshing separate subtools to merge them, then remeshing it all and projecting details of previous dynamesh onto my model with a new typology.
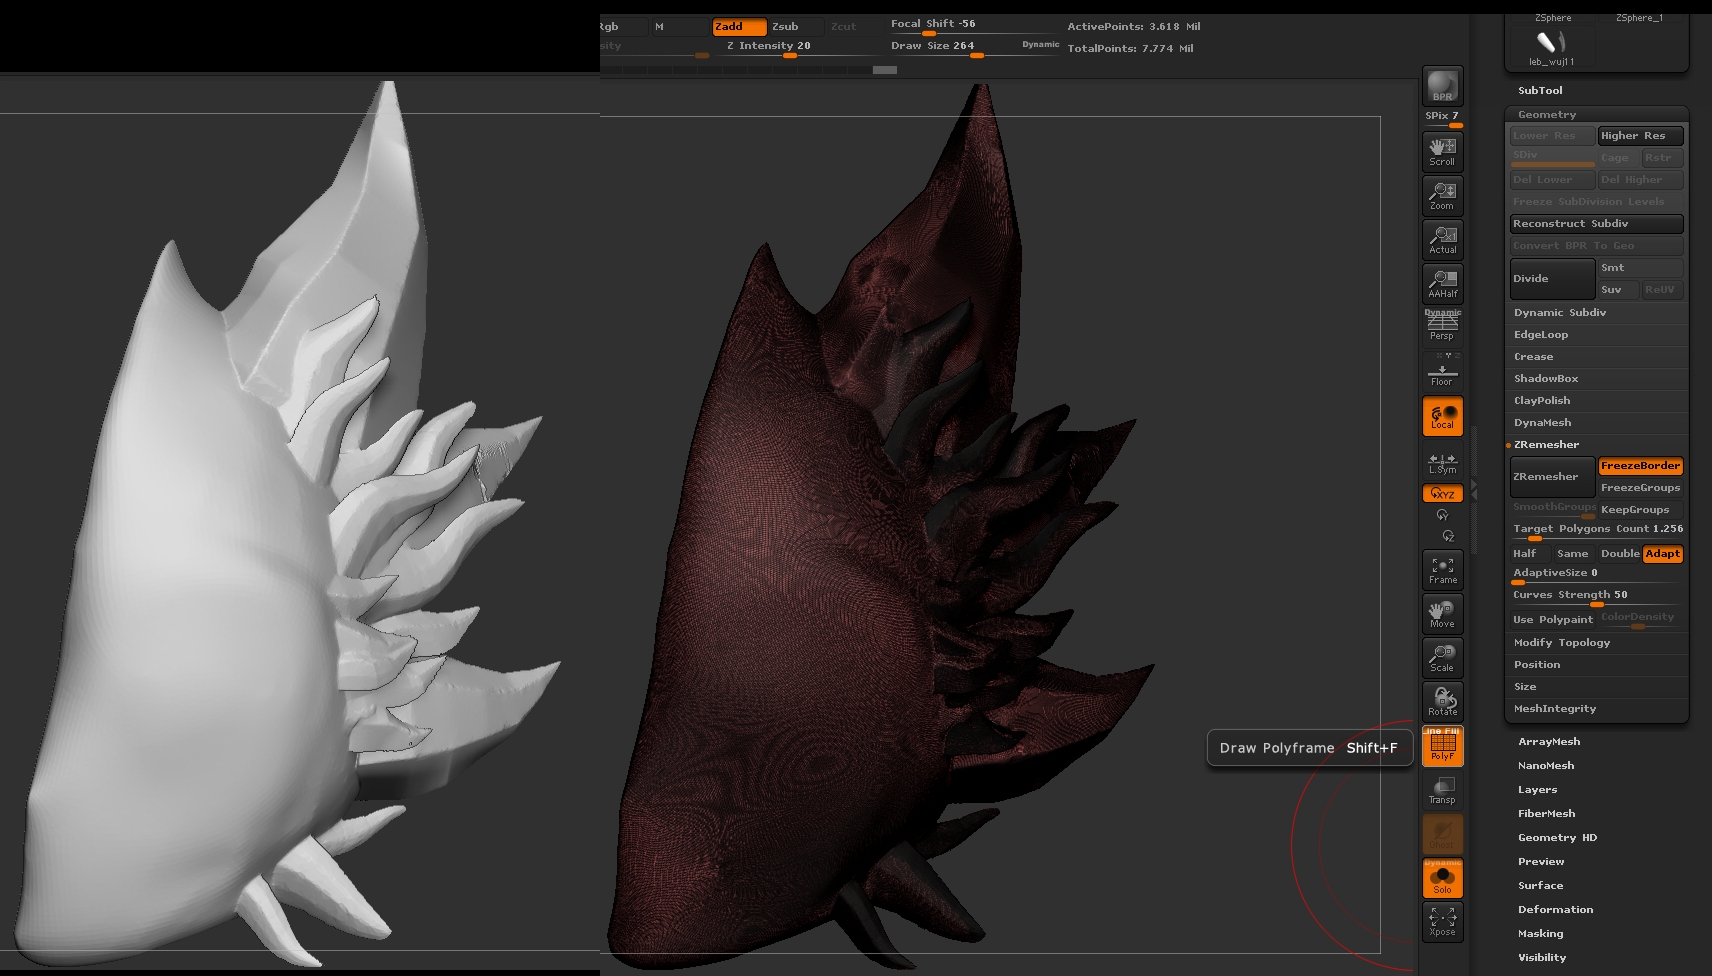
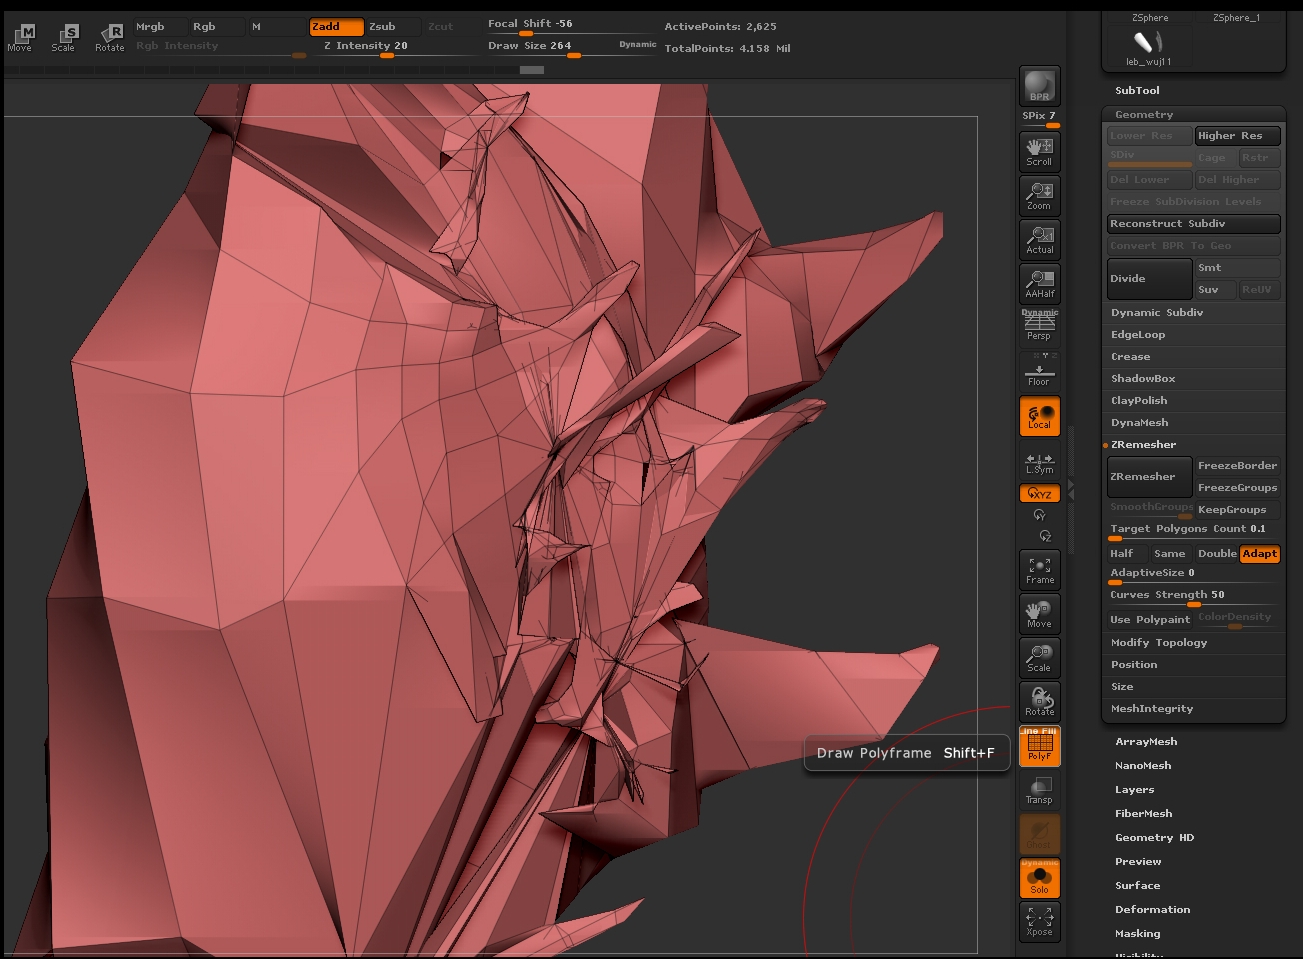
For an unknown reason, remeshing dynameshed model doesn’t lower the polycount, even when you set a target polygon count to 0.1. I’m using freeze border option, to keep the previous outlines of my mesh.
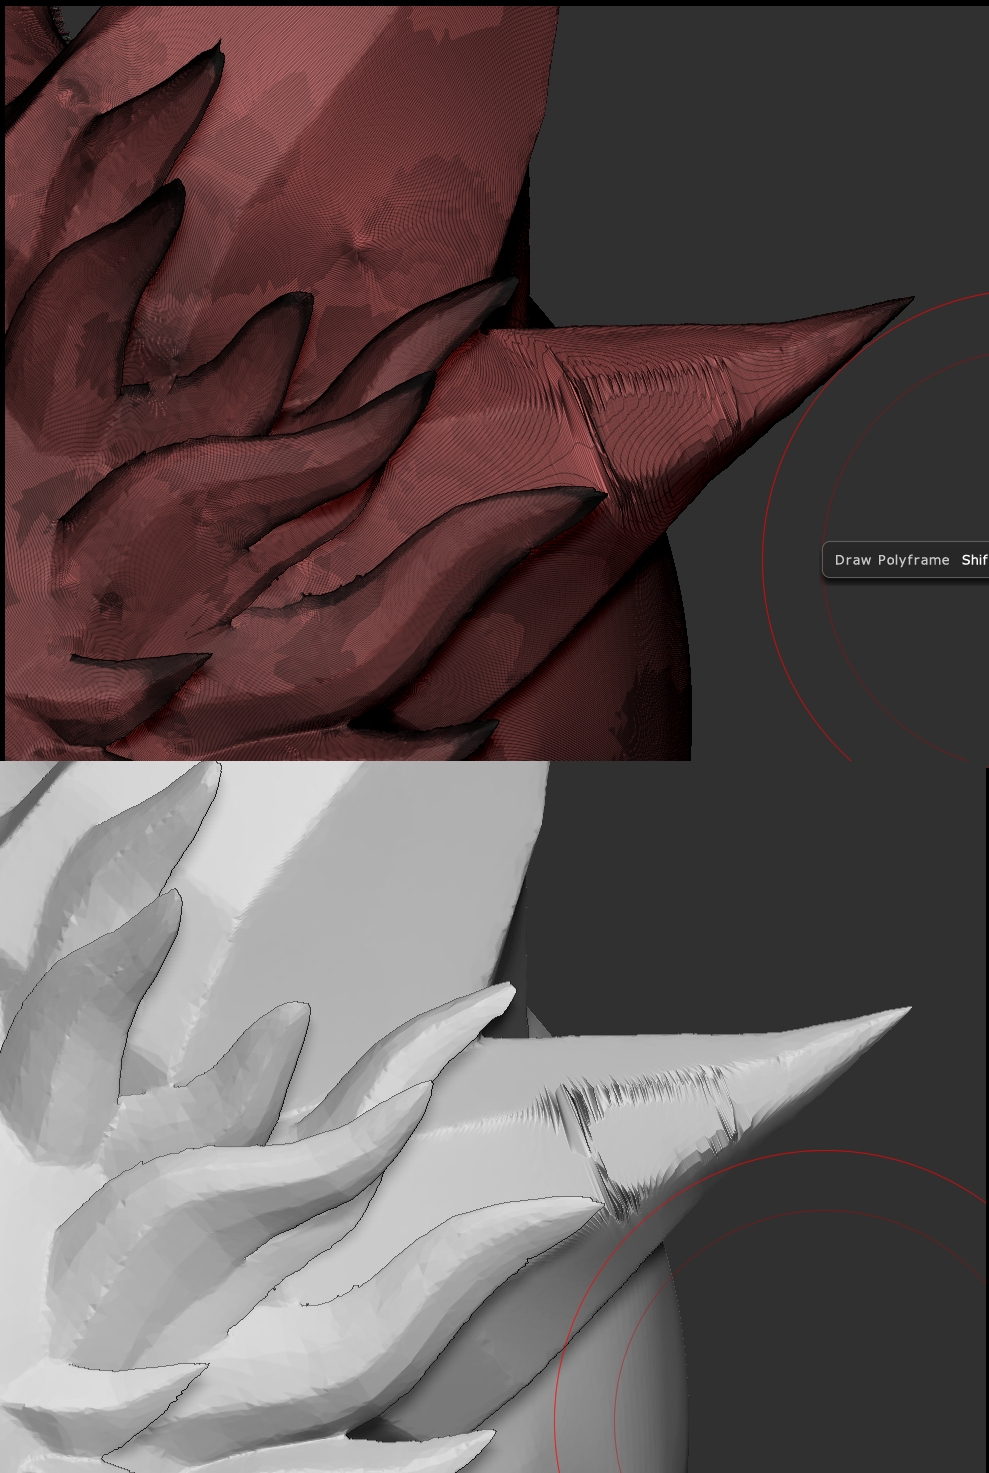
The other reason is the fact, my model becomes a chaotic bugged mass if i turn it off. Half and Adapt options doesn’t have an influence over the number of points either.
Without lowering the polycount and saving the overall shape of my dynameshed model, I’m unable to make details of the fur. I’ve tried to use decimation master plugin, to lower the polycount, but the topology created by it doesn’t allow me to sculpt in an usual way. Remeshing decimated model doesn’t work as well, it goes back to those millions of polygons from my previous tries.
I’d appreciate any help with solving my problem. I’m stuck and I don’t know how to bypass it but at the same time I can’t resign from using plane-like inserts, because the fur created this way fits the concept of the character I’m creating ideally.
I need to lower the polycount of my dynameshed model and I want to save as much details of my inserted planes as possible. If for some reason you can not do so, do you guys have any idea how can I make a fur looking in a similar way to the fur from tutorial, but using zbrush instead of maya?
Attachments