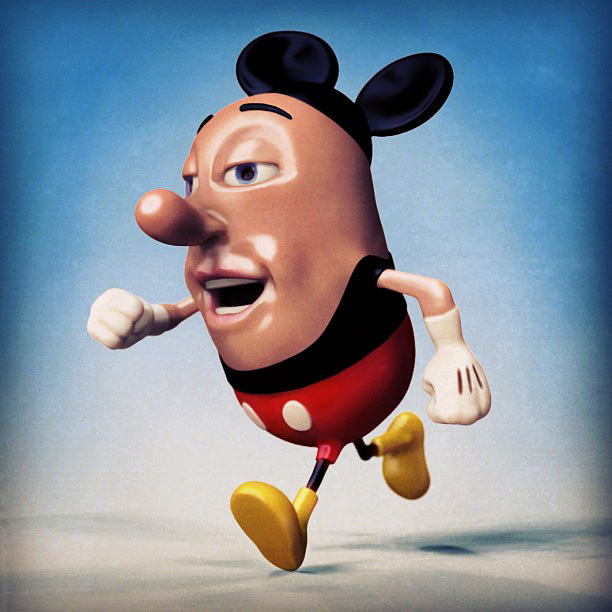
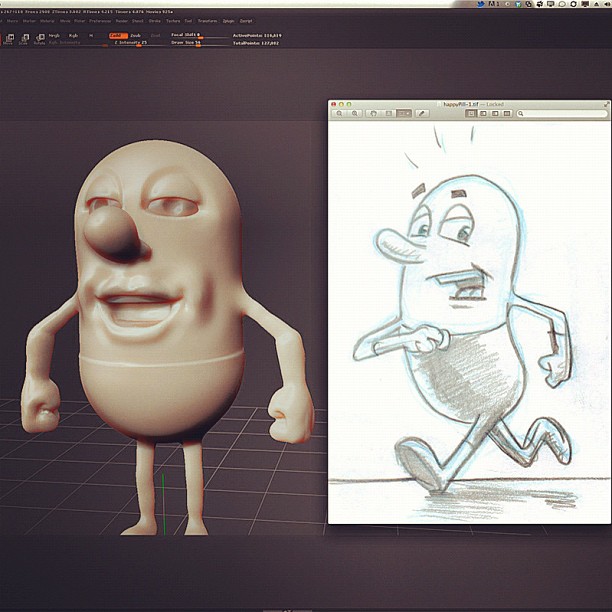
Last night I set out to sculpt one of my old sketches and see how quickly I could get something done.
The proportions started taking on a life of its own as I was exploring the various tools and trying out different methods. As I’m still very much in the early learning stages, I’m simply trying many different ways to get the sculpt from A to B.
I will say that upon first glance, posing with the Transpose tools seems like a good idea, but I found myself banging my head on the desk fighting the desired rotation needed. This figure lacks any sense of contrapposto, and i’m not happy with the position of the arms and wrists. In the time I spent fighting the tool, I could have rigged, weighted and posed a base mesh in Maya, and have an animation-ready rig to boot.
When you watch the time-lapse, you can see me fighting the tool a bit - lots of re-drawing out the line, having to re-position, and trying to get the limbs in the desired position. Anyone have some advice and/or a video tutorial that explains how to use this tool in the expected fashion? I guess it’s one of those quirky implementations that I’ll just have to plow through and master.
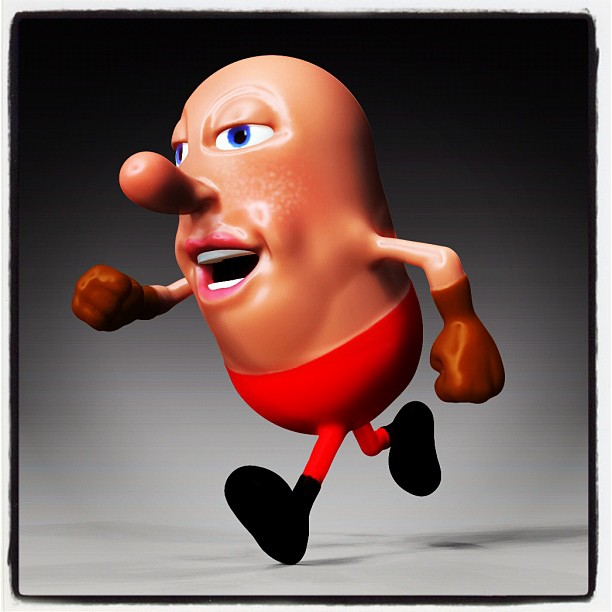
In any case, I was pleased with how quickly I was able to adjust the sculpt when I came back to it this morning, changing the intent of the character and adding some accessories and extracting new sub-tools.
Attachments


 small_orange_diamond