ZBrushCentral

Transferring Normal map data from high poly mesh to low poly mesh with different UVs?

Hi guys! Currently coming to grips with Zbrush while following along with a book on modeling. I’ve been following an example in this book on sculpting models, but I’ve hit a wall with my test sculpt.

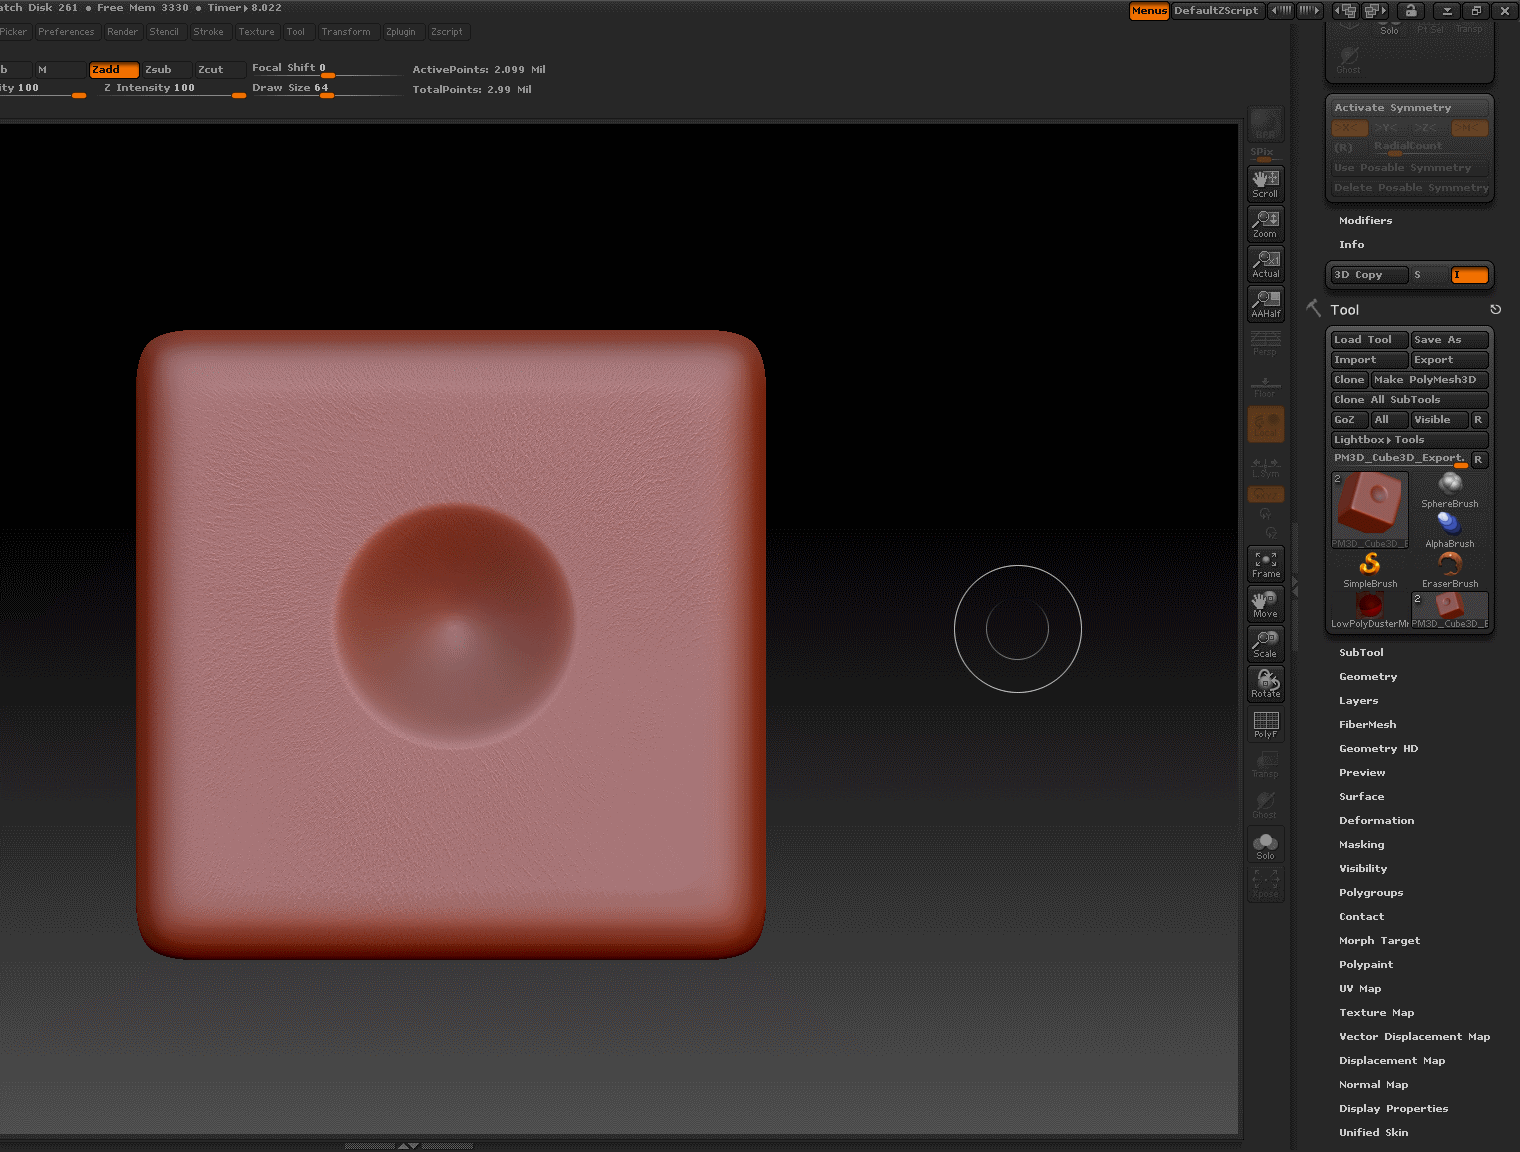
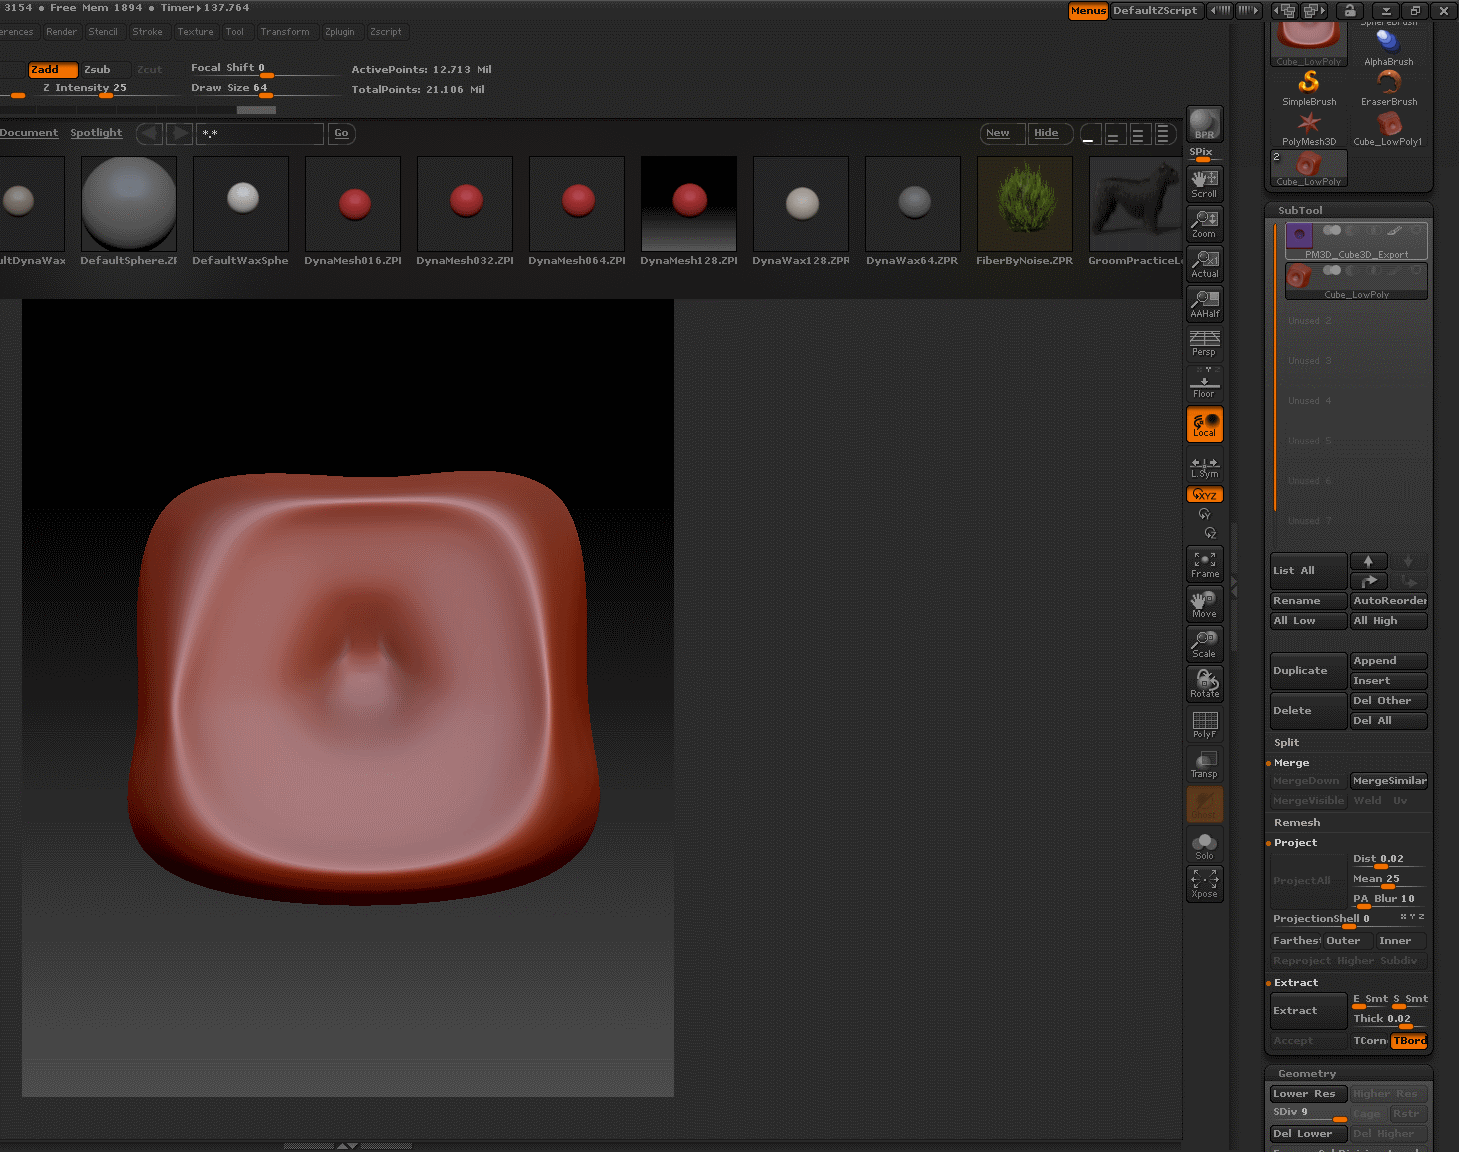
Here’s the situation: I’ve high detail sculpt of a cube that I’ve made in Zbrush. (See attachment) I’ve retopod’d it into a low poly cube using a Zsphere (Other attachment). I then exported my low poly cube into Maya and UV-mapped it. So far so good. Here’s where I’m lost-Is it possible for me to import my correctly UV-mapped low-poly cube into ZBrush, and get the normal details from the high detail sculpt applied to my low poly cube’s new UV map? If so, how?

Attachments

RoughLowPoly.png

HighDetailSculpt.png

Here’s one approach:

Clone your normal map to the Texture palette, then apply it to your model as a texture. Subdivide your model to have a number of polys that is equal to or greater than the number of pixels in your texture. Now convert the texture to polypaint. Append the new version of your model to the original as a SubTool. Store a morph target and then subdivide the mesh to be the same as your original. Now use the Project All feature with Draw >> Rgb turned on to tell ZBrush to project color as well as shape. From there, convert the polypaint to a texture. Clone it to the Texture palette and apply it to the model as a normal map. Return to level 1 of your model and switch to the stored morph target to revert the shape to is pre-subdivision state.

Ok, I followed along your advice, but I’m still having some trouble. After “Project all” has finished computing, what I’m left with is my subdivided low-poly cube, and none of the high-detail sculpt information. (Attachment) Am I missing a setting? I’ve followed along all the advice up until that point, including turning on RGB to project color, but I want to make sure I’ve followed them correctly. This is what I did:

  • Started Zbrush, and loaded my high detail sculpt in the form of a tool.
  • Lowered the sculpts SubD levels and created a normal map, and cloned this Normal map to the texture palette.
  • I then increased the sculpts SubD to it’s default value (7) and applied an extra level of SubD to it. I then converted
    the texture to polypaint.
  • I went into my Subtool menu, deleted the ZSphere that was lying around, and appended my low-poly mesh.
  • I hid the High-detail sculpt so that only my low-poly mesh was in the picture, and stored a morph target. I then
    subdivided it eight times to get roughly the same amount of points on it.
  • At this point, Project all wasn’t available, but clicking my high-detail sculpt in the SubTool menu, the option could
    be selected. I made sure RGB was turned on in the “Draw” tab, and clicked Project all. Cue me going back to the forums to figure out what I did wrong.

Attachments

AfterProjection.png

Deleted by me. Better answer by marcus_civis in next post :wink:

I think aurick was confused by your post title. Basically what you are trying to do is transfer high resolution detail from one mesh to another. You can do that like this:

  1. Import your re-topologised mesh with its UVs from Maya.
  2. Select your original high resolution mesh and append the re-topologised mesh imported at (1).
  3. In the subtool list make sure the re-topologised mesh is selected. Subdivide it until it has about the same number of polygons as the high resolution mesh.
  4. Make sure the re-topologised mesh is selected and at its highest sub-division level, and that the high resolution mesh is visible. Any other subtools should be turned off (or deleted).
  5. Use the Project All feature to project the high resolution details onto the re-topologised mesh. You may need to experiment with the settings (Tool >> SubTool >> Project All ) to get the best results.

You will now be able to go to the lowest sub-division level of the re-topologised mesh and create normal or displacement maps as needed.

Although this uses ZRemesher to create new topology, the process is basically the same:
http://docs.pixologic.com/user-guide/3d-modeling/topology/zremesher/transferring-detail/

Haha, sorry if my description was a bit confusing. I was freaking out at the moment :stuck_out_tongue: 
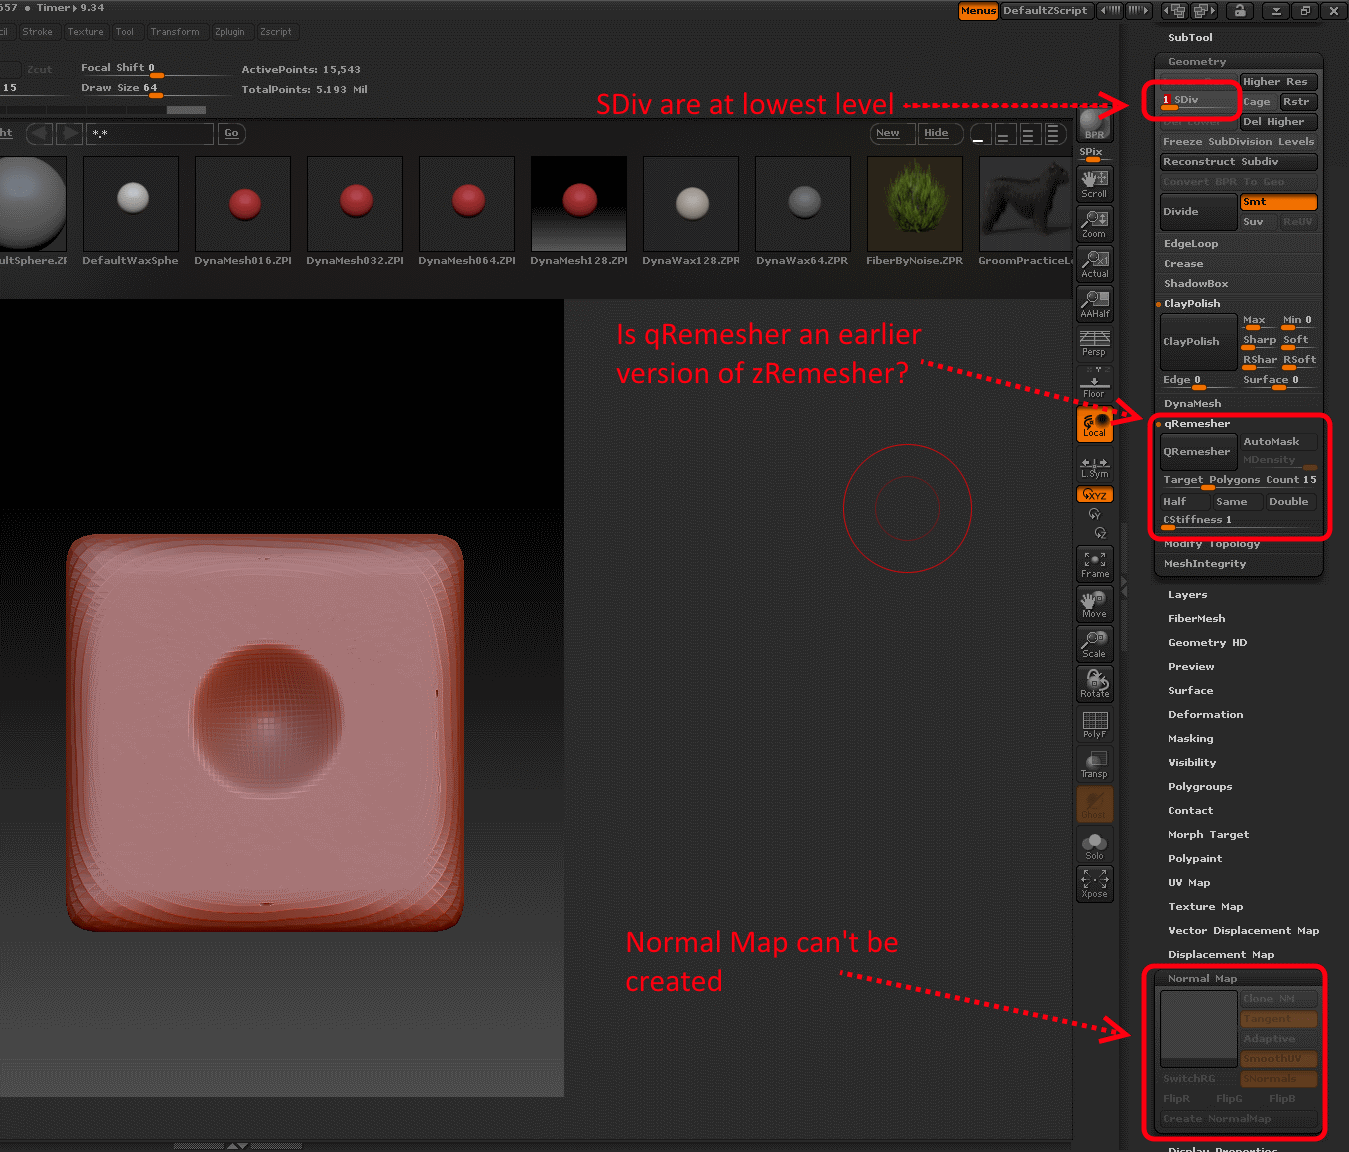
Anyway, I decided to follow the guide you posted, specifically the “Duplicating your SubTool” method written in the docs. It seemed to have worked just like I wanted, except for one crucial detail: I can’t create a normal map from my remeshed model! I’ve managed to copy all the surface detail I want on to it, but when I lower its subdivison level, the “Create NormalMap” button is greyed out. Any ideas why that is? I feel like I’m really close to getting it to work.

I should probably bring up that I’m using an older version of Zbrush (Version 4) so zRemesher wasn’t available, but there was an option called qRemesher that I used instead.

Attachments

NormalMapTroubles.png

Upgrade if possible, enough said.

If the normal map button is disabled then it’s probably because your model doesn’t have UVs. You can create them in ZBrush using the UV Master plugin, or export the model at sub-division 1, assign UVs in Maya and then re-import into the same model at sub-division 1.

And as Doug says, you should upgrade to the latest version of ZBrush (4R7). Upgrading is free for registered users.