ZBrushCentral

Taxi driver who lost a way

TaxiDriver.jpg

I wanted to describe a contrast between face of dull driver and elf, but it failed.:frowning: If you feel a little piece of funny, then I succeed.

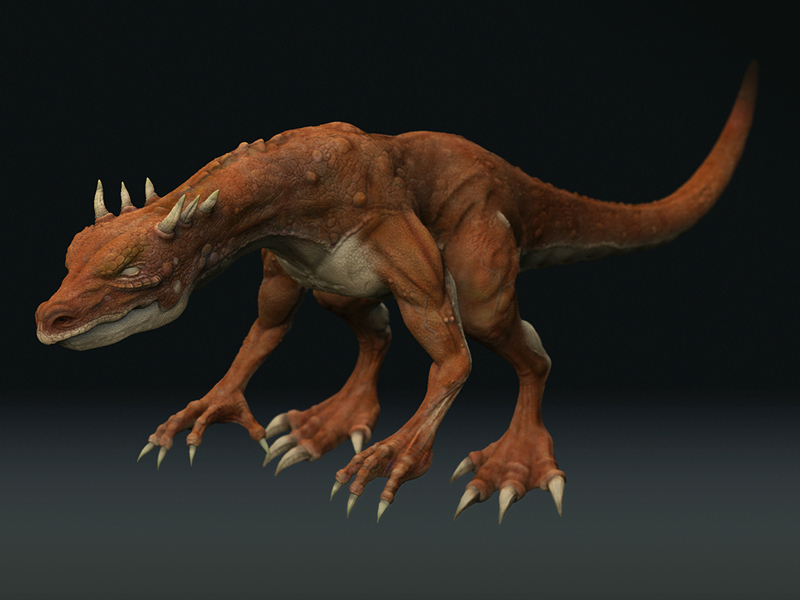
I used Zbrush as main modeling and texturing tool, and photoshop for compositing. Hairs and grasses are created from 3ds max.

Always C&Cs are welcome!

Well, I think it’s funny… I really like this one. Overall a very good compositing!
Please show some progress stuff (modeling esp.)!

Masc

Good stuff!!

WOW…YOU´VE DONE REALLY GREAT!..LOVE THE GIRL! :+1:

Hehe :smiley: nice one! Very creative idea. Good modeling and texturing. I really like it! :+1: Yeah, I agree – please post some Zbrush screenshots for us and some WIP images. :slight_smile:

that’s a really nice character :slight_smile: The only problem I have with the render is that you’ve blown out your shadows quite a lot and there’s little value differences between the objects making everything rather flat - the character’s almost casting no shadown on her creature for instance… taking care of the contrasts between the shadows and lights might bring it to life a bit more because it really deserves it… just a thought :slight_smile:

Ha, awesome!
Rainer

Great job with that, I quite like it. I sort of agree with Intervain about the shadows, but I actually don’t think it’s necessarily a bad thing. The overall softness of the lights and heavy dof kind of make it look like a miniature scene with studio lights. There’s also certain polished plasticity in the materials overall which contribute to that. If anything like that was the intent, it’s absolutely spot on ;).

Could you describe the rendering/compositing in more detail?
Which renderer was used?
What kind of lighting setup did you have?
How were the render passes/layers setup?
Materials, etc.

I’ve tried to do similar looks before, but it never turns out quite as good.

Nice job ! The idea is great, taking a real life scene then put it in a fantasy world. It’s refreshing when you saw dozen of Warcraft orcs and elves. :slight_smile:
Intervain has a good point on the flatness, maybe you should try to render an occlusion pass then blend it in photoshop with the current image. But it should be just a little improvement, your image looks really nice for now. :slight_smile:

Good concept and well executed…:+1:
yes…i agree an occlusion pass…might give it that contrast level and depth…:smiley:

i really love the concept and the execution.
it feels like a very fun whimsical illustration.
i really enjoy it!!

yeah occlusion pass might be enough

Awesome work! Great job on everything.

Thanks a lot of comments.

I use Zbrush best render option for most parts of scene. Frankly, I just wanted to use Zbrush for sculpting, but I couldn’t simulate feeling of Zbrush material by mentalray materials. So, I had to make it close as possible with final scene in Zbrush. Flatness problem was cause by that.

As you know, matcap materials don’t take influence of light, only shadows take. When I combined several matcap mats, light directions were mixed, so if I increase unity of light directions, I have to render scene with low contrast and no shadows. Furthermore, matcap mats light directions were 11 o’clock. Cause of that, I couldn’t set light for dramatic shadow. Those reasons, I failed to reduce some feeling of flatness. Of course, biggest reason is lack of my skill.

Here are some shots of WIP.
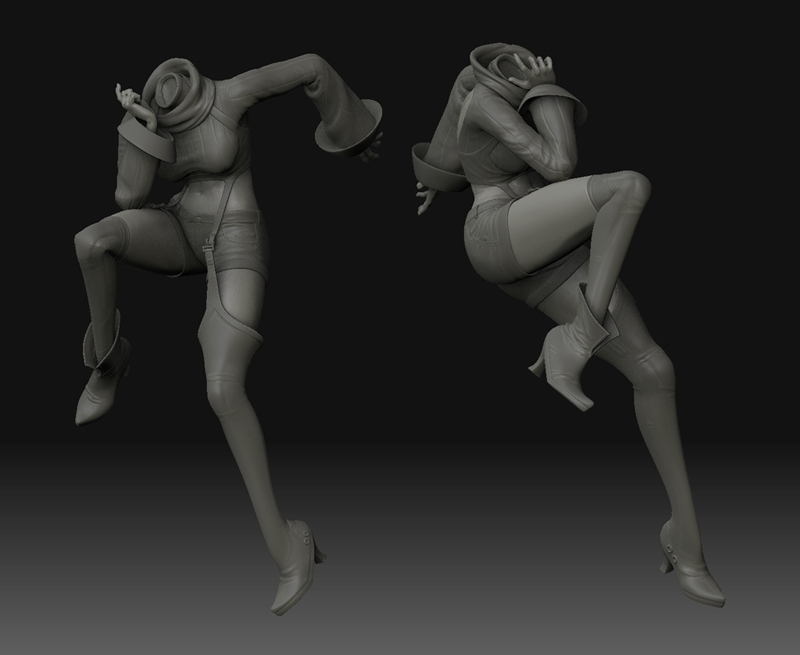
Rider_Wip01.jpg

Attachments

Taxi_ColorTest02.jpg

Great idea…I very much like the taxi rider!

Hi jalnaga,
Your character has some nice detailing with her costume. I curious to learn if you use the Transpose Master plugin to accomplish the pose. What I mean is that do you typically build a character in the T pose with costume detail and then pose her via Transpose Master or do you build the character already in the finished pose? Or other method? Thanks. -Warner

Warner McGee
I had made T pose character with simple detail costume. I added final details agter posing.

Here are compositing materials and lights set in 3ds max
ZbrushCapture.jpg
Lights setting for background in 3dsMax

Attachments

Lights.jpg

CompMat.jpg

Thanks but did you pose the character in Max or in Zbrush? I’m just trying to find a solid workflow from Modo to Zbrush.

wow, this is looking awesome. i hope you add more to the diffuse to really bring out the textures.

it’s a big good works, i like it , the colors and characters are nice :+1: