ZBrushCentral

Retopology Problems

Hi guys,

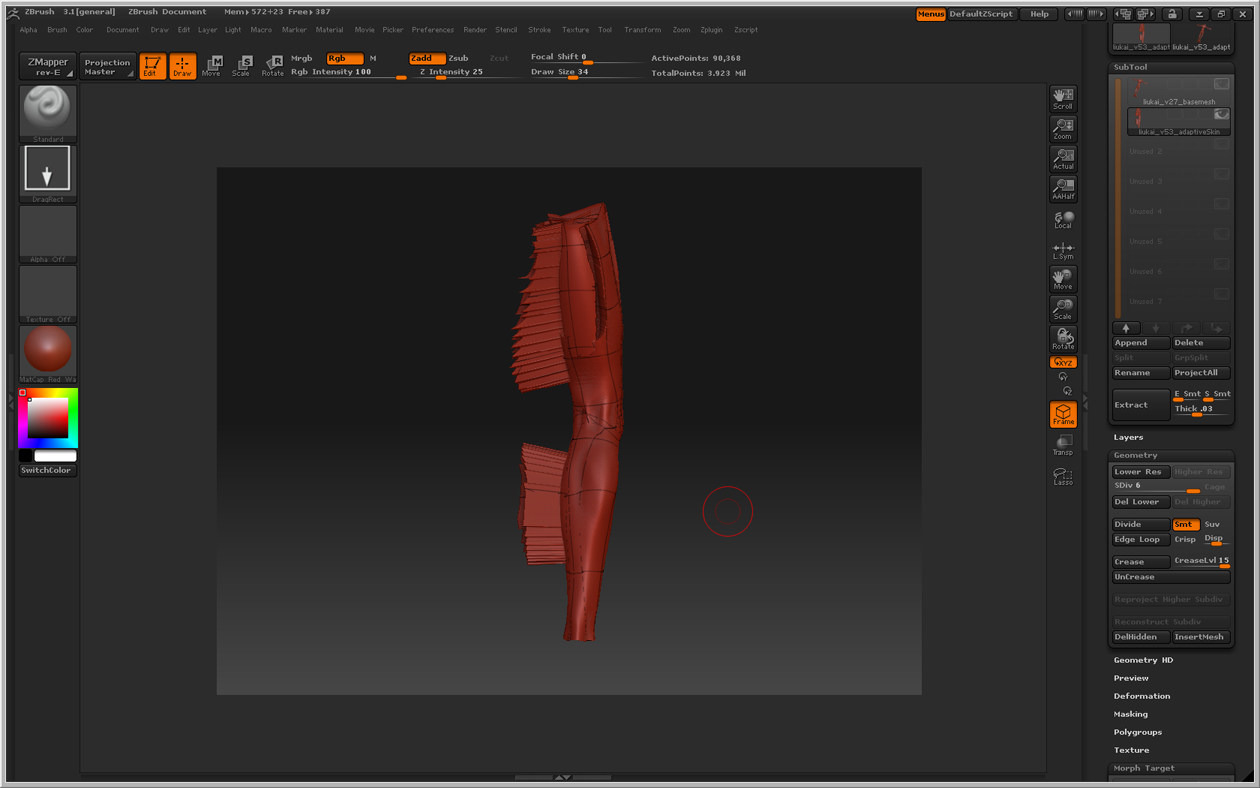
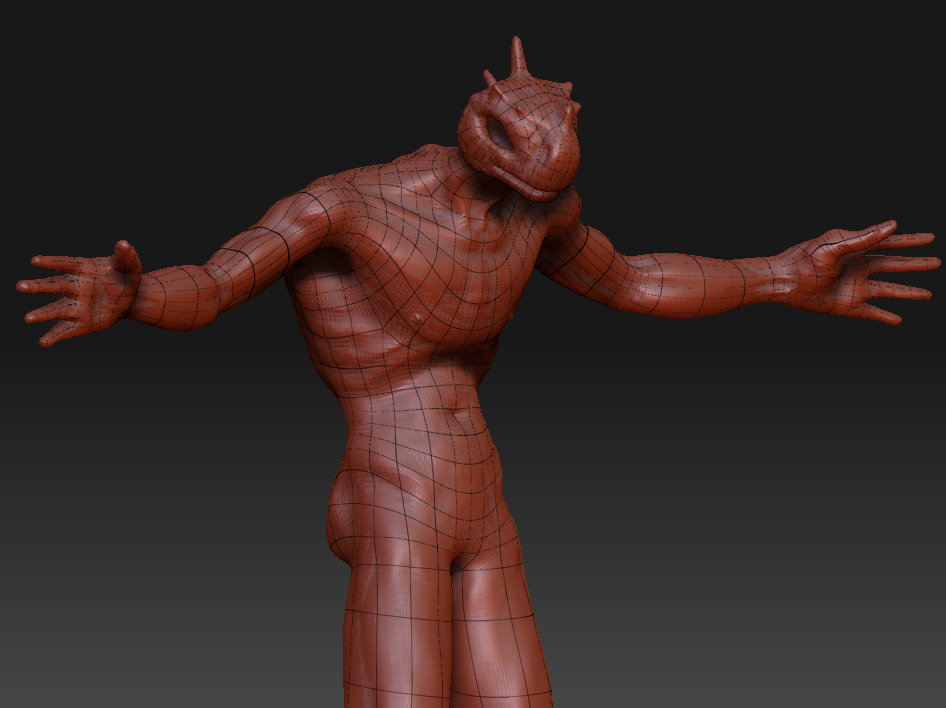
See the attached image. I’ve retopologized my mesh, but when I project my sculpt from my basemesh onto my retopologized mesh, I’m getting some really negative results. Here are some things I’ve already tried to resolve the issue:

  • creating polygroups

  • insuring that my transpose line is a zero

  • insuring my that UVs aren’t flipped

  • hiding parts of the modeling and projecting on individual parts

Any helpful suggestions are GREATLY appreciated.

Thanks,
Dustin

Attachments
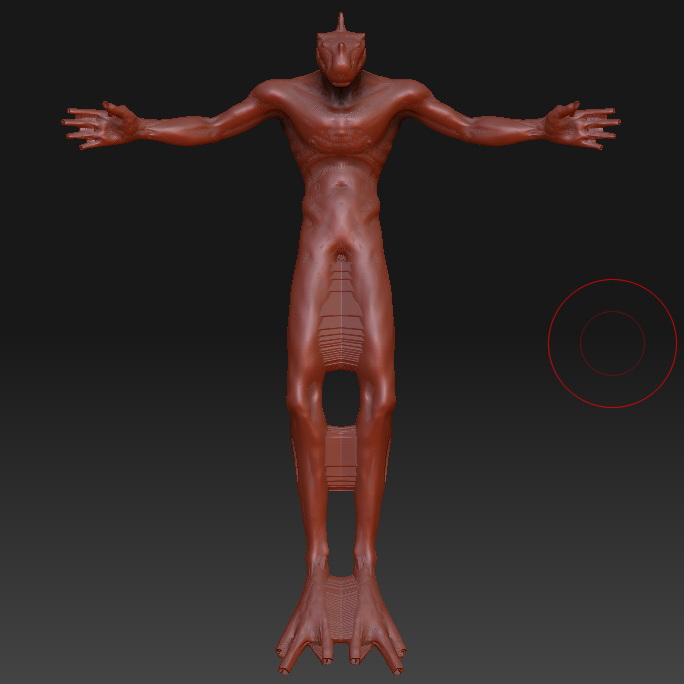
liukaiSculpt24.jpg

And this is what it looks like when I try to project onto just one leg. :rolleyes:

Attachments

liukaiSculpt25.jpg

Try this. Take your retopology mesh and turn that into a real model by hitting the “make Adaptive skin” button in the Adaptive Skin tool area (right above the rigging section)

Now take that new mesh and make it a subtool of your original hi res mesh. Take your new retopo mesh that is now a subtool and divide the model however many times you need. Then use the “ProjectAll” button in the SubTool Area. This will shrink wrap the new retopo model to the original sculpt. You can even transfer the poly paint infor over as well.

I have a video on how to do the transfer part if you wish to see:

http://nickzucc.blogspot.com/2008/04/projecting-detail-and-color-onto.html

Hope this helps!

Peace - NickZ.

Hi Nick,

Thanks for taking the time to reply. That’s actually one of the three methods I’ve tried so far. I’ve tried using the Projection>Projection method, the subtool Project All method, and I’ve tried using my retopologized adaptive skin as as the basemesh for my retopology and projecting from that. That probably didn’t make any sense the way I phrased it, heh.

I’m starting to think there’s something extra-wacky going on with my retopology that isn’t allowing any of the conventional projection methods to work properly.

I’ll look over your tutorial though. Perhaps you’ve got a tip in there that I’m missing.

Thanks again,
Dustin

Hi, test this:

  1. sometimes the model is too big or too small.

    Take the new topology and press under Deformations
    the Unify button to have the optimal size of the model
    for ZBrush. If the model jumps to a much bigger size
    or to a smaller size this is one of the problems.

  2. sometimes it happens that if you make a new topology
    some points are not merged.

    Divide your new topology and take a closer look all around.
    If you see some holes or artifacts go to a program like
    Maya and merge the vertices and import it then back to ZBrush

  3. sometimes parts of the new Topology goes inside the original.

    Put both the original model and the new topology in one tool
    as subtools so that they lay exactly on top. Divide the topo
    to level four. Take a closer look if parts of the new topo goes
    inside the original. If this happened paint this part with a brush
    to the outside. If the whole model or many parts go to the inside
    try to Deformation/ Inflate the whole new topo on a mid level
    with a value of five or ten (not more)

4 sometimes nothing of the points above worked, then you can try this.

Put both the original model and the new topology in one tool as subtools so that they lay exactly on top. Divide the topo to the level that you can project the details on. Set a Morph Target on the new topology mesh in the highest level. Use the Project All button. Paint all the parts where you have stretched polygons back with the Morph Brush. You must now sculpt the parts new where you use the Morph Brush but have all the parts where the Project All had worked.

Hope this helps.

Cheers

Ralf Stumpf

Thanks Ralf! These are suggestions I haven’t heard before, so I’ll be sure to give them a go. Very much appreciated.

Cheers,
Dustin

Just to follow up, I got it working. Brought it into max. Turns out my entire model was inverted…as in every face was flipped the wrong way. I’m not sure how that happened or why I wasn’t able to recognize it in ZBrush, but I’m glad it’s fixed.

This is my first project in ZBrush, so I’m glad I got it working again. Back to work :slight_smile:

Thanks again, guys, for your help.

  • Dustin

Attachments

liukaiSculpt26.jpg

In Tool:display you probably had Double sided on which hid your flipped normals, next time toggle that to check and if your normals are flipped simply hit Flip :slight_smile:

ALWAYS

use the make adaptive skin under Adaptive skin menu within topo tools.

NEVER
use make make a poly mesh(tool make polymesh) out of the topo tools or you will get inverted normals.

Always follow that order

  1. make adaptive skin
  2. make a polymesh

That same thing burned me on my sculpt this week.:wink:

Good tips, thanks guys. You guys are correct, that’s exactly what was going on. Good to know.

-db

thanx guys …
and thanx nickz … ur video tuto worked for me !! :+1: … simple and quick