ZBrushCentral

PolyPainting

I have read the ZBrush Polypainting Tutorial and then I tried it for myself. Now I have some questions.

I am going to post my steps along with questions. Could someone please tell me if they are correct. So here is the procedure as I understand it from the tutorial.

Set up the model for Painting

  1. Open a model in ZBrush

  2. Sculpt model and save as .ztl

  3. Set subdivision level to 1
    Question: I want to use polypaint for color and ZAdd for texture, but if I subdivide the model to level 1 (step #3) then I can’t see the detail or am I missing something?

  4. Disable UV’s (Tool > Texture > Disable UV’s) This will delete your UV’s. Make sure you have a backup OBJ file if you wish to use those UV’s again.

  5. Subdivide the mesh to get the number of polygons needed to match the map resolution you have in mind.
    Question: Does this mean if I want a map of 1024 x 1024 that I press the “Sub” button to get this many polygons? So if I press the “Sub” button how/where do I see the no of polygons of my mesh?

  6. Enable Polypainting by pressing (Tool > Texture > Colorize) and turn RGB on in the shelf. Now you can start painting.

  7. Paint the model.

  8. Save model (.ztl)

Create a Texture Map
9. Create the texture at the size you want for the final texture map. (for e.g. 1024 x 1024)
Q. Where can I change the texture size in Rapid UI? I found it under 'Texture in Classic UI but where is it in Rapid UI?

  1. Press “New Texture”

  2. If you don’t have UV’s create them now. Press (Tool >Texture > AUV)

  3. Press (Tool > Texture > Clr > Txr)

  4. Go into the Alpha masks and retrieve the texture and save it as a .tif file

  5. Done!

Qusetion: When I opened the map it said it was 256 x 256 and grayscale (16bit) Why didn’t it save a color file?

If someone could please tell me if my steps are correct and answer my questions I would really appreciate it.
Thanks :slight_smile:

Attachments

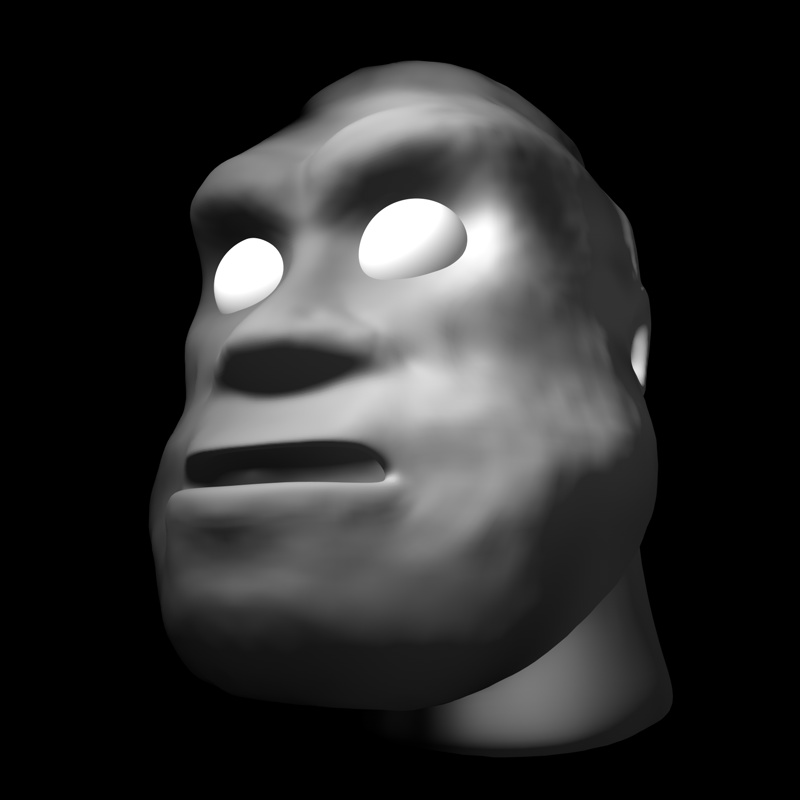
head.jpg

Hello Paint Guy,

There are some different ways you can do this workflow, but I’ll assume you aren’t concerned about keeping the UVs from your original model.

The steps are:

  1. Import .obj as a tool
  2. Subdivide the model and sculpt it as much as you wish
  3. When you are ready to polypaint, make sure you subdivide until you have lots of polygons to capture detail. When you creat a texture map, you will make it so that the number of polygons is about equal to the number of pixels in your texture map. 1024x1024 = about 1,050,000 pixels. So about 1 million polys will get mapped to a texture map of 1024x1024.

ANSWER: Yes, you do this using the SUB button. You can watch the number of “Active Points” on the shelf next to the Draw Size and Focal Shift sliders for about the number of points you are using (which will be fairly close to the number of polys – to see the number of polys, hold your mouse cursor over the picture of the tool you are using)

  1. Now turn on COLORIZE in the texture pull-down. Press DISABLE UVs. And turn off ZADD on the shelf so you are just using RGB.

  2. Choose your brush, color, and optionally an alpha and/or texture to paint with as well as a stroke type. Then start painting directly onto the model.

ANSWER: Don’t polypaint at level 1 subdiv. Paint at the highest subdiv level, so you can get fine detail. Remember each polygon holds only a single color in polypaint, so if you are at subdiv level 1, you will only have a couple hundred patches of solid color instead of fine detail.

  1. When you are done painting it’s a good idea to save.

  2. Now create a new texture map that matches the number of polys you are using. So in the example of 1,000,000 polys, create a new 1024x1024 texture map.

ANSWER: I don’t have the Rapid UI option anymore (make sure you are updated to ZBrush 3.1) but I assume it is in the same place: Texture Menu: set the Width, Height and then press New.

  1. Go back to your lowest subdiv level, press ENABLE UVs and press AUV or GUV, etc. to assign UVs to your model.

  2. Press CLR> TXR to transfer the polypainting to the texture map.

COMMENT: The texture map will not be under Alphas - you will only find greyscale images there. That is where displacement maps get saved to as well. The saved texture map is in the Texture box and you can select it and export it from there.

Hope that gets you started! Bring back any more questions once you’ve tried it out for a bit.

dangalf,

Thank you soo much for answering all of my questions. I am busy with work so I can’t try this today, but as soon as I can I will and post any questions I may have. Thanks again for your help :slight_smile:

I have a problem. When I hit Color to Texture button my texture appears but it is super faint. It is really dialed down for some reason. Any solutions? I would be indebted to you for a long time. Good Karma and all.

I just figured it out. If you have the RGB intensity turned down when you hit Color to Texture it makes it that much less intense. So make sure that is 100 percent. Good to know.

Thanks for the tips.

Little question here… If I have a model with multiple UV sets on it, is there a way to have them saved/transfered automaticly while saving a color map for each UV set, a bit like displacement Exporter does?

thanks.