ZBrushCentral

Normal Mapping Help

Greetings all. I’m new to these Forums, and I’m pretty new to ZBrush, so pardon my noobish questions. I’m in dire need of help. I have a 120K poly mode, which I’ve subdivided to level 4, and sculpted. The model was originally built in Maya, and then imported to zbrush as an OBJ. UV’s were already set.

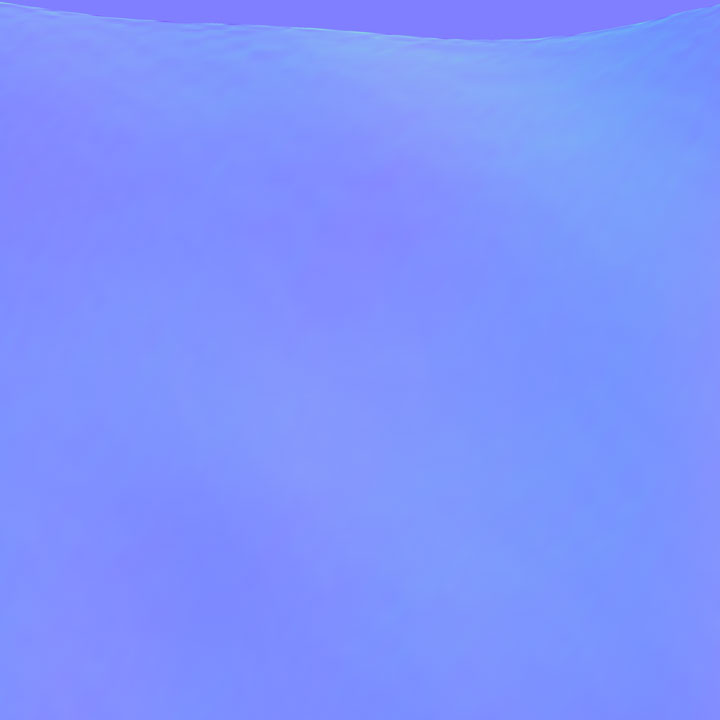
I’m trying to create a Normal map, but instead of the UV layout, I just get a big purple map, and none of the normals are set. I need to make this map 4K in size. All the settings are default, and Zmapper seems to do its thing, but nothin.

If you need any more info, let me know.

-SD
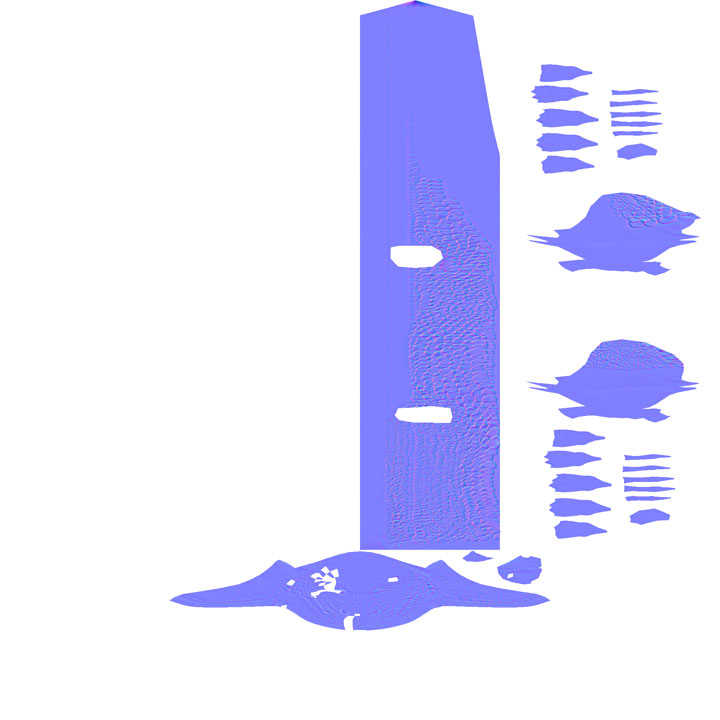
Correct_normal.jpg is roughly what I’m trying to achieve. It worked yesterday.

bad_normal.jpg is what its been spitting out today. Help please!

Attachments

correct_normal.jpg

bad_normal.jpg

mac or pc? I’m guessing PC since MAC doesn’t have Zmapper yet. Anyway, post up an image of your settings in Zmapper. And the steps you used to achieve both results. If you’re using a default config file for Zmapper, which one? After that, we can probably help more.

You have a lot of empty space on that models UVs, so unless you have other things in that map you should place your UV’s better. Also a 120k polygon mesh only needs a 512 Diffuse map, as every vertex on the model counts as one pixel in the map. a 1mill mesh needs a 1024, 4mill 2048, etc.

I used the maya tangent space best image config in zmapper, and left the subdivide and samples at 1. Default settings pretty much. As for the steps:

I open up zbrush, open up the file, fire up zmapper, open the config file, Create.

The correct_normal was done as a 1K texture, and since, I’ve tried everything from 256 to 4K, and the result ends up being the bad_normal. Within the Tools>normal map settings, I’ve tried all possible combos, to no avail. Is there a way to reset all the Tools back to default settings? I’m thinking I might have changed something in the process.

Here’s a screen grab with all my settings. As you can see, when I run the UV check, the UV’s are where they’re supposed to be, I changed everything to 512 res… I ran it again, and the results are the same.

don’t create a texture first.
don’t touch the normal map tab in the tool panel.
if you have no texture on the model it will create a 2048.
also, you need a 2048 as your actual finished model has 5mil or so.

which button are you hitting to create the map?
the “create normal map” button in Zmapper is the one you need to hit.
you can also try a projected normal map inside the projection tab.
try a different configuration for the normal map, like a MAX version to see if you just have changed something on the config you’re using.

Also, if you can, send the model…well, an obj of highest and lowest SubD’s, then others can take a shot at it. If you can’t…from work, or just don’t trust people it’s no big deal. But that would help.

Also, have you created normal maps inside of Zbrush before?

Here’s the .ztl file. www.rcalderon.com/cg/dragon.zip

Please keep in mind that this is work related, so please don’t use the file. I’ve only done half of the model because I was hoping that the normals would layout in the UVs so I can just duplicate and flip over the map. Thanks!

i’m checking it out now.

Got it! A friend of mine figured it out. Seems the UV’s for the mouth went crazy and covered the entire layout. It’s working fine now.

sweet!!!, great to hear