Is there any method to make more useable textures for painting in Photoshop? I find my textures very difficult to work with.
Thank you
Attachments

Is there any method to make more useable textures for painting in Photoshop? I find my textures very difficult to work with.
Thank you
are you using zapplink directly?
for me, i use zapplink to send model to ps and paint, and sometime i will use uv master flatten to uv layout first,and then zapplink to ps to paint on uv layout.
when back to zbrush ,if the seam or somewhere on texture have little glitch, i will press projection master to fix little ploblem on texture.
Yes I’ve been doing so as well. I think i miss titled this. It’s the UV thats so hard to do anything with. The example above i had to spend forever finding lines for things. Trying the PMaster suggestion. Thanks.
I don’t mean to seem like I’m dodging your question as there are some times you’d definitely like to lay out a texture flat for certain kinds of work in an image editor. But the example in your image doesn’t seem to be one of them. It seems like the sort of simple coloring that would lend itself well towards polypainting. Are you familiar with Polypainting? If you are struggling to paint that texture in photoshop, wouldn’t it be easier to simply paint directly on the model? Painting it first with polypainting directly on the model then transferring that information to a texture map can also help give you a better idea of what you’re looking at in an image editor.
As to your original question, making use of UV Masters advanced features will give you more control over the unwrap of your mesh which may help you lay it out more to your liking:
http://docs.pixologic.com/user-guide/zbrush-plugins/uv-master/
http://pixologic.com/zclassroom/homeroom/lesson/uv-master/
http://docs.pixologic.com/user-guide/3d-modeling/painting-your-model/polypaint/
And don’t forget to check out Spotlight, which is useful for painting image textures directly onto the model in Zbrush:
http://docs.pixologic.com/user-guide/3d-modeling/painting-your-model/spotlight/
Typically, even when using UV master, I export the OBJ to another program to help rearrange or stitch certain UV shells the way I want. This also gives me a chance to stamp the UVs onto a new photoshop layer so that I can multiply it over the texture to see where the edges are.
If you don’t have another program to use, you could use UV master to flatten the image. That should show you the 1:! UV range as well, so combined with draw polyframe and a screenshot, you should be able to work out something similar.
You could also use zbrush to bake an ambient occlusion map, cavity map, or even a normal map. Apart from being useful in textures themselves, these can also act as useful visual guides.
Funny you should mention Spotlight. Just discovered that and was going through some tutorials last night. I was trying not to learn another paint program but lightwave looks cool! More to kern lol  Thanks for the links etc.
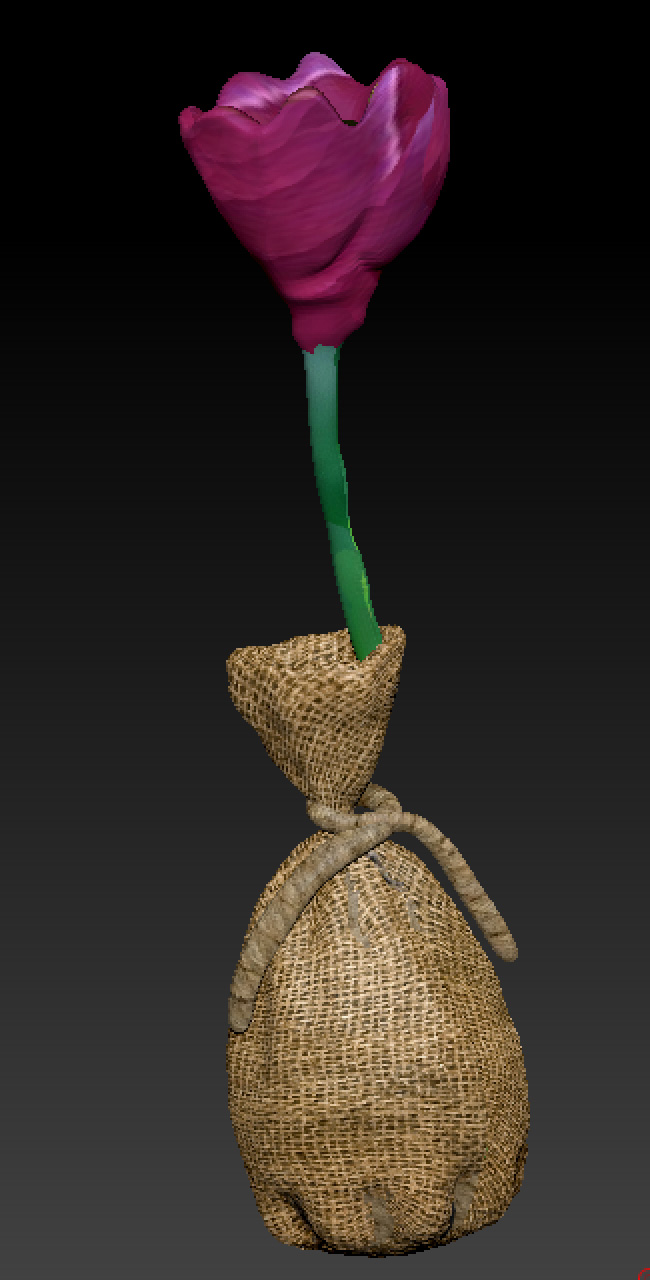
I think your talking about what I had envisioned a texture map could look like. I’m trying to get too something like this example I found.
Thanks

" Are you familiar with Polypainting? If you are struggling to paint that texture in photoshop, wouldn’t it be easier to simply paint directly on the model? Painting it first with polypainting directly on the model then transferring that information to a texture map can also help give you a better idea of what you’re looking at in an image editor."
Ugg i tried PPaing 3 times and gutting this result when i create a texture from poly paint. No idea where artifacts are coming from. Trying to learn this app lol


Don’t get discouraged. You’re trying to process new information from multiple areas of experience at once.
As to the problem illustrated in your last post, I could only guess at what you’ve done to make that happen. The thing you need to remember about Polypaint is that in order to transfer it to a texture it needs functional UVs at the lowest subd level. If you’ve created the UVs in an external program, you might try flipping the texture map vertically (different programs tend to handle things just differently enough to be annoying). Otherwise, I can only walk you through the relatively painless process for creating a color texture from polypaint in Zbrush.
Click on the attached image a number of times to enlarge it. I neglected to switch from my nonsensical custom hard surface modelling UI, so I hope that doesn’t confuse.
I’ve created a low poly cube in Zbrush. For the purposes of unwrapping, I’ve grouped each side into a separate polygroup for logical UV islands. ZPlugins> UV Master> Unwrap with Polygroups active.
It yields this result with no other efforts made to optimize it. As Cyrid suggests, there are other things you could do to fine tune the layout for your specific output needs, both within Zbrush and outside the program. I’m only concerned with broad strokes here.
Subdivide the model sufficiently in order to hold the polypaint detail. Polypaint is on a per polygon basis, so the more polygons, the crisper the detail.
Polypaint directly on the live model in real time 3d space, with brushes set to RGB mode and Zadd turned off. I first filled the model with white color via Color> Fill Object with RGB brush mode selected. Standard brush is probably the best to use. Different stroke types, stroke settings, rgb intensity, and alphas yield different painting results.
Once painted, in Tool> Texture Paint> Create, select “New from Polypaint”. Resulting texture size is controlled by settings in Tool> UV map.
Back at the lowest SubD level, you can preview the result. The color is now a result of applied texture and not of polypaint, hence the crispness of detail at low polygon levels.
Perhaps the most confusing thing about this process are the two different “Texture” menus. In Tool> Texture Map> select “clone” in order to transfer the texture to the main tray Texture Menu. In that menu, select the texture and export. Export the low poly model as obj.
External render in third party program with polypaint texture and Zbrush UVs applied. The only time I touched Photoshop was to assemble the tutorial image.
Good luck! If this tutorial was helpful, pass the knowledge on to another new user if you’re ever in the position to do so down the line.

“…Good luck! If this tutorial was helpful, pass the knowledge on to another new user if you’re ever in the position to do so down the line.”
I certainly will as I get better at this.
Thank you so much. That worked. I think not filling the mask first was getting me. And now I see how to do more with UVs inside of ZB. Thanks again 
