ZBrushCentral

First Ever Sculpt

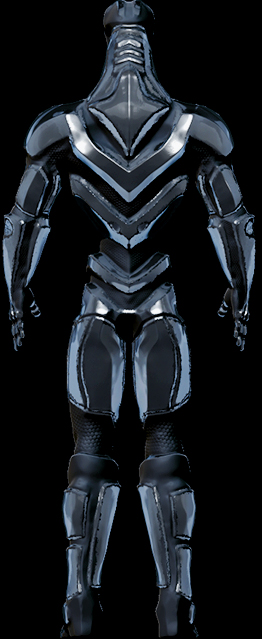
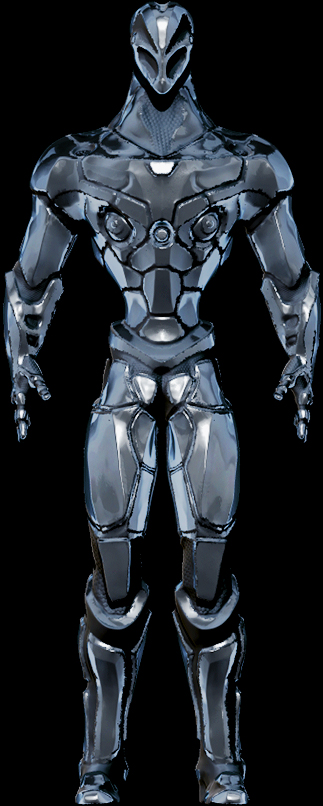
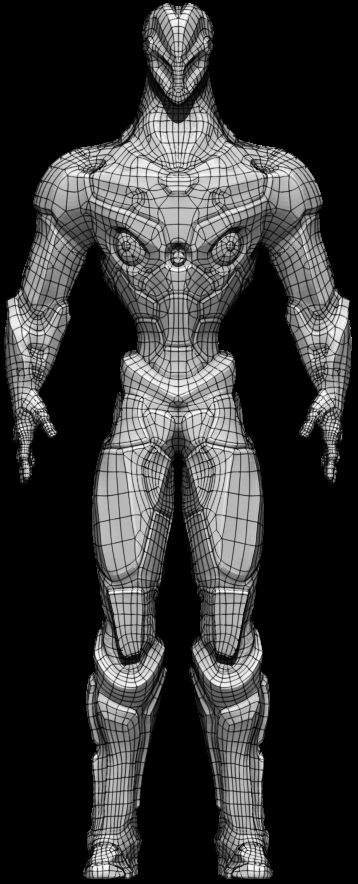
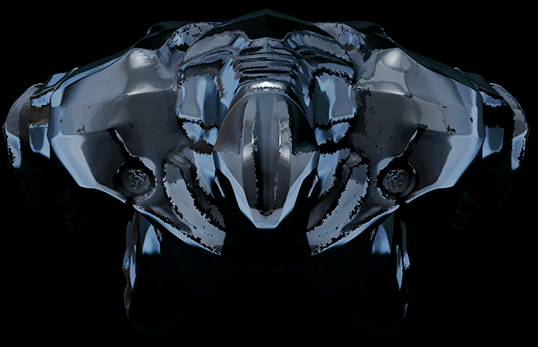
So this is my first ever zbrush sculpt and very basic composite using Photoshop. I’m also very new to the community. I had problems with the texture map coming out pure white which was a huge fail. I retopologised it to 10k polygons which I think could of been lower but it was my first time at retopology as well.

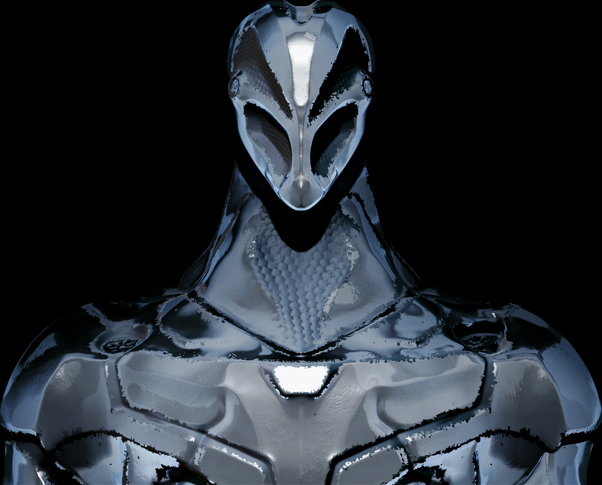
I had some problems with zbrush, the noisemaker wasn’t working for me to make the carbon fibre hexagons so I used a alpha instead that made it look scratchy but the result was good.

So I would like some feedback on this, it was a college project which I got a distinction for.

Attachments
codone7.jpg

codone6.jpg

codone4.jpg

codone2.jpg

codone8.jpg

Hey man, welcome to ZBC! Glad you decided to share your first post.

A few things I noticed about your sculpt;
-There are some very nice design elements going on, I like a lot of the shapes you are describing. However, it seems as though the design starts to go off track once you hit the shin area; wouldn’t hurt to go over that area again.

-When it comes to the crotch and buttocks area, it seems as if they are non-existent :lol: But who am I to say that this alien creature has to crotch and/or buttocks? Whatever the reason, your sculpt appears to be a humanoid, and seeing as how it has no crotch/buttocks looks wrong.

Overall, I like where its heading, and I hope to see you continue with this; very cool design, could use a little more details; check out a sculptor named Mike Jensen. He does wonders when it comes to hard surface detailing.

Thanks a lot, I had to rush it from the waist because time was running out for the project. Doing a 2d animation project now :cry:. I wanted to know how did you make the carbon fibre effect on your sculpt so clean??

For my carbon-filter undersuit, I used the noisemaker function, which it seems wasn’t working for you at the time. For mine, I made sure to have my UV’s laid out before hand. In the Surface -> Noise, there should be an option allowing you to switch the Noise from 3D (which is the default), to UV. wherever there are seams in your UVs, it can cause problems, but my armor was placed in such a way that you can’t see them. To UV the suit, I used the UV Master plug-in that comes standard with ZBrush. If you need a rundown of how to use the UV Master, I’d be more than happy to give a sort of “screen-capture” tutorial :+1:

O Thanks for the insight I used UV master to make my uv’s too good plugin. I also tried noise-maker I didn’t work out I will try again soon because I think I didn’t do the noise to UV. Thanks a lot