hey guys how are you …
this migth have been asked before alot…but iam sick and trying to finsh this model…so i hope you can help…
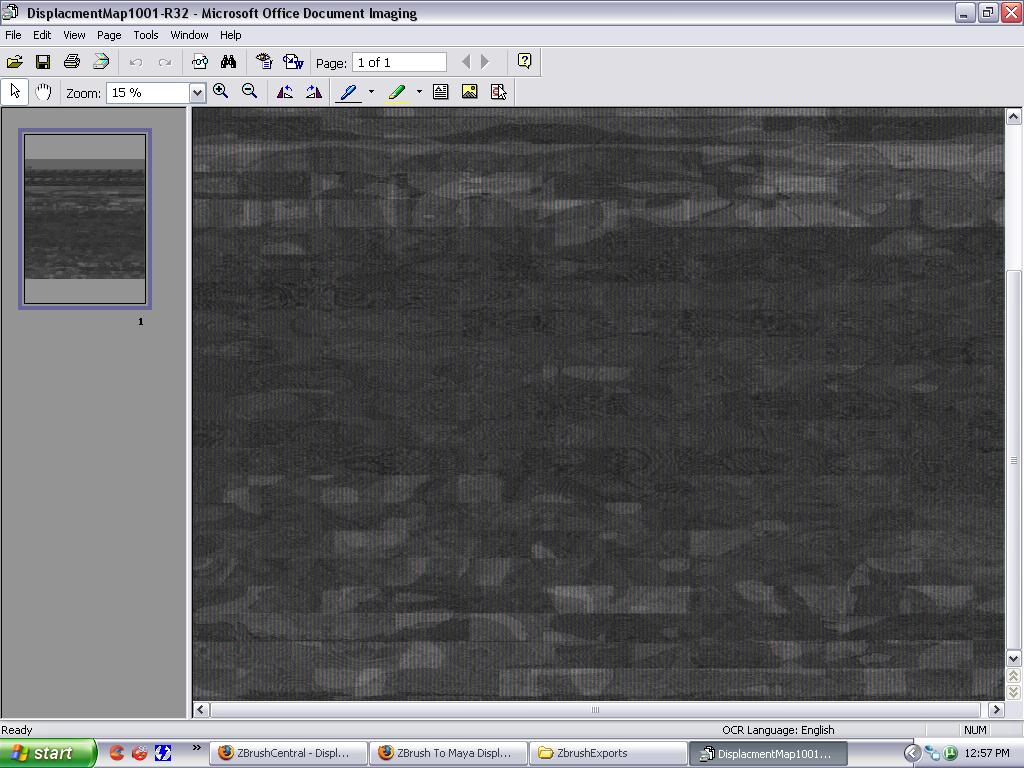
iv done Made my model in maya and exported into zbrush …finshed sculpting and now its time to creat the displacment map …when i do that zbrush creats 4 diffrent maps (same one diffrent sizes)why? now when i took the map into maya and applied the map…the mesh is wierd looking …i tried to fix this issue by changing how maya reads the gain etc…the best result was getting the mesh to its original shape with no detail …i looked around at diffrent displacment maps the seem to have white and gray instead mine is tottaly gray (all 4 maps ) is that normal …or am i on 2 much Nyquil i didnt notice …i would assume that is why ?any ideas…?where did i go wrong?
thanks alot for you help
Funny you should bring up the displacement map issue. I’m having the exact same problem with mine. I’ve been trying to resolve this problem for the past 5 days now and still nothing… I don’t think it has anything to do with you. I’m starting to lean in the direction that there may be an issue with zbrush here!
There is a way to fix this, the challenge is finding it now!!!
Have you followed the steps in the ZPipeline Guide for Maya? If not, you’ll find the guide at the top of the Tutorials forum.
Remember – any time you post a question on here you need to be as thorough as possible when describing your steps and settings. It’s impossible to know where the problem lies when we don’t know what you’re doing.
thanks for the help…my problem is exactly like this http://www.zbrushcentral.com/zbc/showthread.php?p=303758&posted=1#post303758
it seems where are using the same training cd and have the eact same problem…
but for me i also have one more issuewith the head of my creature…a part of his head wont Resym the way it should…other than that the exact same Displacment map issue
Hey guys …ok iv been trying this all nigth with no luck what so ever …so let me walk you through what i did…
after i finshed sculpting …i droped the mesh to Dev 1 …the i used get mesh info to and it showed 4 uvs …so i used tool-texture -adaptive uv which made one uv set so i can only have one displacment map…i used the settings in the piple line Docand its seems to work becouse my map was only grey now it seems to look like some dis that iv seen before …then i exported the tool as obj…
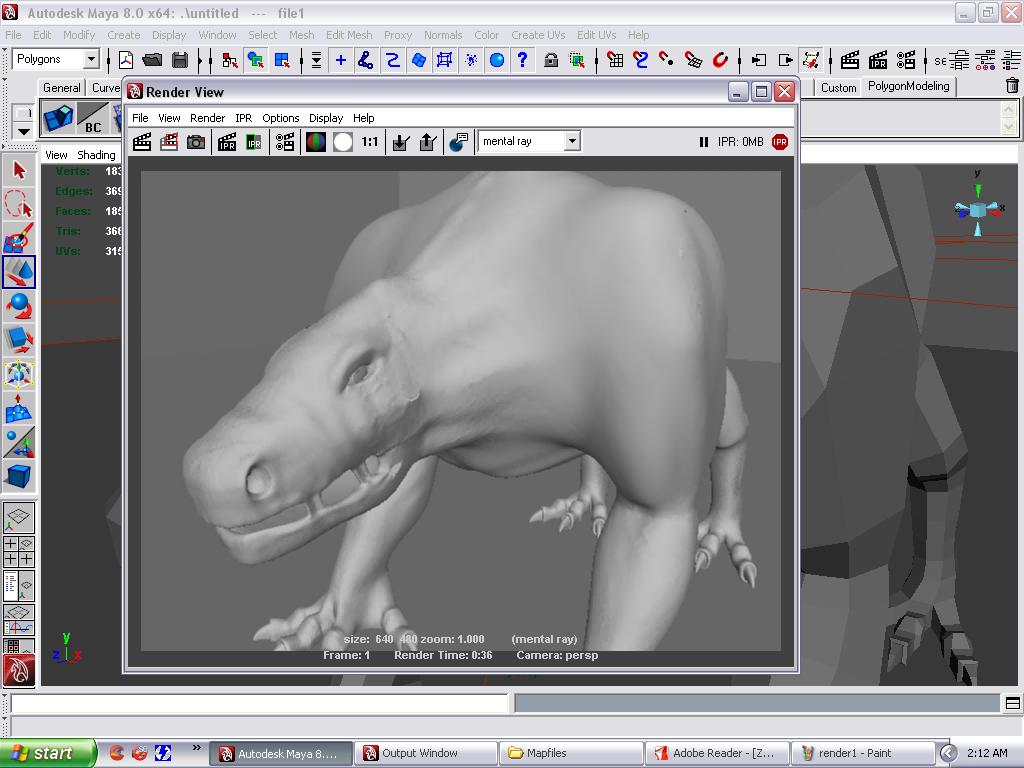
in maya import i set the creat multiobjest to fales…and imported the model…the i set everything as said in pipline doc…its looks better but no where close to my zbrush detail…here is some screens of my process…
you can see some detail in the renders if you look realy close :lol: …but also some wierd geamotry around the neck…
guys i realy want to finsh this …iv been working on this for along time…and have redone the model twice…so any help would be great…i can send you the file if you want to take alook at it if you want…
thank you for your help
Attachments
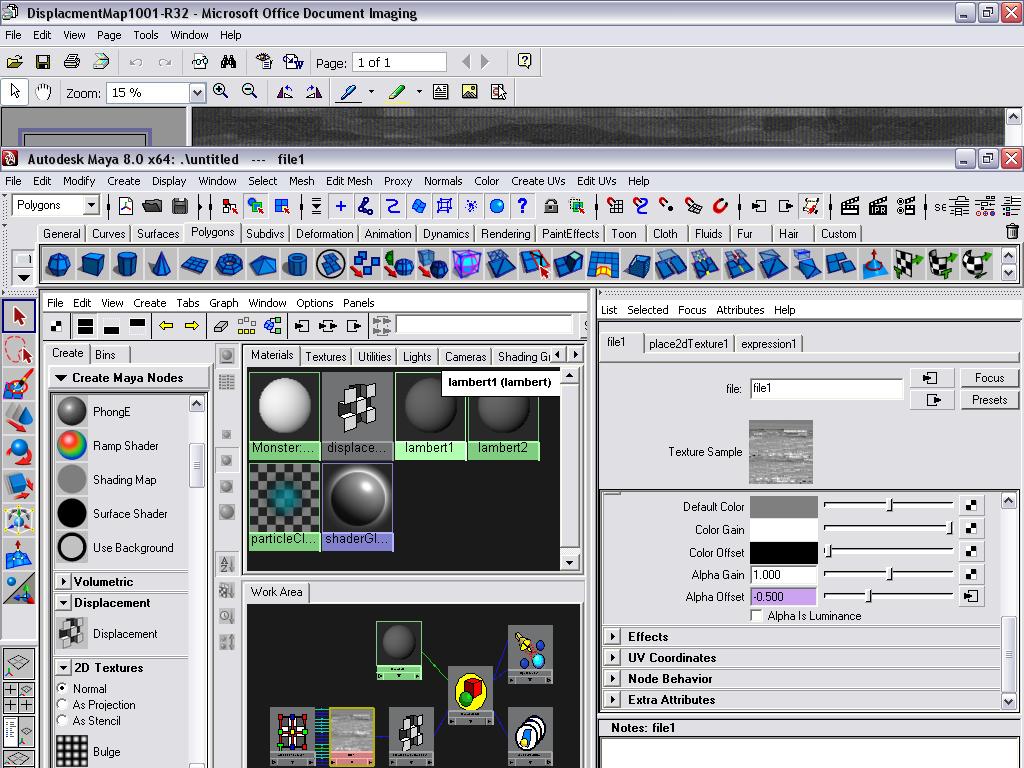
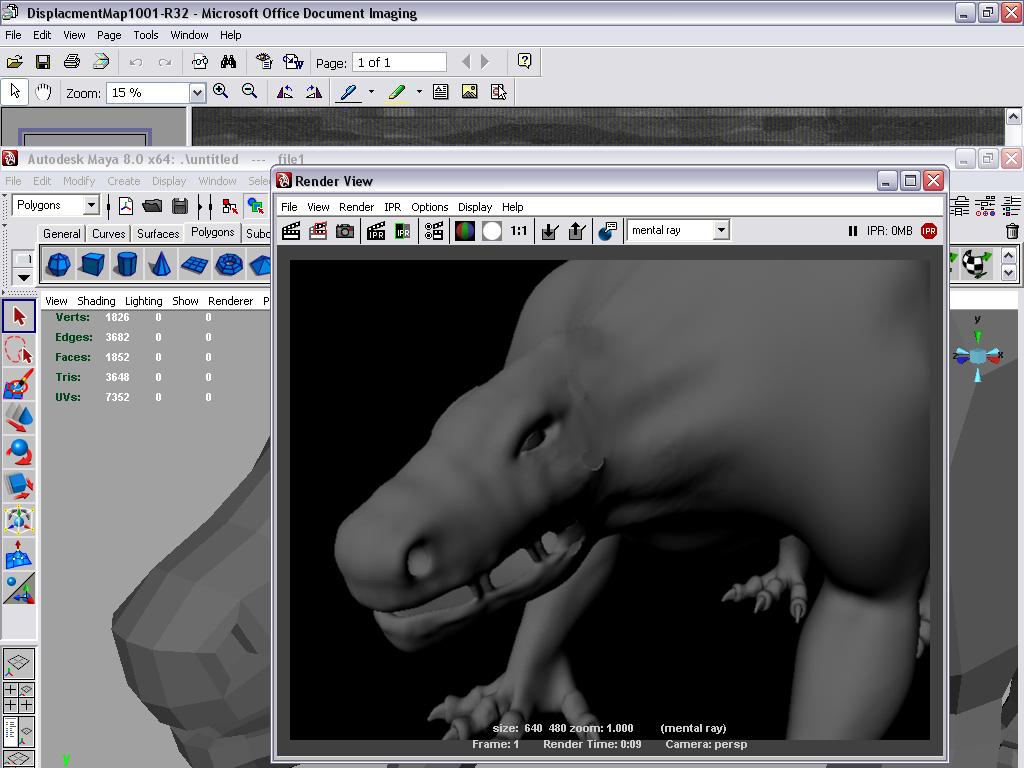
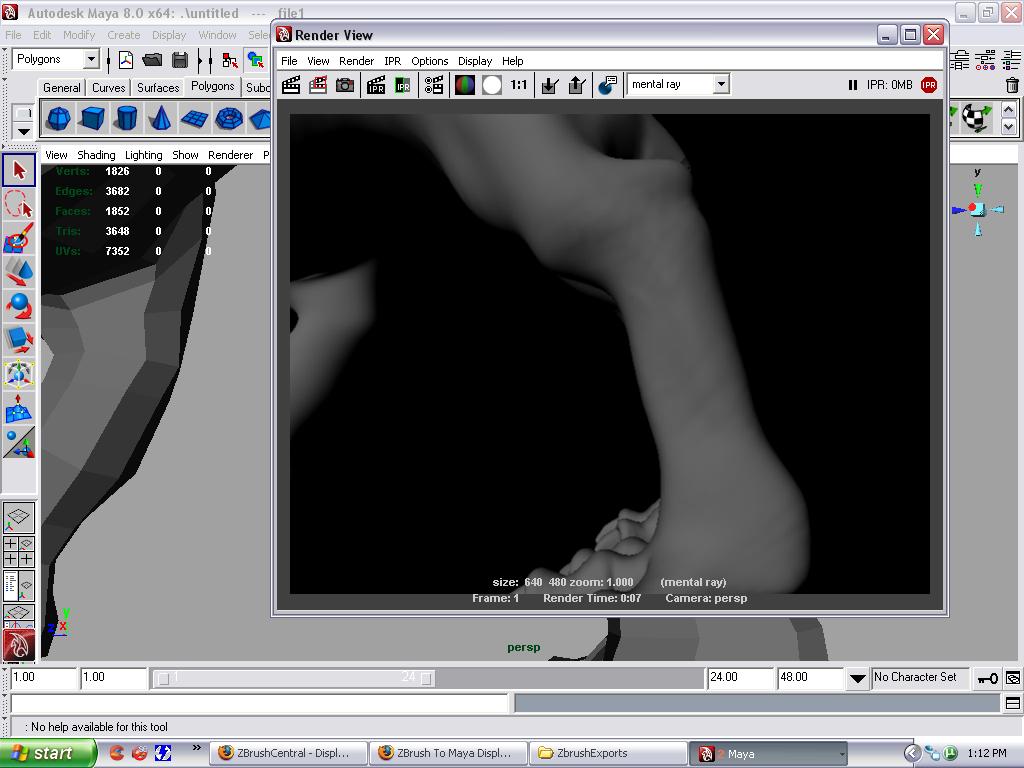
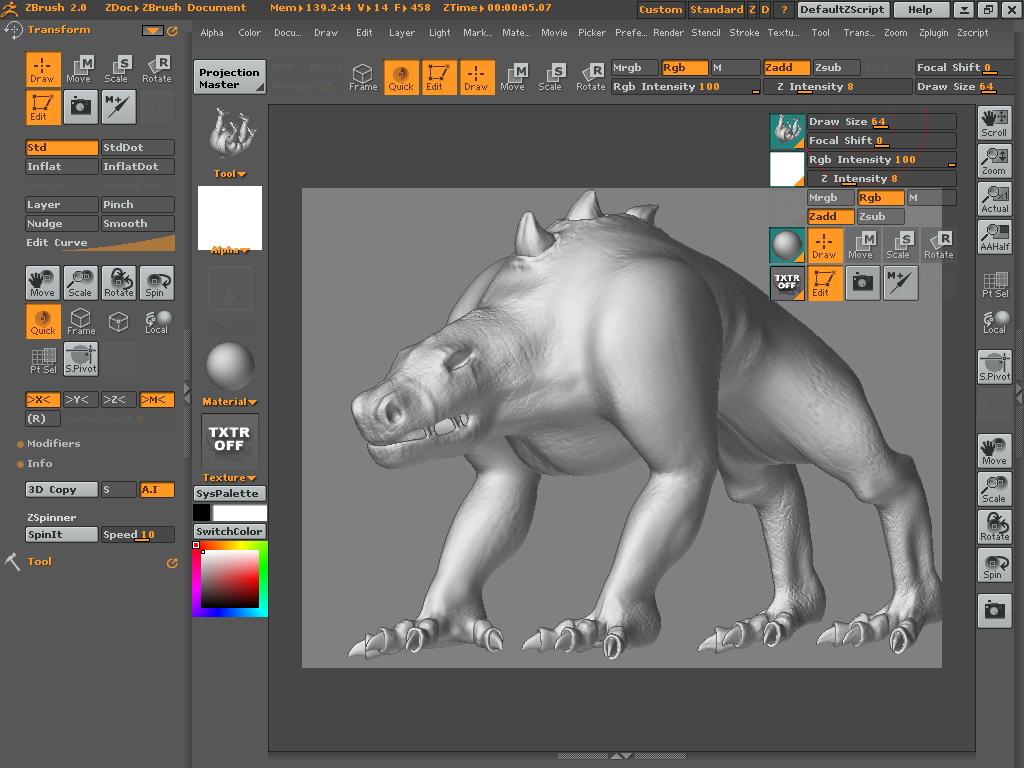
One thing is that you’re apparently forgetting to restore the base mesh prior to creating the displacement map. Take a look at this thread where I talk about that subject.
thanks alot aurick for you help…after putting this issue off for a while iam back again to face the same issue…now i read that thread and it says that first thing to troubleshoot this issue is to check UVs now i used the UV check in Zbrush and all of my model turned red ,i would assume that there is a problem with the UVs…am i correct ? not if that is the case how can i fix the UV issue in Zbrush? or do i have to do it on Maya?
thanks
Attachments
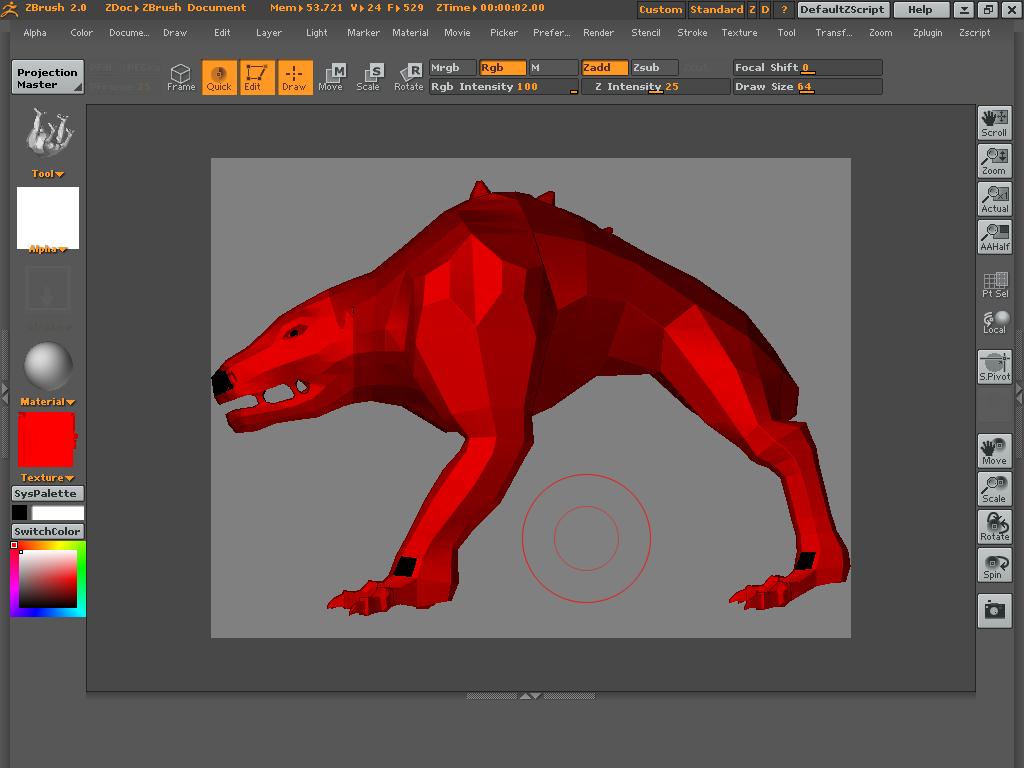
Yes, this is certainly a UV problem. Just about all your map is overlapped. You can fix it in ZBrush by applying a blank texture to the model and then pressing Tool>Texture>AUVTiles or GUVTiles. Your model will be remapped and ready to go.
The texture should be a power of 2 (1024x1024, 2048x2048, or 4096x4096 for example) and should match the size of the displacement map you’re going to create.
thanks again…
i created a new texture 4096x4096 and used GUV and did a UV check , now i would assume that the drak black lines are the seam, now would using the fix seam option in zbrush have any effect on the dicplacment ? also if did everything right , now in order to genrate the dicplacment should i use the displacment in the tools menu or the MD2?
##Edit: iam aslo having a new problem now…when trying to genrate the Displacment, i get an error( error encounterd while trying to genrate multi displacment ,process aborted )…hmmm…what migth be the issue?
Attachments
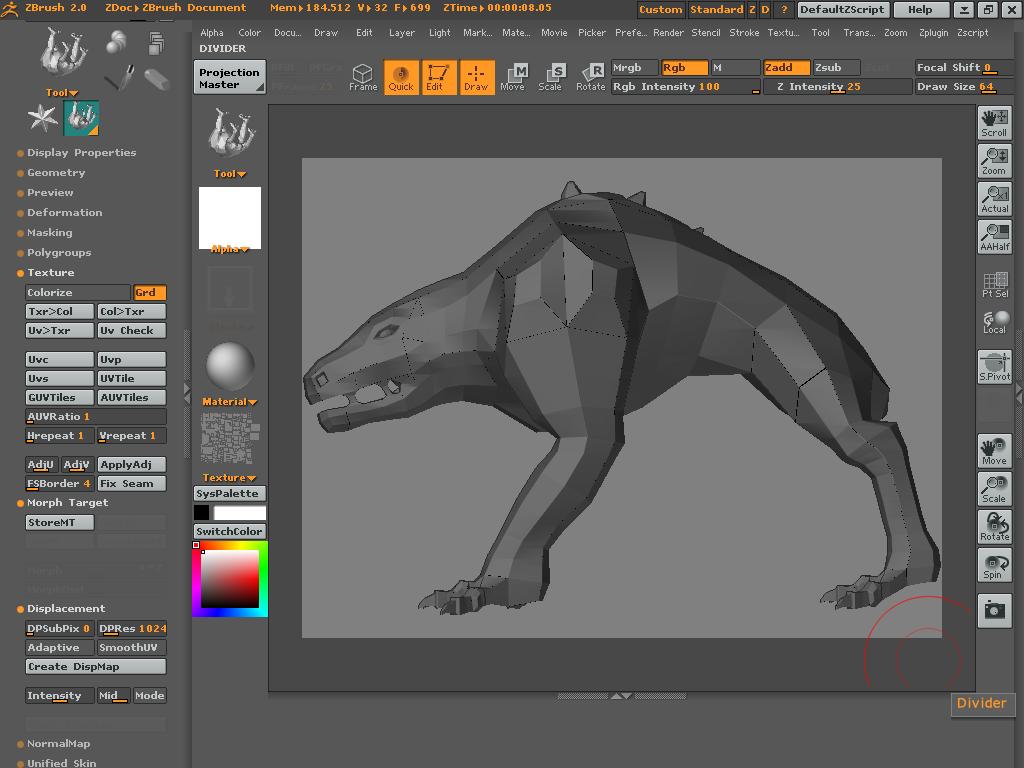
Those black lines are nothing to worry about. ZBrush automatically compensates for seams when it creates displacement maps, and MD2 takes it further with a setting that lets you specify how much of a border to create.
You can use ZBrush’s default displacement generation or use MD2. The choice is up to you. Of course, if you want to create 32-bit maps then you do need to use MD2.
As for why you’re getting the error that you have, what are the steps that you’re following to create the map? Are you remembering to restore the base mesh? Are you at level 1?
aurick: thank you very much for you help, i realy apreaciate it 
guys i was able to creat a displacmentr map which i think ir rigth , becouse before they were only gray and i was never able to get any detail,
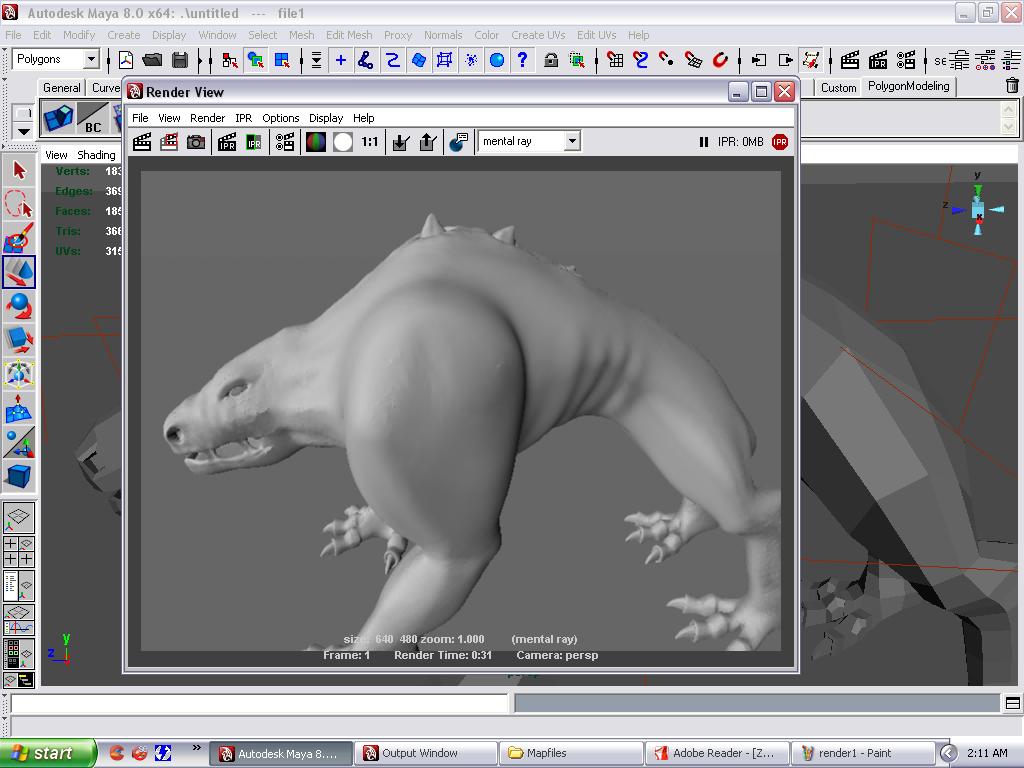
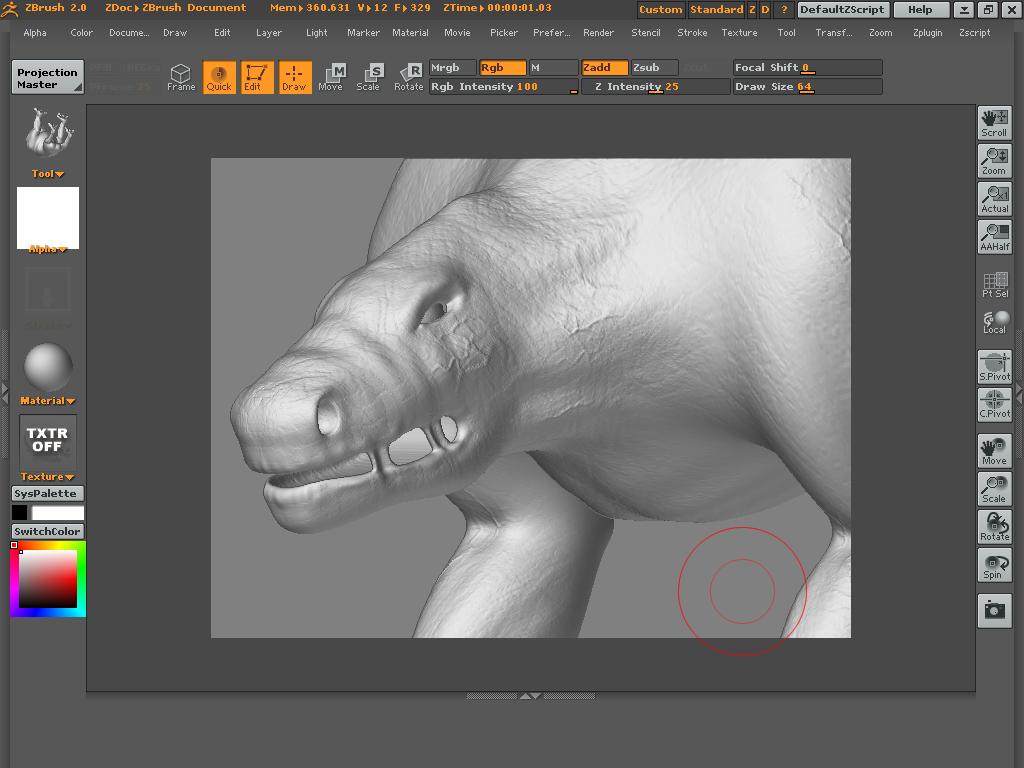
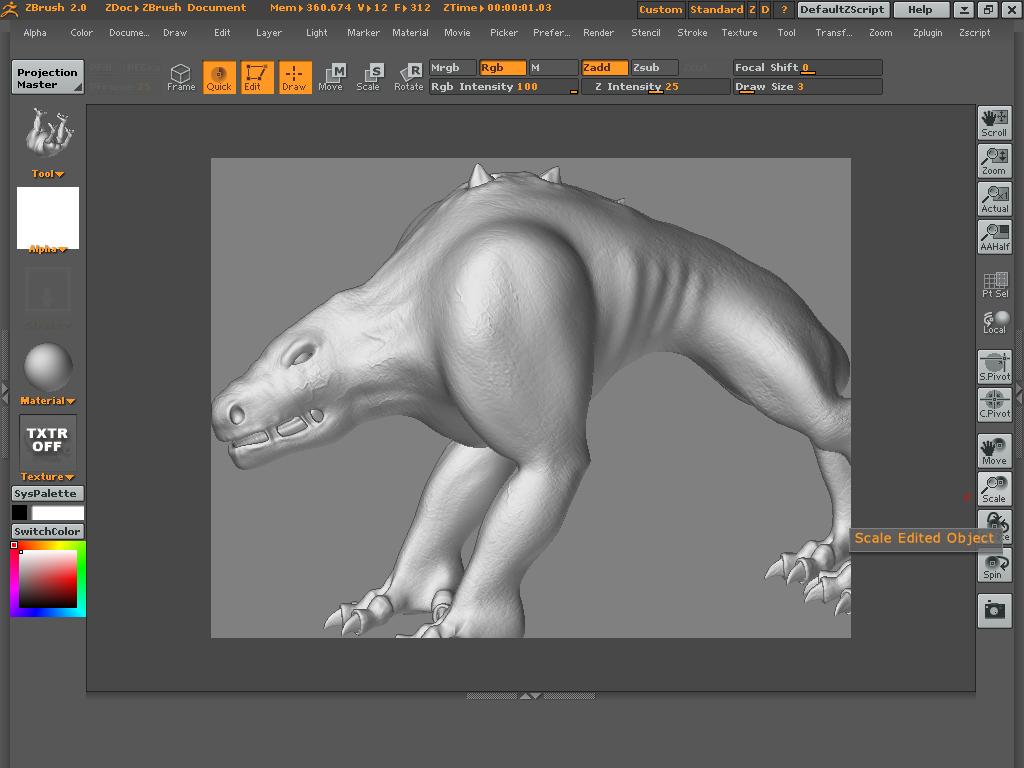
i created a new texture did a GUV and smooth UV generated displacment selcted the alpha , and used the MD2 , then i fallowed the zbrush Maya pipeline but iam not able to get the same look i mean its seems broken around the neck …, could it be that its a map issue and i have to go back into zbrush or is it a maya issue ?i tried changing the alpha with no luck the best settings were 2.2,-1.1.
this piece is one of my portfolio pieces so i realy would like to finsh it , so please if you have any ideas just throw them out there i will try anything…  …i attached images from zbrush and maya if you would like to take a look
thanks again
Attachments
nothing…  …
…
It looks as though you are using a displacement map, one of the huge things you have to pay attention to, and pretty much write it down, is the alpha depth factor created by the displacement map. Hope that helps, if not let us know.
Good luck!
Hey all,
I’m having he same issues, my displacement map is all grey, and it’s giving me perculiar renders.
The intensity is 0 and the mid value is 50, which I think is the default.
The other thing is, is the UV’S are my own and had no overlaps, also I used the same method for the other meshes and they’re fine.
Sonder!!
It seems that you are using UV regons!!?? cuz if thats the case then you will have to select the different uv regon faces and apply the same Map to them in maya.
and as presumed earliar(if ur using UV regons) then appling Uv check in ZB will defenetly give you red areas. what u can do to check them is to first set them as Uv Groups in the Poly groups menu! and then select the mesh one regon at a time and apply the UV check!!.
and the reson why u arent getting great maps is maybe ur MD2 settings are not perfect! check the Maya Code and other stuff. hope that helps!
On thing that i would like to mention here is i have had a lot of issues related to displacement maps until i thorougly studied Scott Spencers Maya to Zbrush PDF guide! so if u havent gone thorugh it, which u have i guess, but still do it again. and by going through i mean litrally every thing in it!. Its worth spending some time reading it man! trust me!!
The only problem is that I am not using maya but 3dsmax. The UV’s are perfect cos I checked them in max with the overlapping uv’s option and nothing came up red. In zbrush if ou have overlapping uv’s and then try and create a displacement map it crashes on my machine, and at the moment it’s not crashing when it creates the displacement map, which further tells me I don’t actually think theres anything wrong with the uv’s.
Any ideas?
Sonder!!