Hey Guys!
I think this is my first post. So, hello to all you cool sculpt guys and girls. ^^
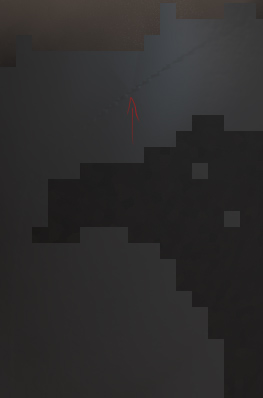
I go a problem with the displacement in V-Ray. I always get rendering Artifacts at points like the ones marked in the attachment. I always get seams at these places. (like you can see in the second image) The map is 4k *.exr.
I guess I’m doing something wrong but I don’t know where to look for anymore.
Maybe one of you found a solution for that.
Or is the Topology simply crap and I need to avoid these 5 edge Stars.
thanks in advance
greetz
Ben
Rendered image
topo
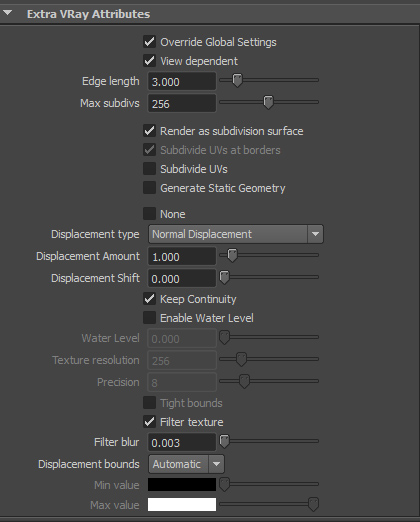
vray settings
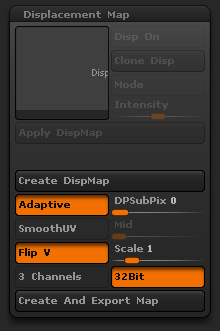
zbrush settings
Attachments