ZBrushCentral

moving model in front of reference image

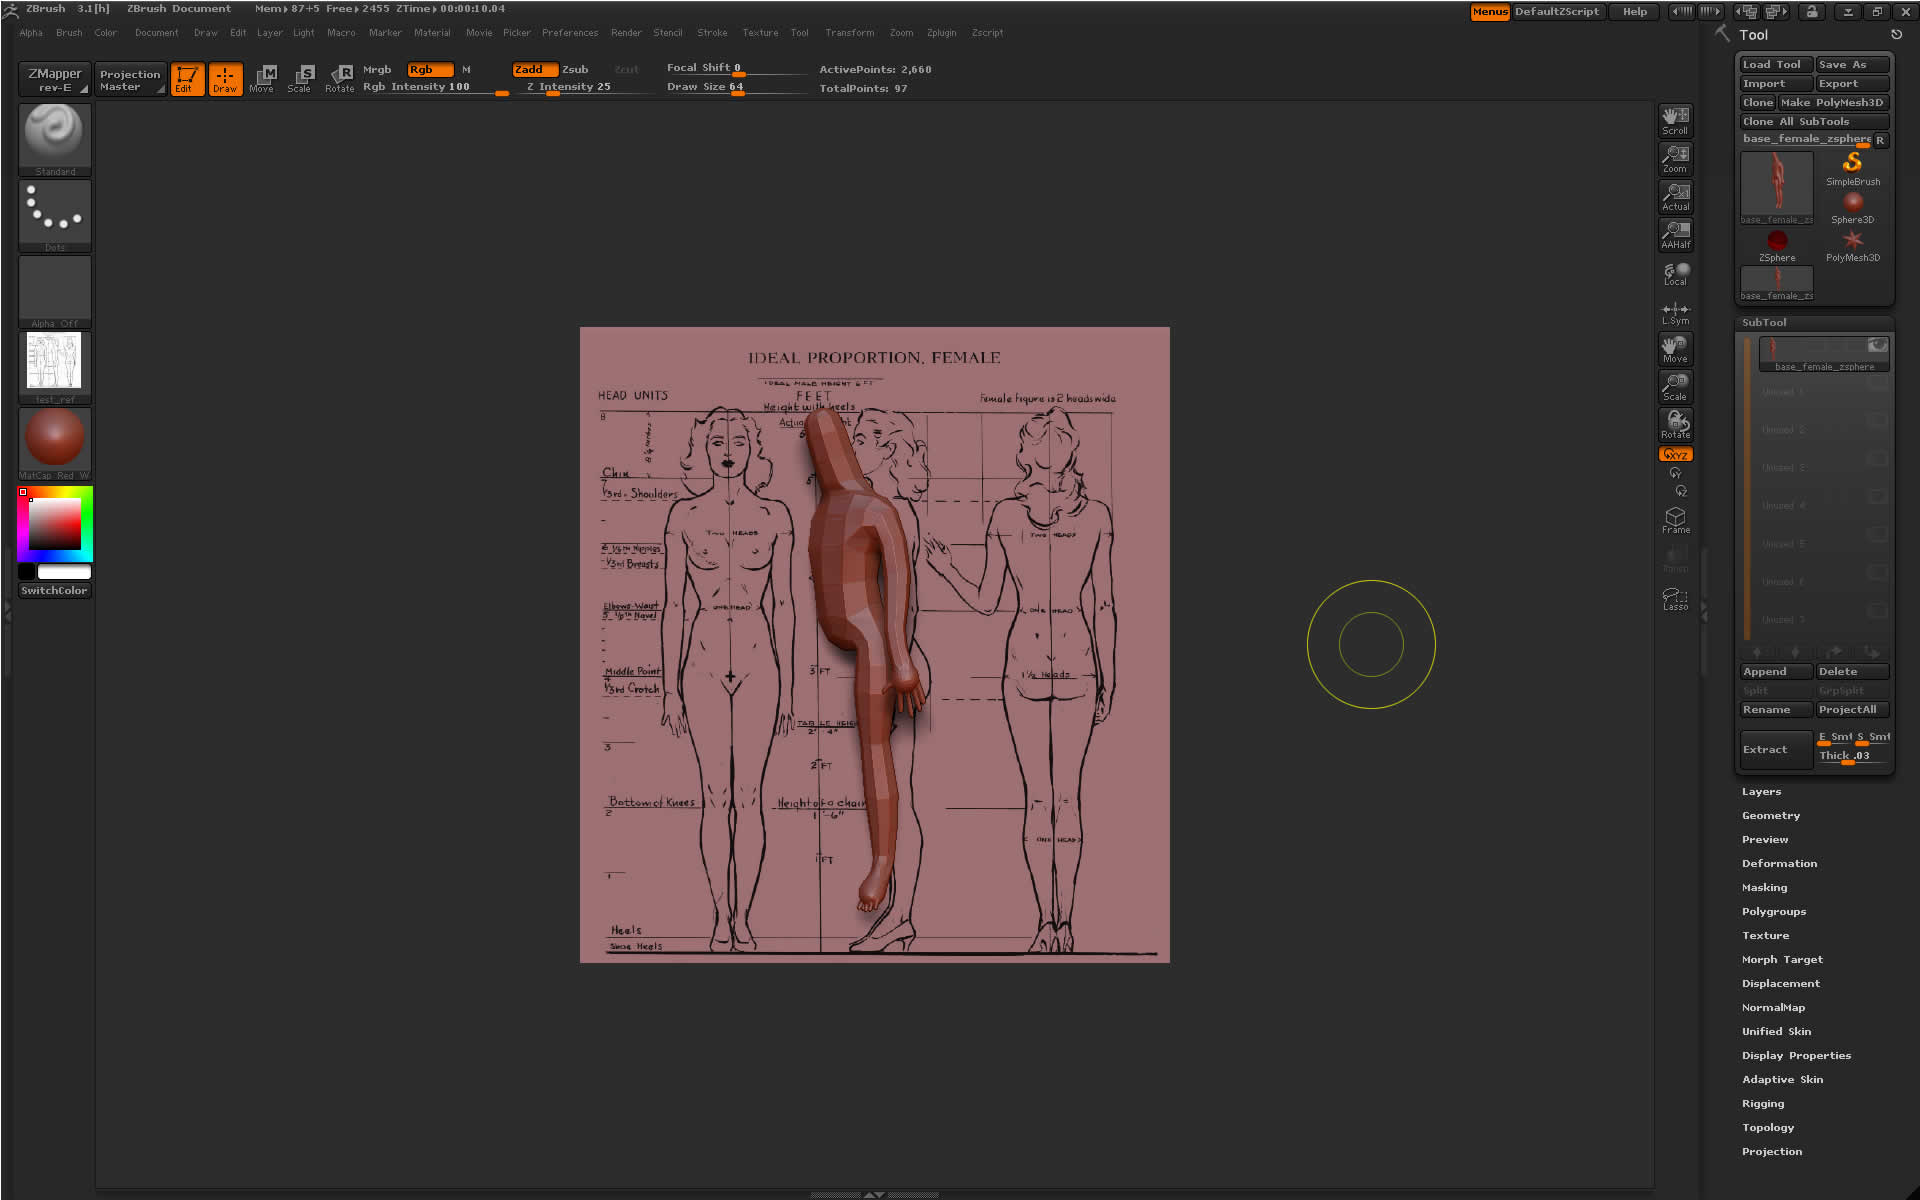
In the attached picture I have used FillLayer to place a reference image in the document. I have then placed my model tool into the scene. The issue is that I cannot move the model in front of the reference image. I also can only move the model around by clicking OUTSIDE of the reference image, I cannot move the model by clicking anywhere on the reference image, however, this is how you would normally accomplish this task because it is the normal document window area.

I am a little confused how my model tool relates to the Layers panel and if that is where I need to fix this issue. Also, how might I hide/show the reference image easily when I just want to concentrate on sculpting.

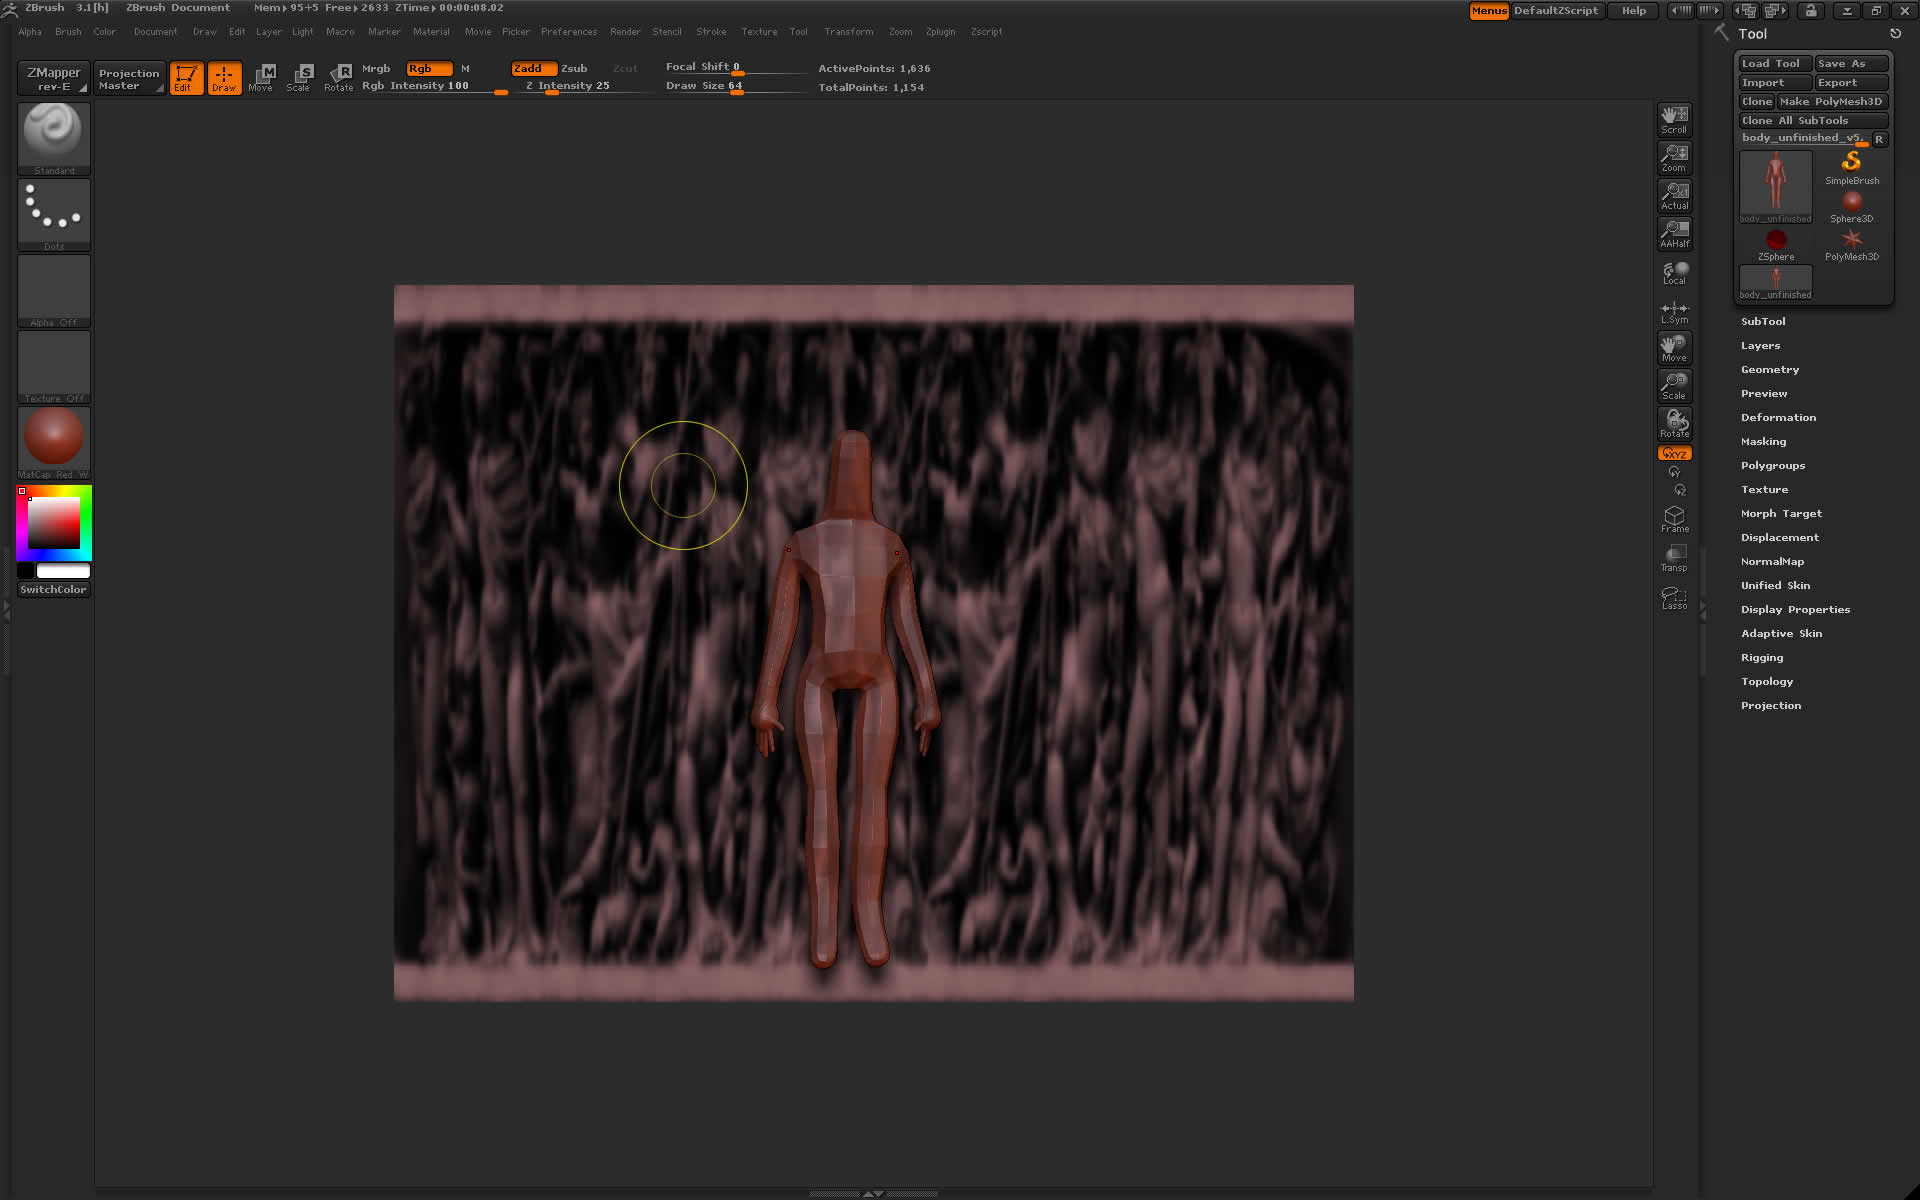
I realize you can project a texture to an image plane, but I like how the image in this case stays put, and I can rotate the model how I want. I have some other reference images with 3/4 views and it will be great to rotate the model while the background stays flat when I want.

Attachments

photo_ref.jpg

You need to move your model (tool) forward so it is ABOVE the background image. To do this:

  1. Press T to exit Edit mode.
  2. Press W to enter Move mode (you will see the Gyro),
  3. Click and drag DOWN two or three strokes OUTSIDE the model until your model is free (forward) of the background image.

(while in Move mode, you can also adjust RGB INTENSITY to make the model somewhat transparent… this works with most materials.)

  1. Press T to enter Edit mode.

everything should now work as expected.

Or before you draw the model, set Picker>Z to something like -1000. This tells ZBrush to draw closer to the camera rather than directly on the clicked-on pixol.

You see, when you draw anything in ZBrush you are painting. It’s not until you activate edit mode that you’re sculpting. ZBrush paints at the 0 depth of the canvas if there are no pixols. But if your stroke begins on a pixol, then ZBrush paints at that depth. In the case of a 3D object, the center of the object ends up at that depth and the object is embedded in the canvas.

Any of the methods described above can be used to offset the model in front of the reference.

thanks, that did help.

you’ll notice in the attached pic that my cursors are snapping to the model, instead of allowing me to pan the model around.

The other issue is that I must click and drag OUTSIDE of the document to pan my model around. Otherwise, clicking inside the document area (but not on the model) makes my pointer snap to the outside of the model. This does not follow the normal behavior of paning, where you just have to click outside of the model, but still inside the document window to rotate the model around. Does this make sense? I am having to click entirely outside of the doc window to do anything other than sculpt. It seems that adding the background texture is causing this.

Attachments

issues.jpg

When the red dot jumps to the model even though the cursor is somewhere off to the side of the model, it means that the model itself is still partially buried in the clipping plane where your image is. Just repeat the steps outlined above and Click and Drag down a few more times and your model will be completely clear of the clipping plane, then you won’t have to click OUTSIDE the document window to rotate and move your model. Really.

Sven

The Image Plane plugin, available from the Downloads Center, will make setting up an image for sculpting easy. With a model in Edit mode the plugin will automatically place the image behind the model.

thanks, this all helped. When I CropFill using the texture I have Flat Color material selected, but my model still turns quite dark when I had the background reference image regardless of what material I use, how can I restore the true colors?

P.S. - Oh, and I just hit some key in the bottom left of the keyboard that hid or got rid of my background reference image, how do I get it back? :slight_smile: