ZBrushCentral

Is it possible to precisely align things in zbrush?

so i’m just asking this as a last resort to make sure i’m not missing anything…

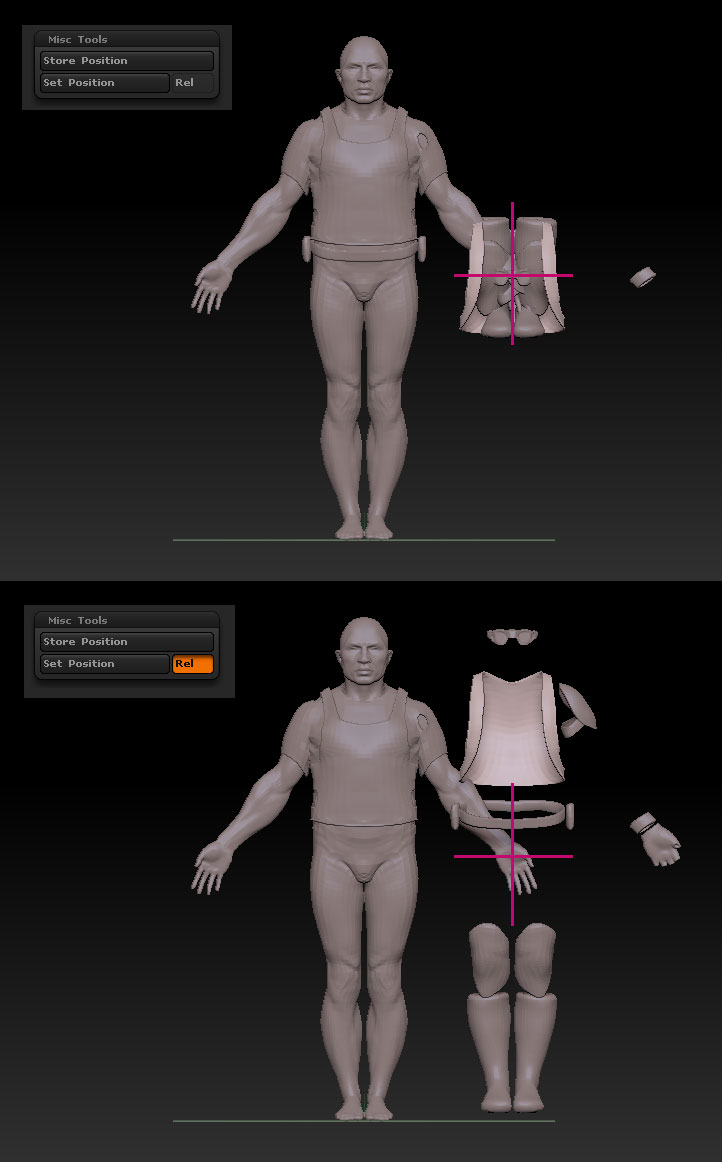
is there any way to precisely snap align subtools in zbrush? especially in creating mechanical things, i need to be able to put things in the precise middle of other things and at other times, i want to find and place something at a specific vertex or point.

i don’t think there are ways to do this in zb… not that i could find. the center pivot is great for centering the pivot on a specific subtool but i haven’t found a way to use to place other objects at that point.

anyway, like i said, i’m just double checking… i’m working on a big, dense sci fi model and zb’s quick interactivity would have been a boon but i think i’m going to have to go to maya just to do the snap alignment stuff.

thanks.

jin

I don’t know of a way of snapping subtools to a position directly but it’s possible to write a plugin to do it. I’ve attached a simple example.

To install this, unzip the file to your Desktop and then copy the Offset_Mesh.zsc to the ZBrush 4R6/ZStartup/ZPlugs folder. Restart ZBrush and you should have a new “Misc Tools” sub-palette in the Zplugin palette.

The operation is fairly straightforward but try it out so you don’t get any surprises!

  1. The Store Position button stores the position of the currently selected 3D tool. Pressing the button simply copies the values from the Tool>Geometry>Position X, Y and Z sliders into memory. (For storing a vertex position see below.)

  2. Once you’ve stored a position you can transfer it to any other 3D mesh by selecting the mesh or subtool you want to move and then pressing the Set Position button. However, there are a couple of options:

a) With the Rel switch turned OFF, the selected mesh will be moved so that its center corresponds with the stored position. With this option turned off, pressing the Set Position button will have no effect on the mesh that you used to store the position.

b) With the Rel switch turned ON, the selected mesh will be moved relative to the stored position. Pressing the Set Position when the mesh you used to store the position is selected will move it to the origin, and all other subtools will be moved relative to that.

In order to move a mesh to a specific vertex position you need to:

  1. In Move, Scale or Rotate mode, click the exact vertex you want so that the Transpose line is moved to that position. The start of the Transpose line will be on the vertex.

  2. Store the position by pressing the Store Position button. (When the Transpose line is visible, the start of the line is used to store the X, Y and Z co-ordinates.)

  3. Switch to Draw mode. If you want to set the center of the current mesh to the stored vertex position then make sure the Rel switch is OFF and press the Set Position button.

  4. To position other subtools relative to the new position, turn the Rel switch ON, select each subtool and press Set Position.

3 Likes

holy moly…

thanks marcus! this is amazing. and definitely something that zb could use out of the box! i hate hate hate “eyeballing” and this totally solves that problem! (errrr, actually, you don’t happen to have another script for orienting according to normal/action line do you? :slight_smile: )

but for the life of me, i have no idea what REL does… and does it make a difference only for SET or only for STORE or for both?

also, the script is perfect for moving object B so that it’s center is snapped to some point on object A but is it possible to align object B so that some arbitrary point on object B is snapped to some point on object A? so for instance, is it possible on two cubes to snap align them by their corners?

anyway, thank you so much!

jin

The Rel switch is for relative position. It’s only for when you’re setting the position. It doesn’t affect the Store Position button.
Basically what it does is move the object to the same position relative to the origin. For example:

  1. Load the DemoSoldier project and select the glove subtool.
  2. Press Store Position. This stores the center position of the glove.
  3. If the Rel is OFF and you press Set Position the glove won’t move because its center already corresponds with the stored position. If you turn Rel ON and press Set Position then the glove will move.
  4. If you move to another subtool and press Set Position again it will move to the correct position relative to the new center (and the glove).

So with Rel on you can keep all the subtools in their correct positions relative to each other. With Rel off they would end up all on top of each other with their center points all at the stored position.

I will look into orienting according to the actionline but I’m too busy just at the moment. Likewise to aligning two points rather than using the center.

1 Like

thanks marcus,

oh definitely not making requests for you to write anything just for me! just wondering if there was any functionality that was eluding me.

as for the REL button, i see now that without it pressed, if i STORE on the glove and REL is OFF, the glove does not move at when i hit set. this make sense - i stored the gloves coords and i’m setting it to the same coords.

if i turn REL to ON, it DOES move and it moves the distance the glove is from the origin. right?

but if i select ANOTHER subtool and i wanted to move it to where the glove is, i turn REL to OFF and i get what i want. but i don’t see why i would ever turn REL to ON then… because if i turn it on, the subtool will not move to the glove… it will just move in the vector and distance the glove is from the origin…

i suppose that could be useful at some point but i don’t “get” how yet.

anyway, as i keep saying, thanks much! this tool is a huuuuge boon to my workflow just as it is.

jin

That’s OK, I knew you weren’t making requests! I wrote this because I thought others might find it useful. I will probably post it in the ZScript Utilities forum in due course.

The Rel option is only of use if you want to move subtools together. The attached pictures show the difference. The position of the glove was stored and the center is marked by the red cross. With Rel off, the subtools that have been moved are on top of each other. With Rel on, the subtools are placed correctly relative to each other, and in this picture the glove has also been moved. The Rel would be useful if, for example, you wanted to do a turntable with a different center of rotation.

Attachments

Offset-example.jpg

AHA!!!

my feeble mind has finally grasped it!

thanks much marcus.

would it be possible to modify this so that set tool would be in the same relative scale to the stored tool, like fit in its bounding box?
Either way thanks for this it is very helpful for what i’ve been doing.

So I know this post is like five years old but this plugin is exactly what I’m looking for - I can’t seem to find it though! It looks like it’s been moved to the Zbrush Plugins Forum, but I can’t find the post. Can you help me out?
Thanks!

Hi Andy,

Welcome to ZBC!

I don’t think that the plugin will work with the latest version of ZBrush. I’ll take a look at getting it to work but I may not be able to do it for some days as I’m really busy at the moment.

Cheers,
Marcus

Hi Marcus,

This is awesome, Thanks for updating the plugin. I agree with Jinchoung, this should be incorporated into the regular ZB interface since it is such a basic 3D function and there are more and more folks out there using ZB for hard surface modeling ( Including myself ).

1 Like

Hi ZZeebee,

Thanks for the kind words. Try this version - let me know if it works the way you expect. See above for the basic operation.

To install this, unzip the file to your Desktop and then copy the Offset_Mesh.zsc to the ZBrush 2021/ZStartup/ZPlugs64 folder. Restart ZBrush and you should have a new “Misc Tools” sub-palette in the Zplugin palette.

Offset_Mesh.zip (2.5 KB)

-Marcus

2 Likes

I would love this tool or one like it to be apart of Zbrush permanently. I’m constantly having to build engineering parts/prototypes in Zbrush… Alignment is critical.

1 Like

Hi, Marcus, it is amazing to find this post. However it looks the download link is missing. Can you pls repost the link ? And if it works on ZBrush 2022?

Hi Leo,

Welcome to ZBC! :slight_smile:

The link is two posts before yours - can you not see it?

And yes, it’s OK in ZBrush 2022.

-Marcus

1 Like

I see it now! Thank you so much ! Glad to join this community and entering Zbrush world!

1 Like

I still don’t understand how there is still no “engineer tools” plugin after all these years, I get that zbrush is primarily used for gaming, general art etc but the amount of use I get out of it as an industrial designer can’t be measured and alignment and more “cad like” functionality would be a huge deal for manufacturing. Hopefully since Maxon is driving things now maybe they will put some resources into it.