Hi everyone, what a busy week ! I was still figuring out how to render this piece in a proper way staying in the anime field (but not too much). I got overloaded tweaking the lightcaps, matcaps, shaders, textures. and finally bpr settings… it was a lot to be honest to dig in and especially test most of the settings.
So my first serie of test was to achieve a decent result in black in white and then apply the colour on it (as I previously done in my last post).
My first try was a complete mess (the left grey one), but I wanted to show where I got from. Obviously I’m not putting all the results I got but just some after the first one. It got me to a better understanding of how the shadow work is done on the material for this type rendering.
Fortunatley during my study I stumbled on the work of Pablo Munoz Gomez that introduced me to quad shaders and the timing was perfect because I could assemble into one material all the recent gathered knowledge!
Thanks Pablo, you saved me from crashing my head through my monitor!
 haha!
haha!
My favorite one is the fourth (grey one on the right), I like how the shadow works on the hair, and chest but didn’t work well on the hand or the arm. But it was decent enough to begin working on some colour to see what the result would be.
OH! and while working on the black and white material render I got crazy and worked the shading result too far (lost sight of my objective or went frenzy at the end of the day, it could explain the result lol!)
But this wasn’t the result I was seeking, I was more thinking about these right here:
OK, then! I applied some
colours (
basic plain polypaint) and tweaked some more my custom
QuadShader, adjusted the polypaint colours and basically pressed the
bpr button (not knowing much about filters but added one or two for fun) and got these.
I liked where this was going but something felt wrong… Maybe too “anime” and I felt it was lacking of my special touch. My goal is to have most of my final image inside Zbrush but probably the final pass will go to Photoshop, just to enhance the result (if needed).
So here is where I struggled a bit searching how to get more from material I just created. Well, after tweaking here and there lots of sliders I reached the point where I didn’t know what I was tweaking anymore and decided to rebuild a whole new QuadShader from what I learned.
It was very instructive !
Again I got to a point where I gave all I could, still applying a simple polypaint colour to the subtools and tweak the QuadShader setting one by one to achieve step by step a more
illustrative feel to the
render while staying into the
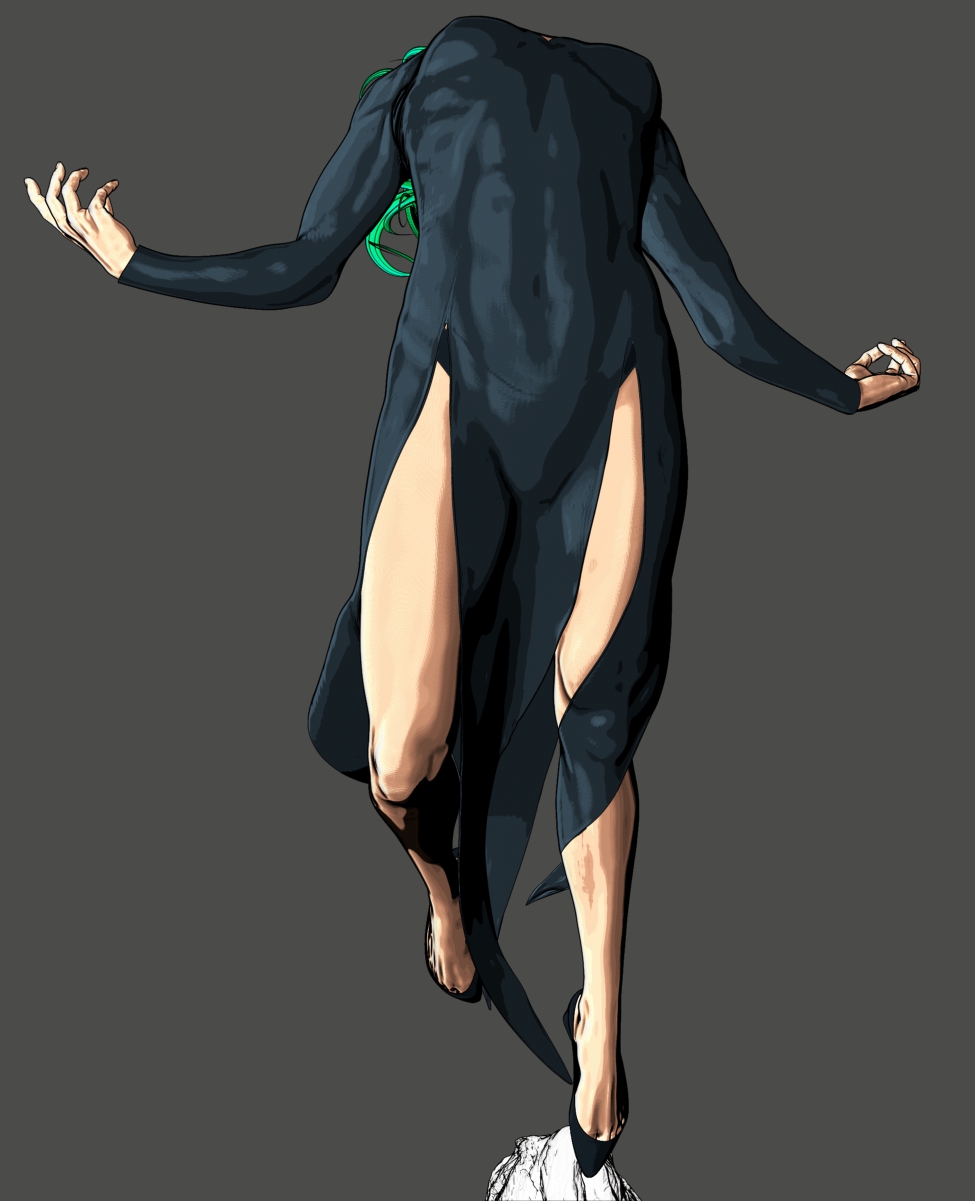
anime style. So these are the latest renders at this day and time. I’m pretty happy where this had led me, I disabled all shadow casting and ambient lighting from the light and the material settings to control as much as I could the shadow work. The trick was also to work a second QuadShader for the dress ! I simply duplicated the first one I got (skin) and worked on it to make a material reacting differently to light. I still think this second material needs some tweaking, I managed to get some crisp and interesting details from it ^^
But I agree it could feel a bit too posterised don’t you think?

I’ll keep this in mind next time.
Here are some last renders for today, I’ll keep you guys posted on further progress ! See you soon ! And thanks for the kind messages, means a lot!!


 haha!
haha!


 I’ll keep this in mind next time.


