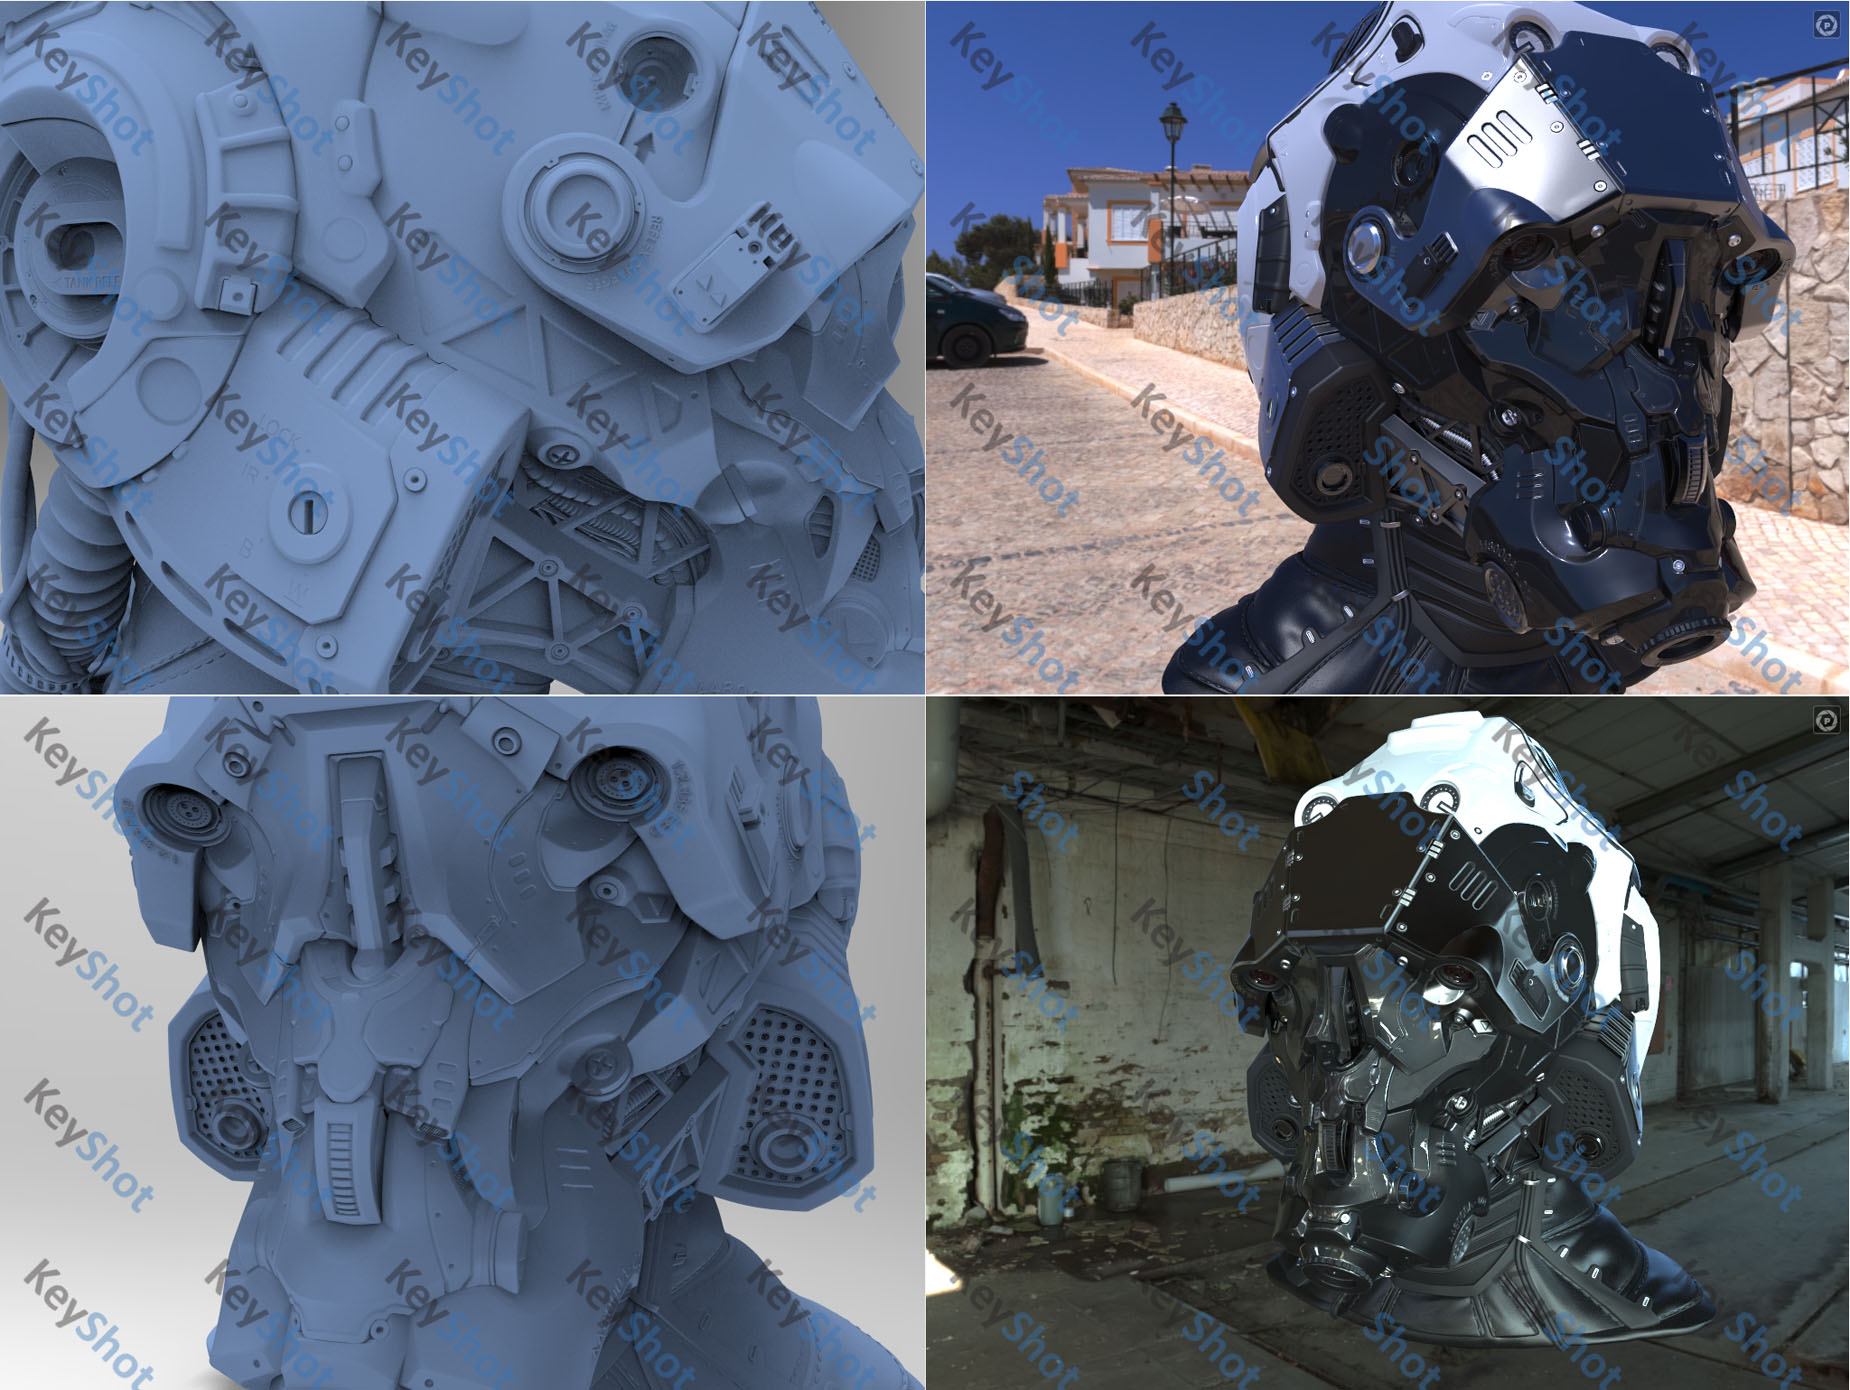
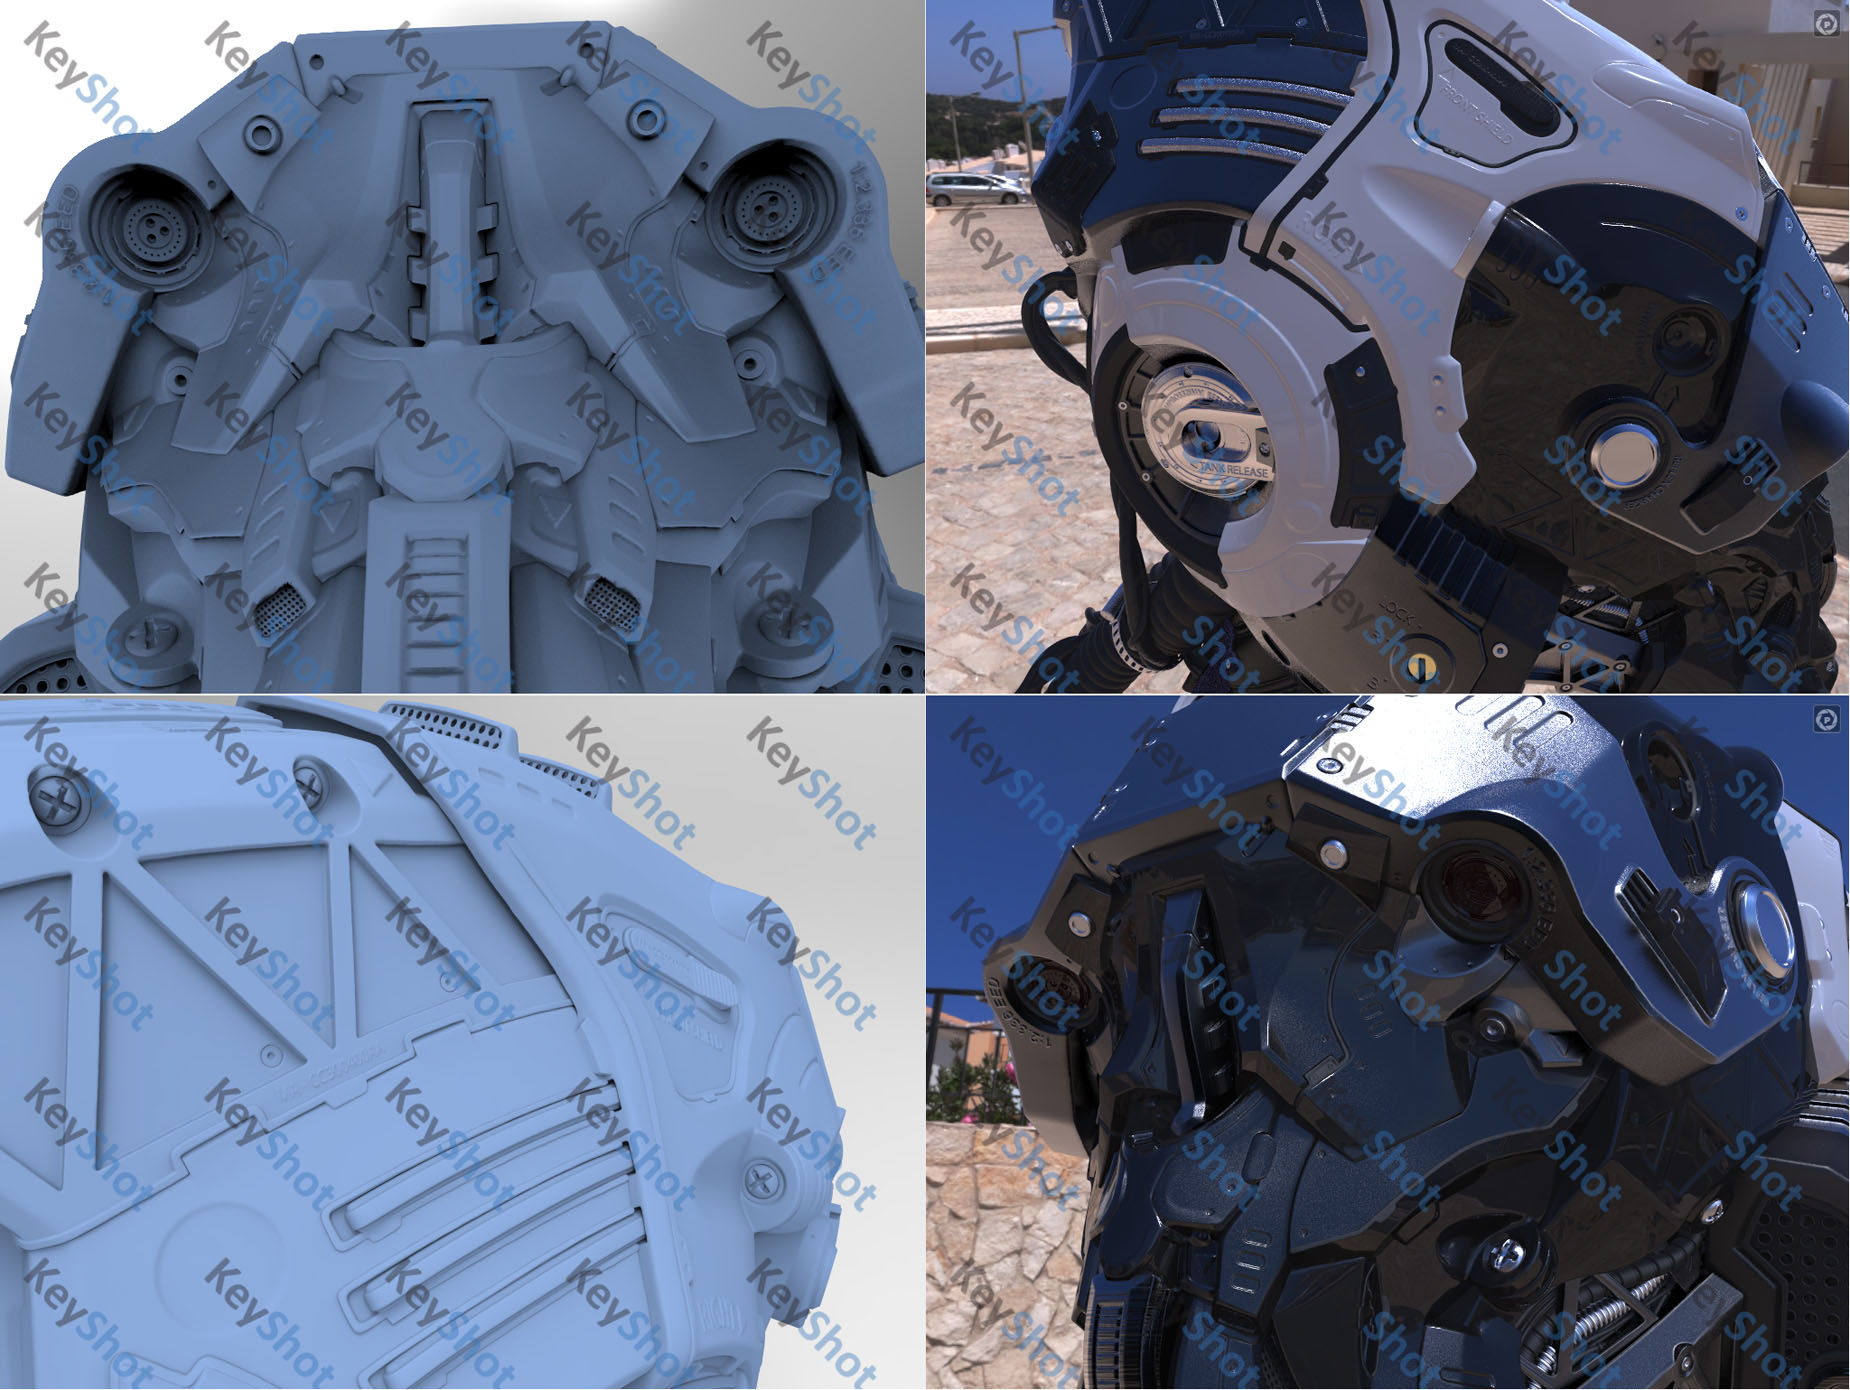
A few more quick material tests:
master of masters hail to you…inspirationalastic awesomastically fantastically legendarilistic mastericallistic epicalistic work
as i always say keep em comin
These are great tips! I was just watching your Eat3D DVD on creating transparency last night.! You are one focused artist.
These shapes are really crisp and satisfying to look at. I am just wondering, what was your polycount when you added the text?
Terrific work and processes here.
Dam !!! realy good , and the tips are awesome, thanks a lot 
I only pray we will see a tutorial or “making of” in ZClassroom in a nearest future. Knowing how good you are in teaching Zbrush, I bet this video would be one of the most popular.
Thanks guys!!
Emmmm…each subtool I try and keep under 4 million polys, but when I’m done detailing them out I’ll decimate them down to a few hundred thousand to keep my filesize down (this helmet had one hundred and…thirty subtools I think?). I usually don’t go THAT nuts, especially just for a helmet, but I was having fun and just adding stuff as I thought about it. The good thing about dynamesh > decimate is that I can always go from the decimated mesh > dynamesh again and not have any loss of detail (but get all my polygons back to modify the object however I want to). Takes a little bit of time depending on the mesh (some of the bigger surfaces might take 40 seconds or so) but it’s a small price to pay for speed / control balance.
I actually have a time-lapse video of me making this entire sculpt start to finish from scratch, it’s about 3 hours long. When I gave my 4 hour demo on this thing I would basically step through my time lapse videos, talking about what was going on, stopping and demonstrating in ZBrush to explain things more clearly in some cases. I might post the time lapse videos to youtube if you guys just want to see that, but the explaining and demoing part I’d have to sit down and do separately, might take a while.
I cant believe everything was done in zbrush! really great job!!
Just recently i was thinking about doing something along those lines, but your way ahead.
5*
Fantastic work matte, quite inspirational!
Do you by any chance use Xnormals to bake the normals? I am just wondering if you modelled the holes of that micromesh piece in the low poly version or if that is a texture.
cheers
Yes, I used Xnormal; for the micromesh it’s just a texture on a simple plane, but if I wanted to see behind the holes I would make a transparency alpha mask where the holes are (I still might do that, there’s some wires behind the big micro mesh areas next to the face)
Hail.! Hail…! er snow , rain , wind …
awesumness … just love youre eat3d stuff… ALWAYS a pleasure to see your latest work…
I might post the time lapse videos to youtube if you guys just want to see that, but the explaining and demoing part I’d have to sit down and do separately, might take a while.
I believe every person here would be glad to see those videos. Personally, I have enough patience to wait for more in-depth tut. Though it all depends on you. Anyways, thanks again for being kind and sharing your knowledge and workflow with others.
man that’s crazy !!!
I’m all for that. I think I could figure out your steps if I just watch the real-time playback. And I’d be more than happy to try! It’s up to you, or course, but you’ve got my vote to post.
super awesome job !!! thx Michael for sharing with us
Same here, I’d be happy to reverse engineer without you having to invest a lot of time in voice over. That would be more than welcome as well of course 
Very nice piece, thanks for sharing it and your mini tutorials.
Great tips! any good tip for retopo hard surface in Zbrush?
I missed the videos you are talking about guys. Could someone post it?
Thanks all!
I haven’t posted the videos yet, if I get time over holiday break I might throw something together.
for retopologizing off the top of my head, there’s the usual suspects; topology brush, zsphere retopo, and zremesher. They each have their good and not as good points, but I use a combination of all three depending on what I’m working on:
–Topology brush: I use this for simple shapes that need to be rebuilt quickly, or for simple additions to shapes that I can draw on, get a thickness, and split into its own subtool faster than anything else. Some people can retopologize very complex meshes using this brush, I cannot.
–zsphere retopo: For complex meshes, or making meshes based on underlying topology that I don’t necessarily want to snap to the surface (sword straps for example) I use zsphere retopology. Some people find this a clunky and unforgiving method, but it works just fine for me. Skin thickness for an added bonus!
–zremesher: If I’ve used extraction / dynamesh / whatever to create a mesh and want a fast rebuild that I can simplify and crease / subdivide (or a quick game mesh to throw some UVs on and get some quick maps and into engine) this works like a charm. If you have a very “regular” surface to your hard edge parts, try edgeloop / delete loops to get rid of extraneous triangles.
Totaly outstanding !!!
I’ve wait so long to see good hard surface sculpture. IMO is hardest part of mastering ZBrush. You make my day, Man!!!
Thanks for sharing your workflow and keep posting.
Are you want to finish full armor?
Best regards
b2przemo
ps. Be patient, english is not my native.
I would love to do the full armor set! Not hopeful, but that would be really fun.
Some keyshot renders, super fast, easy and fun to play with!


