ZBrushCentral

FBBsketchbook

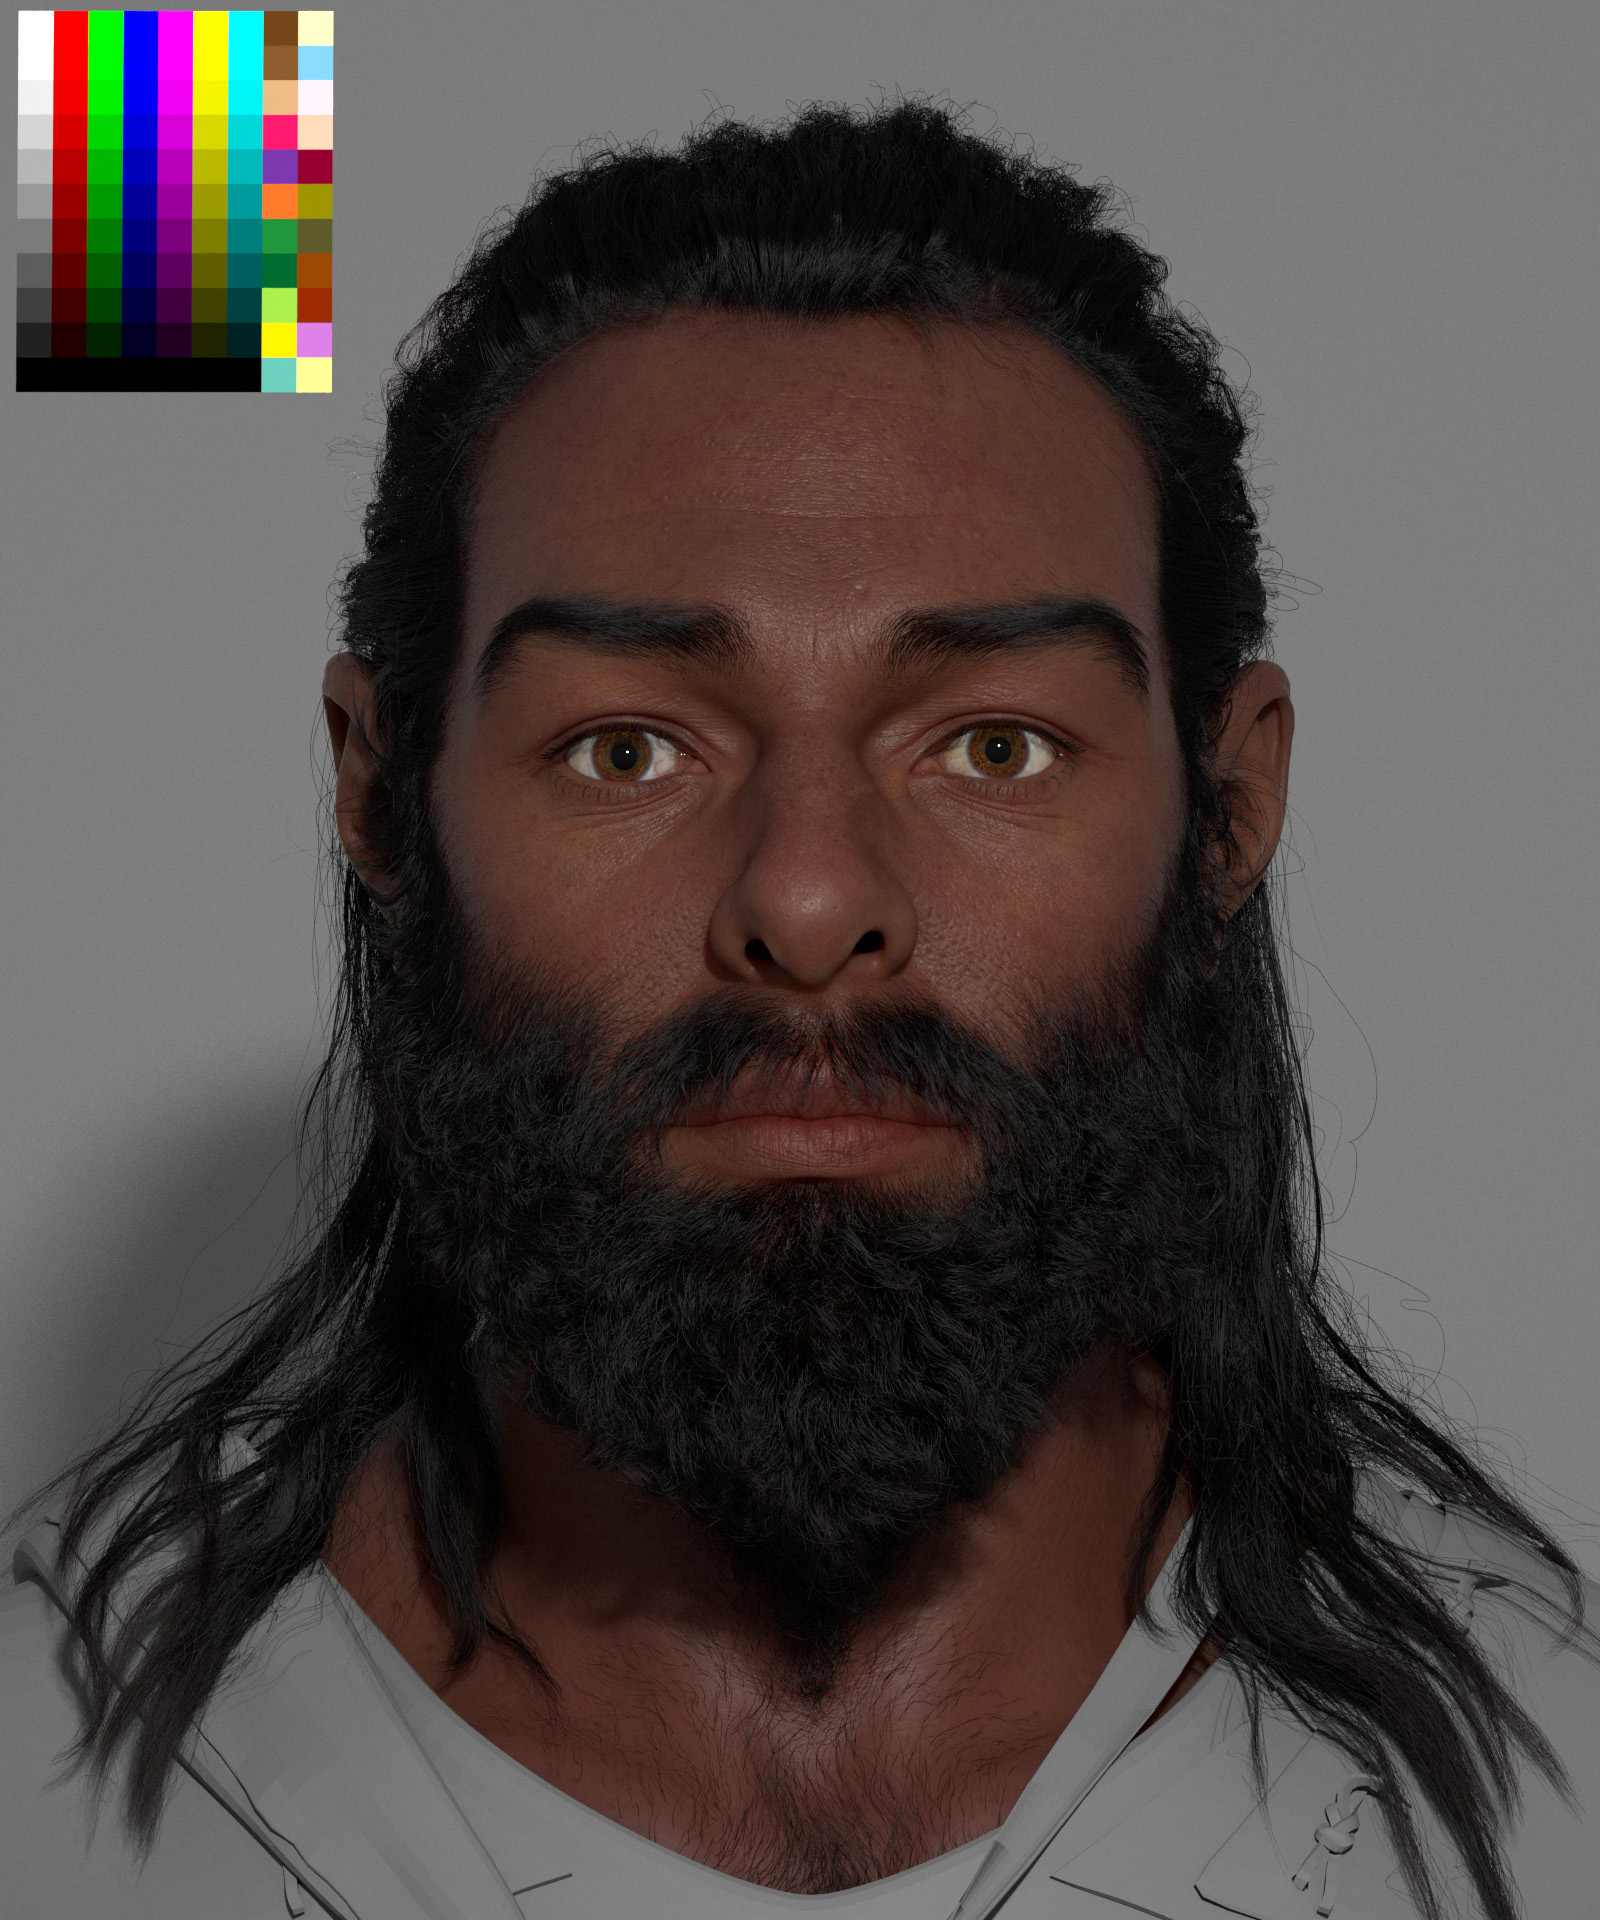
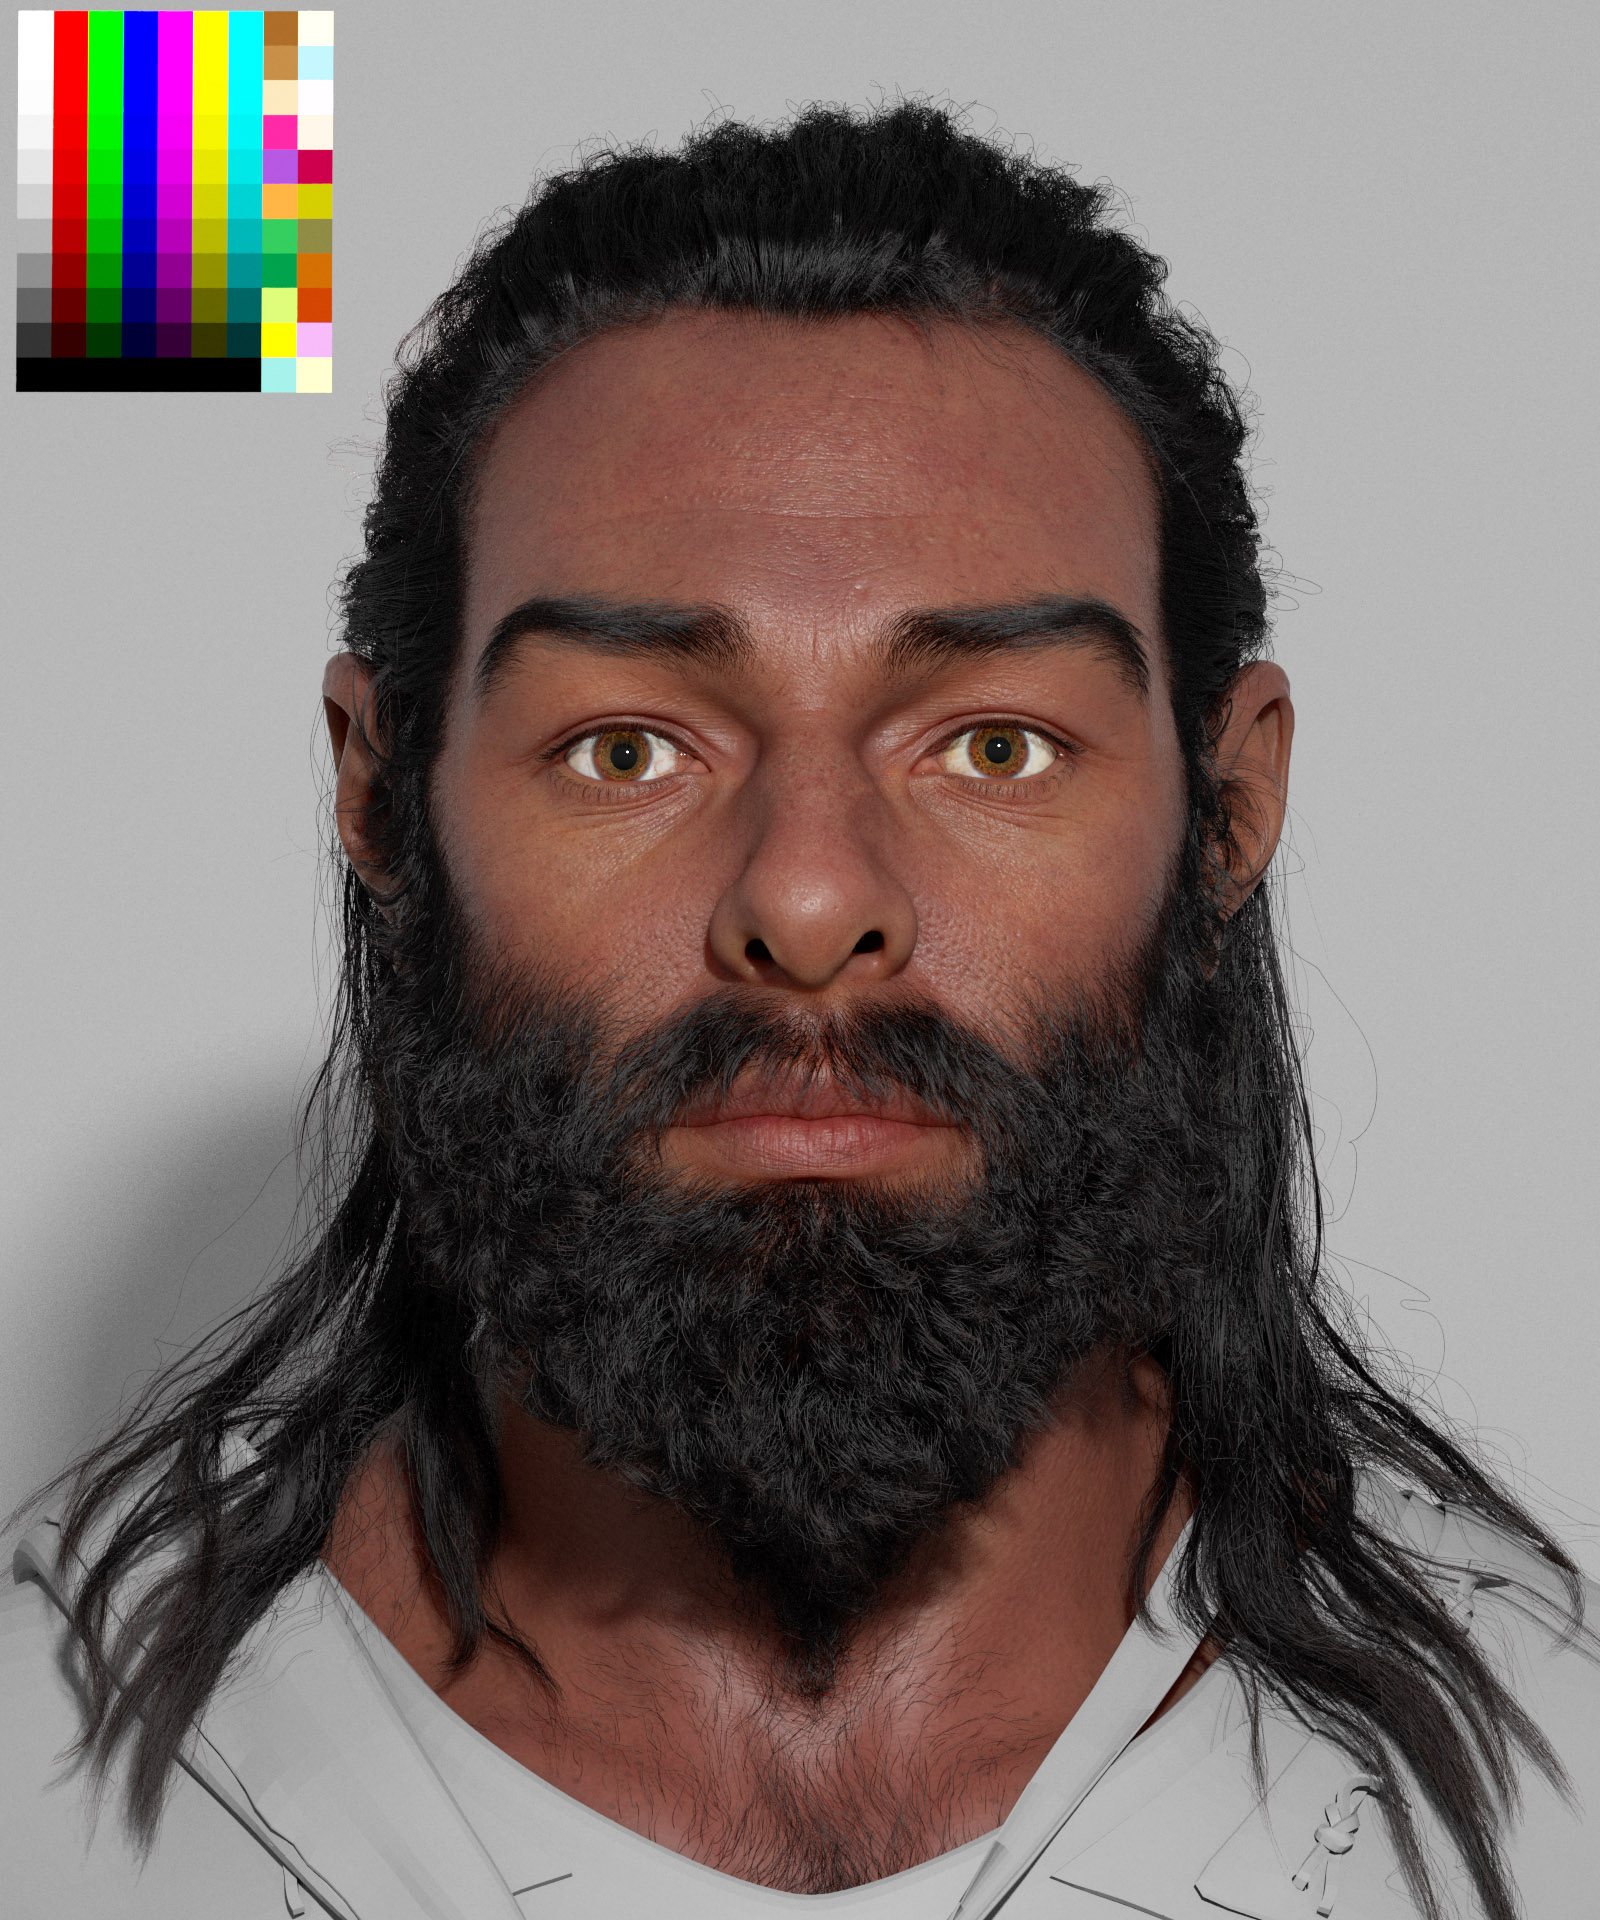
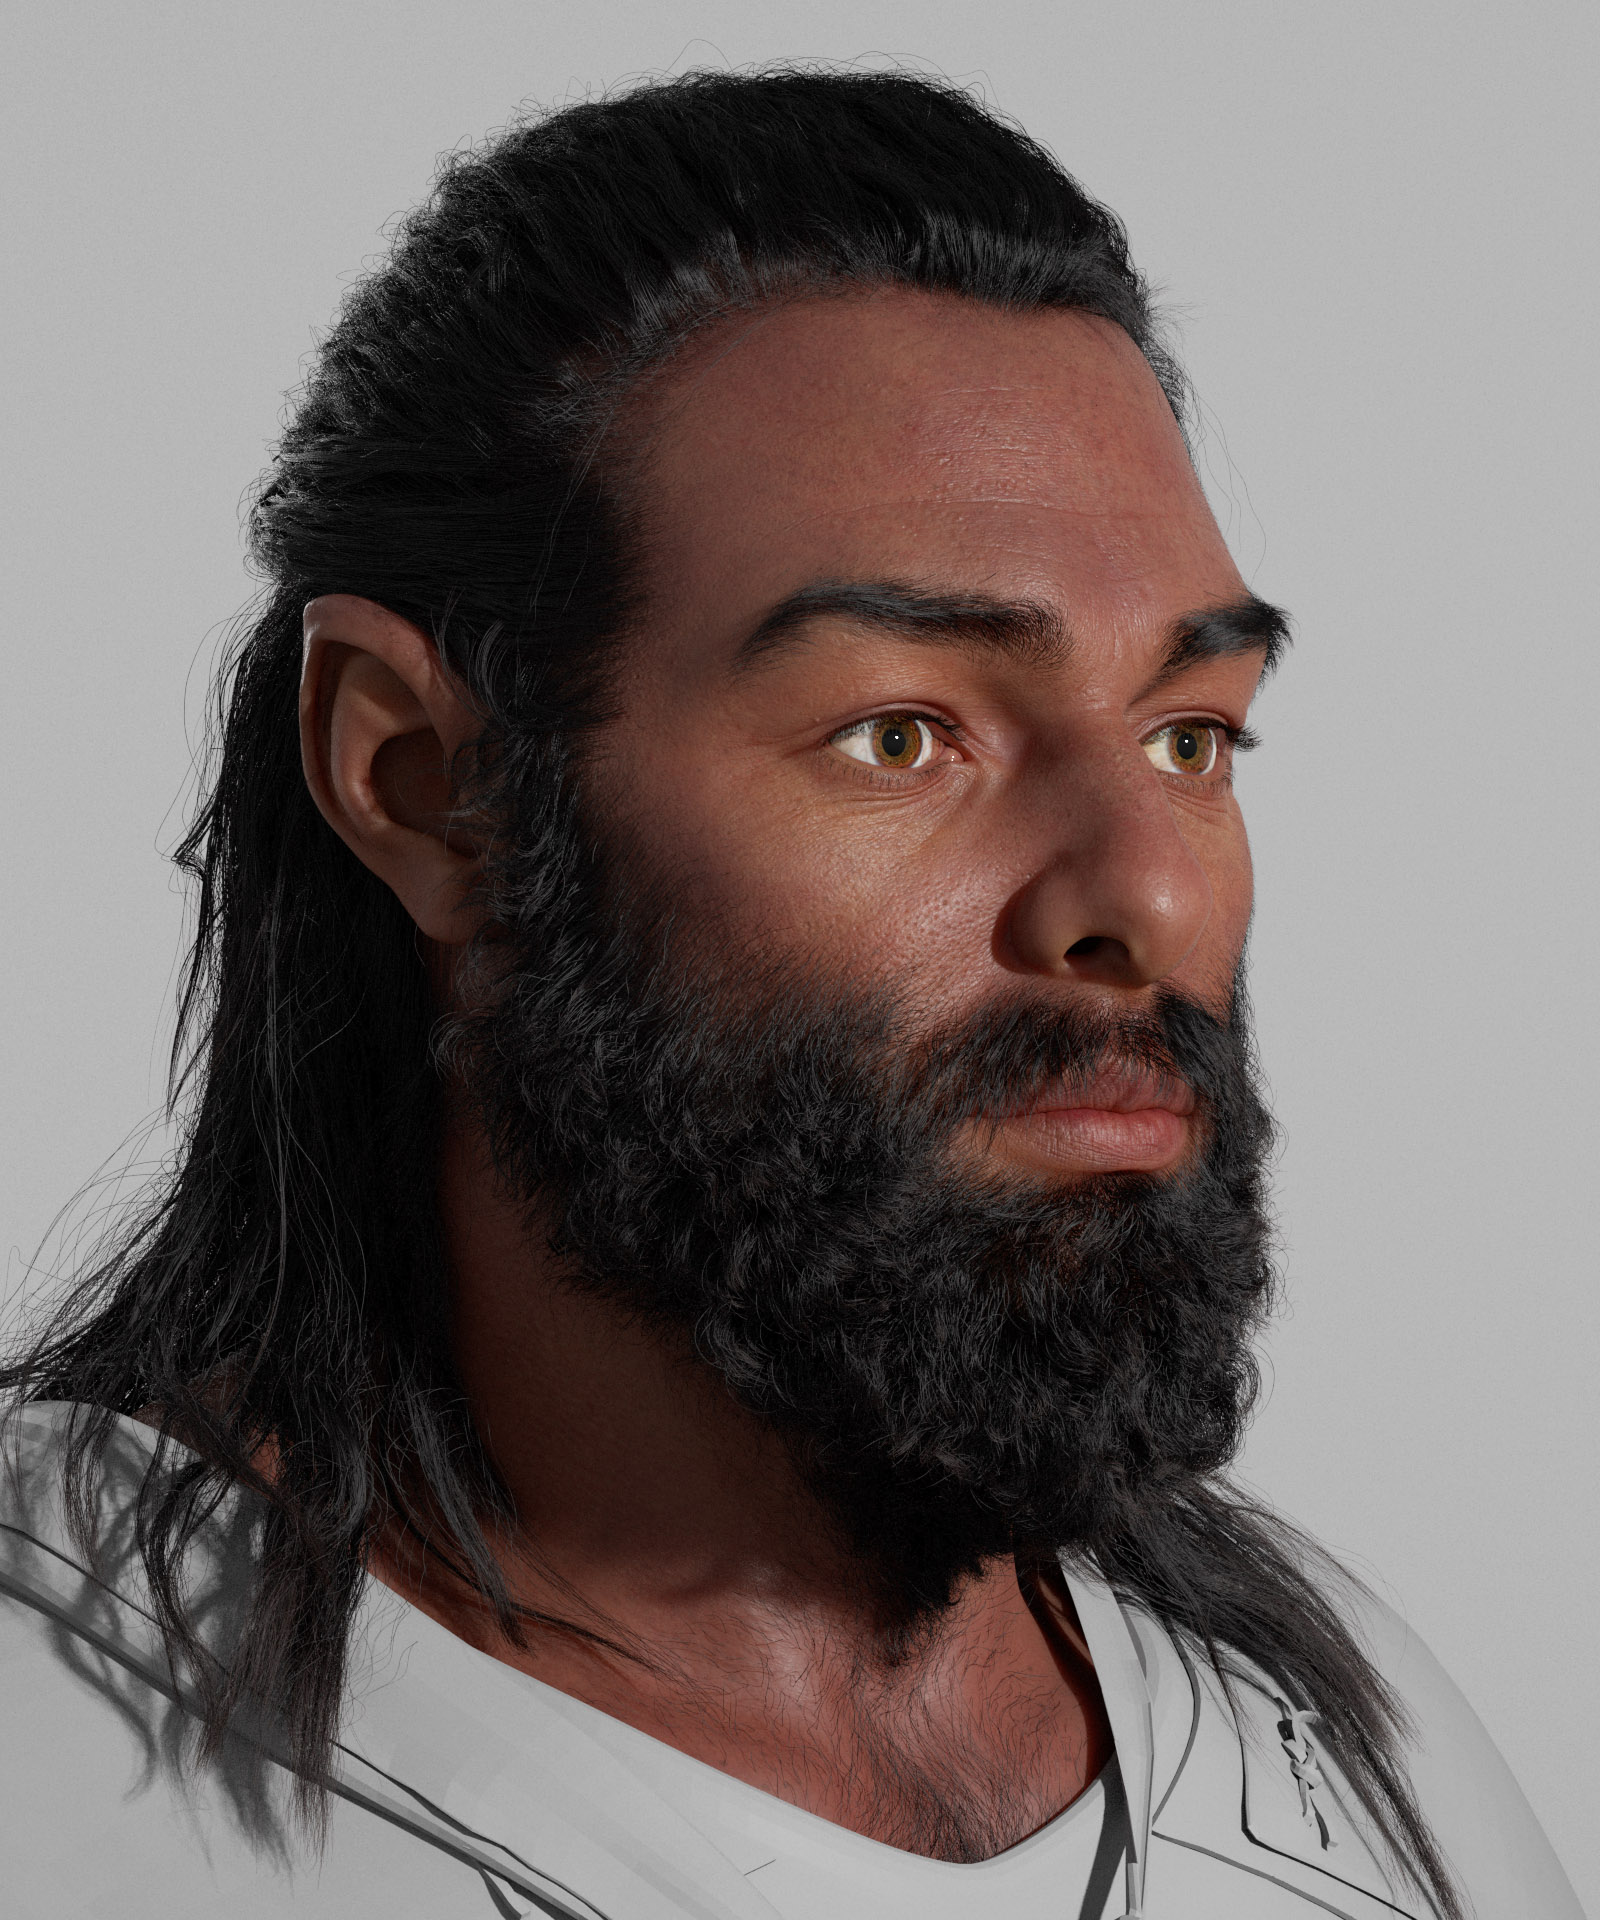
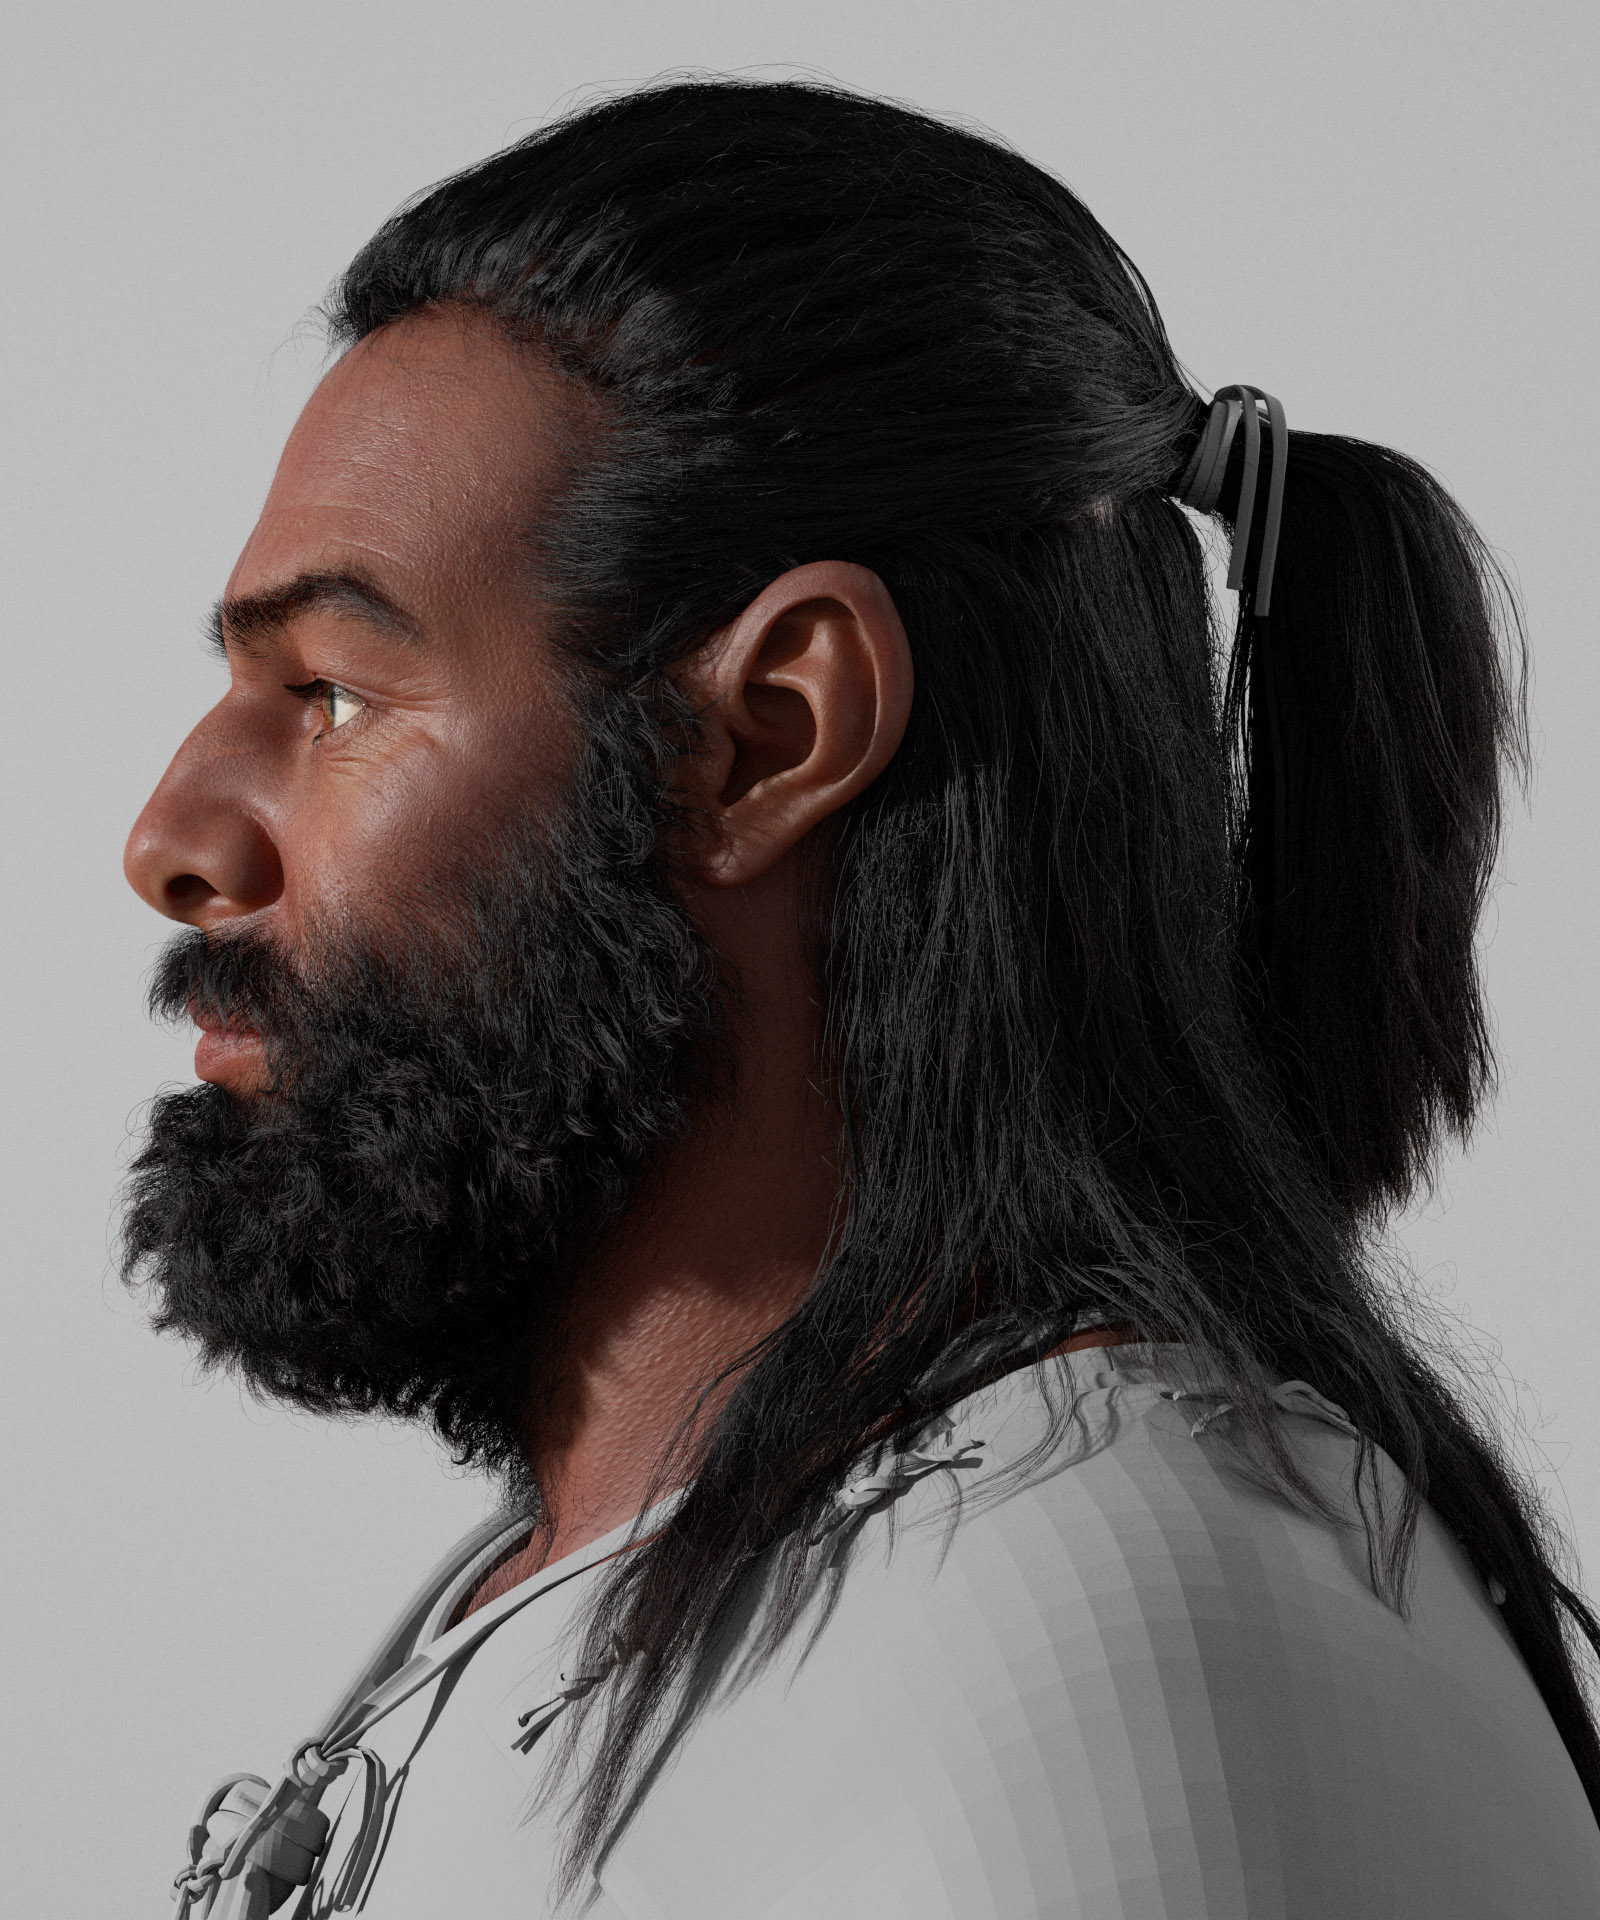
Thanks jderiggi. In this case I opted to fully sculpt the details in Zbrush using several custom alphas that I’ve created and a lot of hand sculpting. The fine detailing in the lips and lower eyelids for example are all fully hand-sculpted. I wanted to challenge myself to take the details a little further than I have on previous hand sculpted models in part because, while there are fantastic displacements available from places like texturingXYZ and surface mimic, the fact is that you can’t entirely rely upon such resources, such as when doing a non-human character or any time you want a very particular look, and in this case I wasn’t entirely sure what kind of surface character I wanted. By sculpting it I felt I could more easily explore possibilities. Having said that, now that I’ve finished this sculpt I find that I can’t escape the fact that with the displacement resources available from the aforementioned sources I could get better details in several places and I’m considering the idea of touching up the exported displacement maps of the sculpt with displacement maps from one of those other two sources. It feels a bit like cheating to do it that way, but I think it’s the right choice when the primary concern is getting the best details possible, and I’ll probably use more of that method in other area’s of the body.

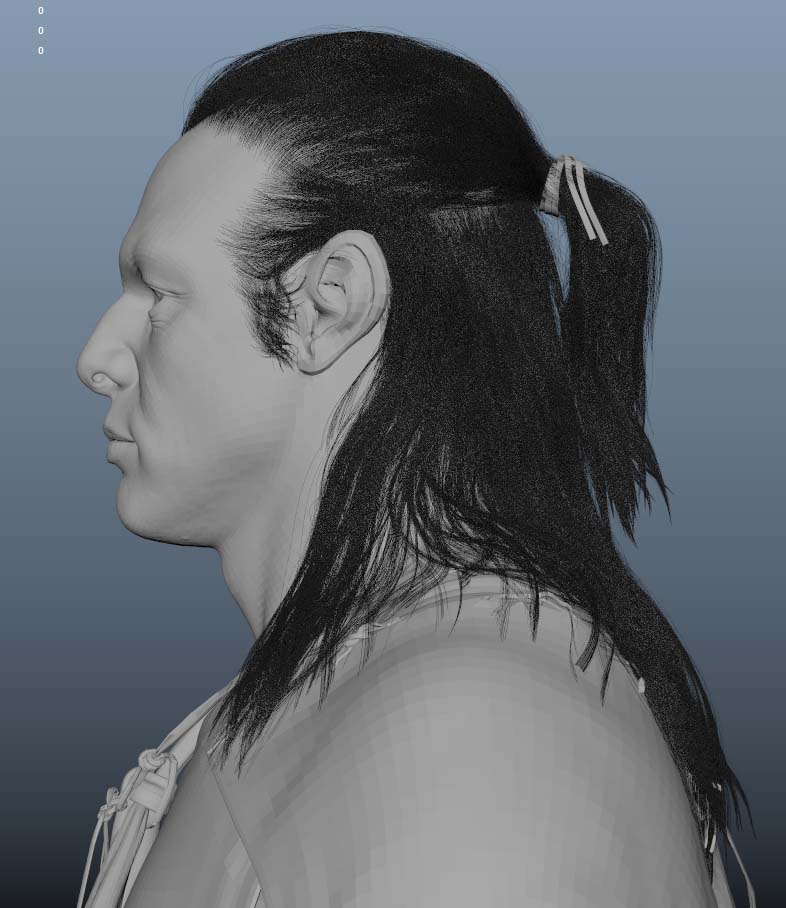
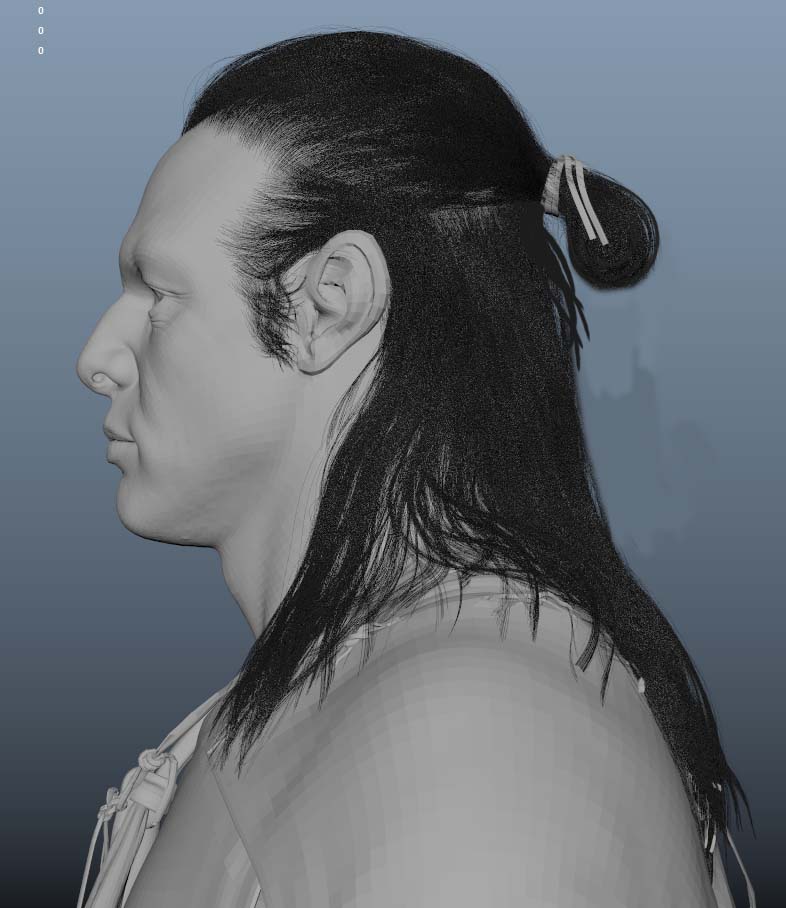
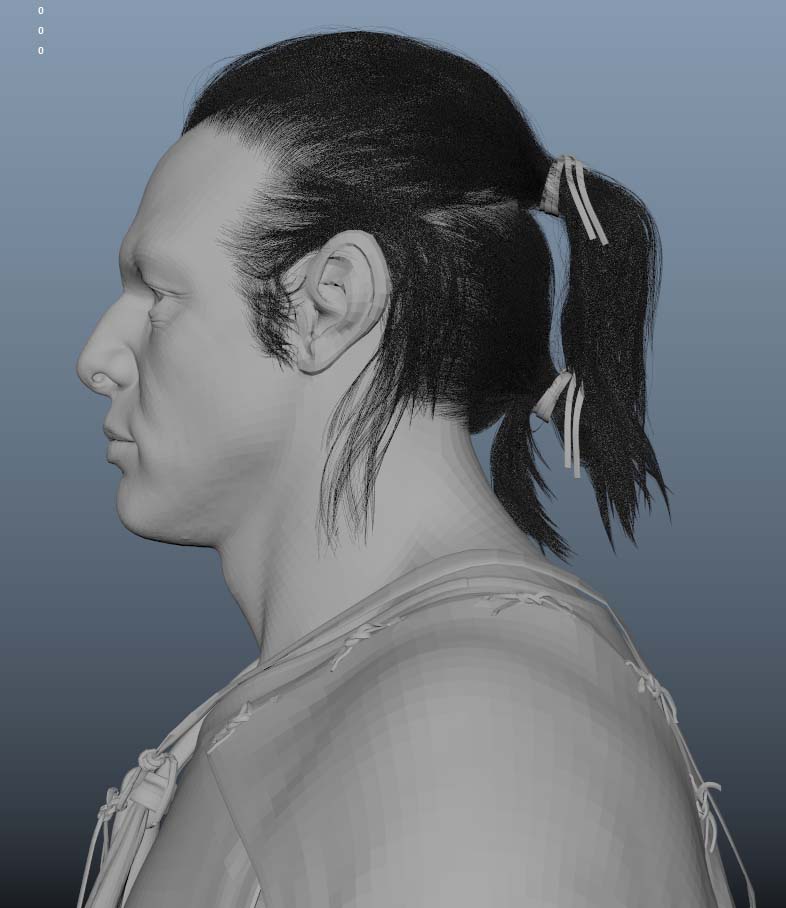
FYI - the following will give you an idea of where this guy is headed:

Thanks very much for the info Francis! I certainly understand the thoughts about sculpted detail versus photo/scanned detail. Looking forward to seeing more development of the mountain man!

John

I’m looking for some suggestions.

I’ve started on the hair for which I’ve decided to use Xgen (would’ve chosen Yeti, but it’s not an option for me right now). I think I’ve got Xgen figured out for the most part but I’m having a problem at the back of the head where all of this character’s hair is being drawn back into a kind of ponytail that folds under itself and back through the hairtie then out again at the bottom. I’m controlling the clumping magnitude via the Clump Scale curve in order to pull all the hairs within the hairtie, however, what appears to be interpolation is causing many hairs to pull out of place where the hairs curve back on themselves.

I’ve tried using a collision modifier to force the primitives within it’s bounds but that doesn’t seem to make a difference (used an alembic cache of a proxy version of the hairtie for a single frame if that helps anyone think of why it wouldn’t work).

As you can see in the far-right of the image below there is lots of room between the guides and the hairtie geo. I’ve tried squeezing it much more which has some effect but not nearly enough.

I’ve also looked for a way to control the interpolation along the length of the curves (I seem to recall being able to do that with nhair), but no luck.

Can anyone suggest a solution? FYI - I’m specifically seeking a solution that does not involve the old hack of using a completely different set of hairs for the ponytail with their roots hidden within the Hairtie. Also, I’ve requested a trial of Yeti to determine whether that package might have a means of resolving this problem. If you know of a way to do it in that software, please let me know.

Update: I’ve tested out the hair in nHair. Turning on interpolation there gives similar results, where as without I don’t have such a problem (though I’m then lacking many of the advantages of xgen), so interpolation is definitely the problem. Unfortunately there does not appear to be a way to control the interpolation strength along the guide hairs… unless there is some way to plug a ramp into it or do it via an expression… I’ll have to look into that.

Anyone want to offer an opinion about these potential hairstyles? Feel free to suggest alternate variations.

HairOptions1-1.jpg

HairOptions1-2.jpg

HairOptions1-3.jpg

I was sent a private message asking about how I generated the head hair for this character shown in my last post. For other’s benefit I will answer the question here.


  1. For the loose hair in the back I started by quickly generating nhair on a selection of faces and ran a simulation on it. I then duplicated the resultant curves in their settled state and converted them to xgen guides. Thereafter I manually added and edited curves using xgen tools.
  2. For the ponytail sections I began by modeling polygonal planes at even intervals. The reason I chose this approach in this case was that I wanted to make sure I had proper layering in the ponytail (especially the bottom one which actually twists back on itself into an s-shape). I then manually tweaked the result to make it look more organic (more of this is needed in some places).
  3. For the tempals and sideburns I manually created curves with xgen tools.

The image below shows work I did on the fur for the legs using fibermesh. At the time I just wanted to see if fibermesh would be a good way to go for this task. I like the result, but since there does not appear to be a way to convert these curves to xgen groomable splines (the preferred method for much of the leg hair), I’m not sure how much of that work I will be able to actually use.

I LIke the 1st and 2nd one :smiley: this is looking so cool man ! cheers!

great progress here. those last profile pics looks really good.

i think the first one is the best suited for that character.
looking forward for more.

-r

Thanks guys. Here are some WIP renders of the hair. More to be done, but…

I like what I am seeing with these hair/fur tests.

With regards to your Fibermesh tests for the furry legs, have you tried to export the Fibermesh as Maya curves, and then use the XGen Utility Convert Curves to Guides in order to bring your Fibermesh groom to XGen?

Hey there cdizzle.

Yeah, I’ve exported the fibermesh curves. At first, based on what I’d read of xgen, I had thought that groomable splines would be the best way to deal with the fur on the legs, but after some more tests with both that and the guides method I think using the guides will work nicely after-all. So, yeah - I’ll be doing that.

Ah, yea, that makes sense. This kind of fur is certainly more suited to the groom-type of XGen description.

I wish there was a mixed-type of XGen description that used the groom guides but also allowed for curve/spline ‘attractors’ to make large-scale changes to the groom that you can then fine-tune with the groom tools.

I personally have found the groom-type of XGen description to be kind of buggy and/or prone to losing groom information, or just plain disappearing sometimes. I wish you the best with this character, can’t wait to see your results!

Update time.

I’m hoping to receive both hard-hitting/Candid and constructive (IE useful) crits on these renders. If something looks wrong, please tell me how you think I might fix it, but if you’re not sure, please speak up anyway. Maybe you’ll get me looking in the right direction.

A few things stand out to me already. One that I’d like to ask about is Vray’s hair shader: Is it just me, or is it rendering individual hairs as flat planes and not tubes?

My target for skin tone has been mostly based on the following images. I might lighten it up some:

I love this, it’s really great work. Well done! :slight_smile: 
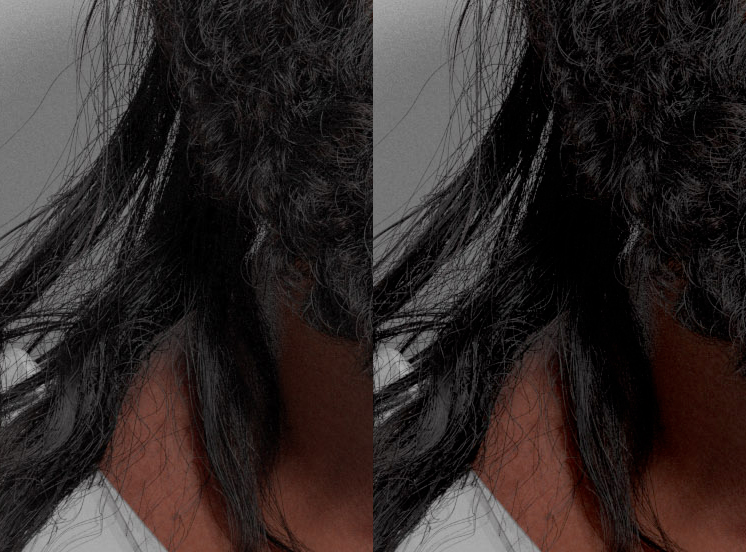
Awesome fibermesh work.

Really great model, amazingly real sculpt, texturing and hair…

On the constructive crit side: evaluating the skin tone and other details would be so much easier if the tone curve of the renders was adjusted. They appear distinctly underexposed, with a few hot pixels in the eye speculars. Just taking the renders into photoshop and adjusting the curves or levels (or even just running “autotone”) gives a much better sense of the image.

WOW great character. I totally agree with NWoolridge. I ran an auto tone in photoshop…soo much better.

Either way. Great work. I am looking forward to seeing more of him.

Thanks for the great crit’s and the praise guys.

You are totally right about the exposure. You’ve touched on a question that I was puzzling over with my lighting setup, namely how to establish a “correct” baseline lighting scenario. At every studio I’ve worked in I’ve noticed that the lighting rig given to texture artists seems very arbitrary. I’ve never been given a good explanation for exactly what that light rig would correlate to in real life, consequently I and every other artist am left to guess how said lighting should make my materials look. I’m not looking deeply at this right now, but my present lighting was setup in part to address that question. In the first two renders below (The darker version is the original lighting, and the lighter is “corrected” in photoshop… though looking at it now it seems a bit brighter than I like. EDIT: I just did some checking - chrome isn’t displaying the colors of my images correctly though they are saved out of photoshop with the srgb color profile. In Chrome the contrast is higher for some reason. Anyone know why?) I’ve included a color chart that is textured to a plane in the scene (it does not cast or receive shadows, and does not show up in reflections/refractions). The texture was created in Photoshop, is tagged as an srgb image in maya and has the diffuse value set to 0.7. The idea was to create a lighting scenario that would render the colors on the chart so that they would come out at their original values. It actually requires a still darker lighting scenario to achieve this (I showed the result of that lighting in a previous post but did not explain it), but this one is close. Of course I’m still left with the basic question of what material “x” should look like under this light setup. These are questions I want to get around to looking into more deeply (feel free to offer any suggestions) but for now I’ll settle for making it look “good”. The rest of the updated images are corrected in photoshop.

FYI - changes include:


  1. Adding tube shaped reflection/spec to the hairs by layering on a standard vray material (plus other miscellaneous changes to the shader)
  2. structural changes to the beard to get rid some of that CG noise in the hairs (not totally satisfied)
  3. reduced density of hairs in eyebrows
  4. some shader changes to the eyes

ShaderTest041_001_CLRchart.jpgShaderTest041_001_CLRchart_BrightCont.jpg
ShaderTest041_002.jpgShaderTest041_003.jpg

Attachments

ShaderTest041_001_BrightCont.jpg

For anyone who reads my observation offered in the previous post that my images look wrong in chrome: I found a forum thread where this issue is discussed: https://productforums.google.com/forum/#!topic/chrome/iwpGF8K6dWc

The key point made there regarding chrome is:

"I found that unmodified Chrome will display image correctly when it is NOT tagged with ICC profile. With a profile included the dark are too dark.

The modified Chrome will display both images correctly."

That’s annoying.

Here you can find instructions on how to enable color management in chrome (this actually hasn’t worked for me but maybe for you…): http://www.canonrumors.com/forum/index.php?topic=26839.0

However, reading elsewhere it seems that getting this setting to stick may be a bit tricky. Having said that, most of the stuff I’ve read thus far is a bit old so I don’t know how current it is. It’s also something that needs to be looked at for other browsers.

For those who aren’t sure what I’m talking about, here is a screengrab of one of my renders open side-by-side in chrome (on the right) and xnview mp (yields the same result as photoshop). the blacks in chrome have flattened out (if your browser is not currently color managed you may need to download the image and look at it in photoshop or something to see the difference):

ChromeColorManagementExample2.jpg

Here’s a plugin for firefox to handle color management there: https://addons.mozilla.org/en-US/firefox/addon/color-management/

Oddly, for this plugin to yield the correct results in firefox I had to set it to NOT color manage any images… I don’t get it.

Wow that’s quite subtle but now you’ve pointed it out, yes, I can indeed see a difference! The blacks have flattened out. Interesting stuff. Thanks.

Hey Chimz, if you haven’t already you should download the comparison image and view it in photoshop to make sure you’re seeing it properly. That way you’ll see the full difference. It’s still quite subtle, but more noticeable than if you see it in chrome with the blacks in both images crushed. It really makes a difference with dark images. This one by goyun is a great example: http://www.zbrushcentral.com/showthread.php?189414-qoyun-s-art-dump/page6&p=1171950&infinite=1#post1171950 Except for the highlights, in chrome the black hair completely disappears into the background, while in firefox with that color management plugin, or offline, you can distinctly see the silhouette of the head, a faint glow behind it and more detail in the hair.

So I tried a render of this guy with stubble rather than a full beard (for the fun of it and with a mind for a second costume I’d like to make down the road). However, I start getting an ever repeating warning and the render hangs for forever. I’m wondering if anyone out there knows what to make of it. It is:

// Warning: line 1: Invalid geometric normal (0 0 0) for “Body_HairBase_Base_PT1_V1_1Shape@Kha_Beard_Style1@Base_PT1_V1_1@xgen_patch”. //

All this stuff: Body_HairBase_Base_PT1_V1_1Shape@Kha_Beard_Style1@Base_PT1_V1_1 is simply identifying the Geo shape/xgen Collection name/xgen description

For those familiar with Xgen. I’m creating the stubble by simply adding a cut modifier to the top of the stack and using the following expression to control the length. It basically just cuts the hair down by it’s own full length minus some random value that is set by a slider:

$cutAverage=0.1000;#this creates a slider that sets the value
$cLength - rand(($cutAverage - 0.05),($cutAverage + 0.1))

Here’s what came of the portion of render that did complete:

ShaderTest041_004_5-O-clockShadow_Cropped.jpg