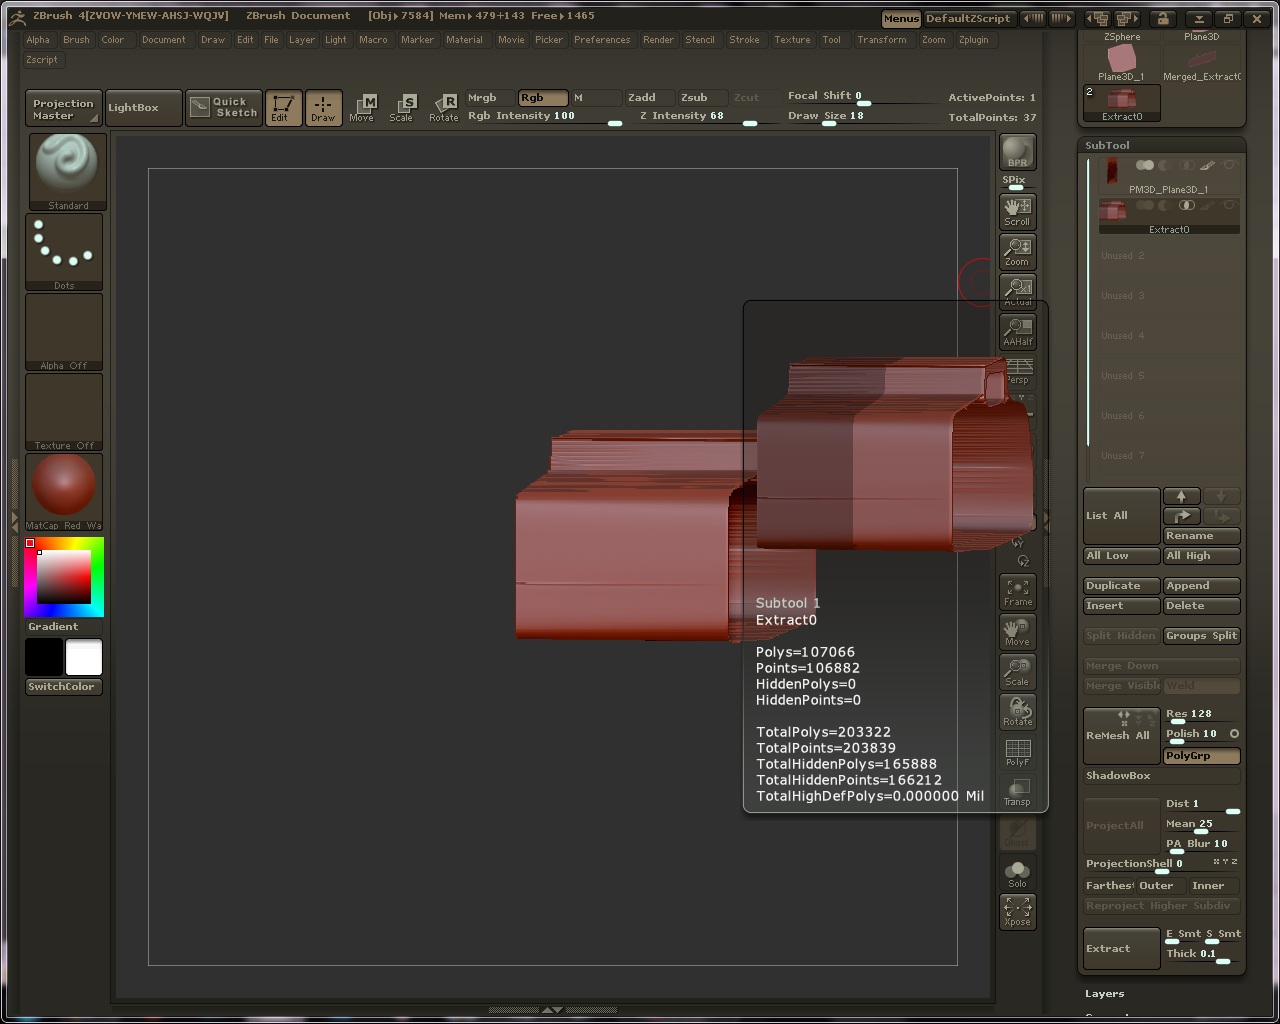
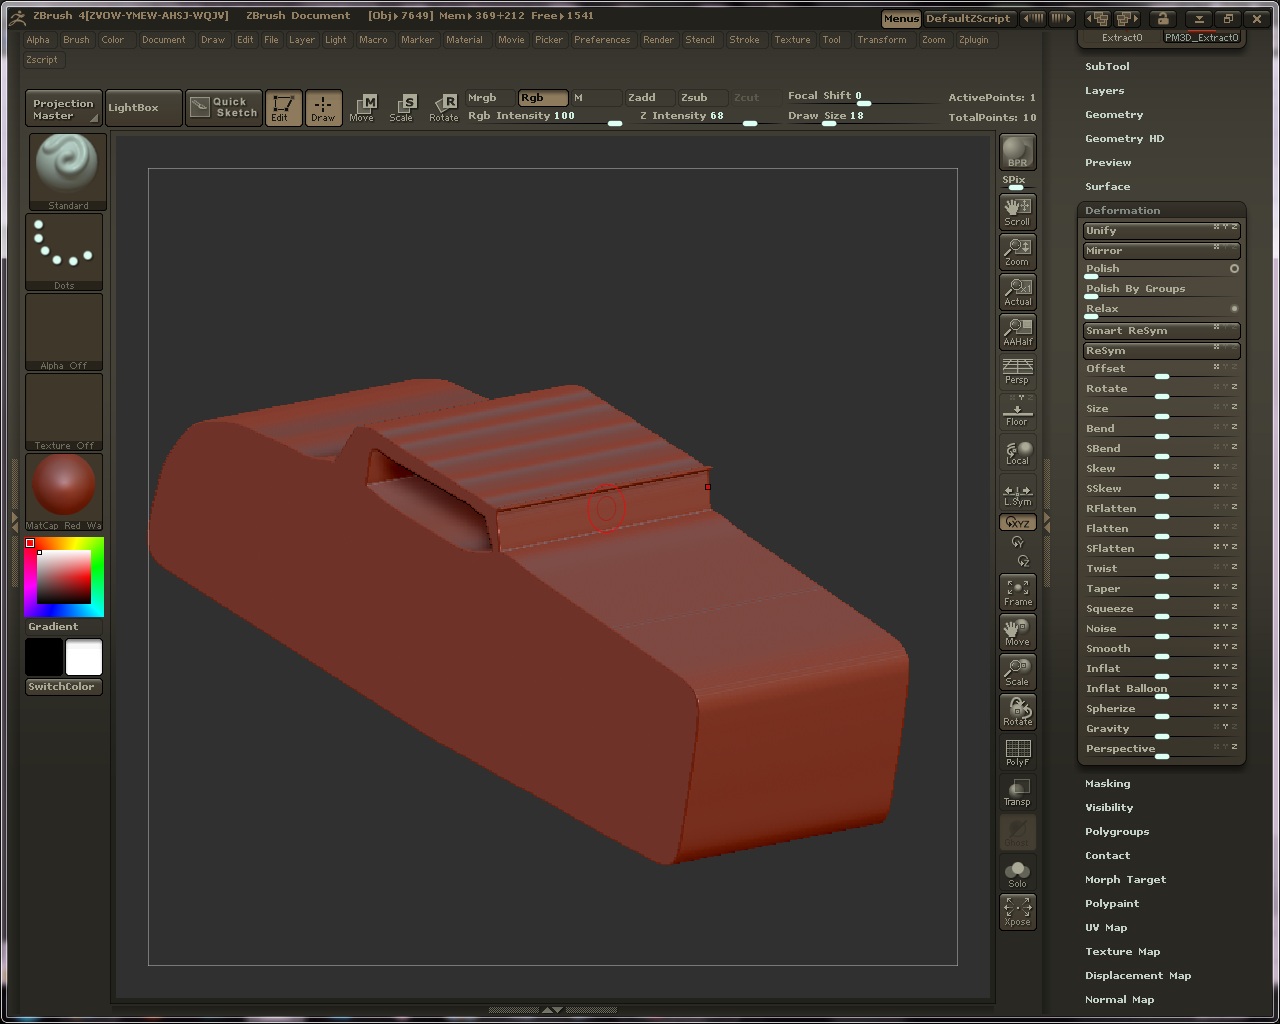
This is for Dragon…
It’s because the mask is still active. Clear the mask by dragging a mask on the canvas.
This is for Dragon…
It’s because the mask is still active. Clear the mask by dragging a mask on the canvas.
@Super Glitcher: I think it is an custom brush … just select the Divider on the left so you have space for a tool palette … than go to Stroke and with the little icon in the left upper corner drag it to the left side. So that you have the Stroke palette fixed on the left side.
Than hold Ctrl to go into masking mode - while holding select LazyMouse on the left (Stroke panel), Backtrack, Spline …
there you go!
Leto
Awesome! Thanks, Leto 
Zber2, thanks a million. Man, can’t believe it was that easy. However, I was foreced to ‘extrude’ by going to Deformation>Size and only using the Z axsis to get the width. Was unable to do so with Transpose. Funny thing is, I can ‘extrude’ using a primitive (making Polymesh3D first), but not with my tool?? Anywho, Size does for me what I need. Again, many thanks Zber2.
I’ll tell ya, I already like this method over Shadowbox (but I am digging Shadowbox as well). Just wished that when one turns shadowbox on and off that it would not ‘smooth’ the tool your working on.


Super Glithcher, LetoAtrell is right. The Lazymouse with backtrack feature is awsome. I was experimenting yesterday by putting on different tire treads on a hot rod tire I had made and used the Lazymouse feature with Brush Layer and Brush LayerConst brushes (just like Ofer-Pixolater- is doing in the video when he creates the tires for the bike). Give it a shot, you will like it.
Originally Posted by Dragon
Zber2, thanks a million. Man, can’t believe it was that easy. However, I was foreced to ‘extrude’ by going to Deformation>Size and only using the Z axsis to get the width. Was unable to do so with Transpose. Funny thing is, I can ‘extrude’ using a primitive (making Polymesh3D first), but not with my tool?? Anywho, Size does for me what I need. Again, many thanks Zber2.
Were you using the ‘Move’ transpose and using the red end inner circle to stretch, because that should work.
There’s a control for that right above the shadowbox button. Just adjust the smoothness by sliding around the ReMesh Polish slider. Lower values for less polish/smoothing. Open and Closed circle to adjust the type of smoothing applied.
I’m not sure if someone already said this or not but on the first version where you are using the same method as the “Time for Art” “using an 3D plane”; after you extract your mask, add more geo by inserting edge loops - (or polygroups… how ever you look at it - He makes it look easy huh?
fabulous Pixolator !!!
Hello Zber2. Yes, as we both know, Transpose is not that hard to use. As I stated, it does it with everything else… except the tool I have extracted (heck, even works with the tool I made with shadow box). And of course, I had the mask removed, still nothing. I know it has to work, it’s just another tool. I looked over your screen shot, and compared my button’s etc to yours (incase I am missing something), but all looks the same. I will also experiment later tonight. I am sure I am doing SOMETHING wrong (maybe there is something I have to do before I hit EXTRACT or I am forgetting a step or two-I have hit Make Polymesh3D before and after Extract as well and still nothing). I wonder if I have to make it a polygroup first?
I was getting ready to read about this, but got distracted by the 3DPlane method. Will try. Thanks a million.
Hi:)
I’m very pleased that you found PART 1 (See page 6 ) to be valuable and inspirational. Below is PART 2 of the movie which I hope you’ll enjoy. PART 3 will be posted when the activity of ‘PART 2’ subsides.
I recommend that you view the movie -before- the accompanying notes
Few notes about the movie…
 As seen in PART 1, the motorcycle was mostly assembled by using mesh extract from a high res flat plane mesh. In PART 2, more sub-tools are added with methods that are similar the those shown in PART 1. PART 3 will deal with refining and polishing the Motorcycle to its final state.
 About Mesh Extract: The mesh-extract feature is similar to Shadowbox and may be considered as a one-dimension-ShadowBox (shadowbox may use up to 3 dimensions). There are, however, some differences between mesh extract and shadowbox. Mesh-extract uses the existing topology when creating the new mesh while shadowbox generates new topology (unified skinning). Therefore, if you have a base mesh with satisfactory topology, you may use the mesh extract feature and get a new sub-tool with the same topology. Furthermore, mesh extract can be used on any curved surface to produce a form-fitting sub-tool, -as an example, see the construction of the undercarriage sub-tool in part 1 and 2.
On the other hand, ShadowBox is capable of creating far more intricate shapes making it more suitable for organic sculpting as well as more complex hard-surface shapes (as seen in the creation of the manifold in part 1).
 The creation of new sub-tools via duplication and transformation is streamlined and allows you to quickly create elaborate structures by using multiple instances of several simple building blocks. The process is easy enough that you may quickly find yourself managing 100 or more sub-tools. When you reached that stage, you may need to gain access to part of the mesh that may be obstructed by other sub-tools. There are multiple ways for you to go about managing large number of sub-tools…
Make frequent use of the Solo mode. This not only hides all other sub-tools, it also allows you to easily refine one sub-tool without any slowdown or processing penalties that may result from other inactive sub-tools.
You may activate subtools-transparency mode which will allow you to see your active sub-tool even when it is obstructed by other, closer sub-tools.
At times, you may want to hide some of the sub-tools that reduce your visibility of the active sub-tool without activating ‘Solo’ or ‘Transparency’ modes. One less known, but very important feature, allows you to do this easily.
Usually, it is very simple to hide inactive sub-tools in the sub-tool palette by simply clicking its ‘eye’ icon. However, when you have large number of sub-tools, simply identifying the sub-tool that you want to hide in the sub-tool palette may take too long. This is when the following tip comes handy…
To hide a sub-tool that obstructs the view of your active sub-tool, do the following:
A. Within the document area, opt-click on the sub-tool that you wish to hide. This will make that sub-tool the active one and it will become visible and selected within the sub-tool palette.
B. Now, the important part… If you simply click on the ‘eye’ icon of the active sub-tool, you will hide or show all sub-tools - a result far from what we want. What you should do instead is click within the area of the subtotal button, but not on the ‘eye’ itself. This will now turn off the ‘eye’ icon only for the active sub-tool, without changing the visibility status of any other subtools.
C. Now, opt-click within the document on the sub-tool that you wish to edit. The sub-tool that has its ‘eye’ turned off will be hidden and will no longer obstruct your view.
You may repeat this process multiple times in secession to quickly hide multiple subtools and then reactive the sub-tool which you want to edit.
4. When you get to a stage that you mesh contains so many subtools that your systems become less responsive or that you view of an ‘area of interest’ becomes obstructed too frequently, then its time to use other methods that are available to you in ZBrush. One such method is demonstrated in the Movie Part 2 (the movie in this post) beginning at 16 minus and 45 seconds into the movie. Movie Part 3 will demonstrate another effective method.
More Movie notes and answers to questions will be added at a later date.
Have fun ZBrushing,
-Pixolator

Hello Pixolator (man, we have not spoken in years-I got into coloring comics, yada, yada, yada- ). Anywho, can you please post these movies for us to download (perhaps as Quicktime)?
BTW, your work is always amazing. I cannot believe how far you have come with your program (10 years, seems like just yesteday- ).
).
Best,
Dragon
It’s a Kind of magic, it’s a kind of maaagic!, supreeme skills, totally! a million thanks for share this absolutely wonderful timelapse, it’s incredible!
another amazing movie sharing some amazing intimate knowledge of this truly mind-blowing programs potential… what will be next the mind boggles!!! awesome awesome awesome and thank you!!
the section where you create the brakes is off the chart cratfy cleverness!!!
dragon you can download using flashgot add-on to firefox…
Pixolator, I really enjoyed how you used your primitives and adjusted the ramps to get the shapes you needed in this video. I also like how you made the gears to the engine then placed the belt (and how you made the belt). It’s good to know the difference between (and the benefits) using the mesh-extract and Shadowbox. And of course, love all the tips for keeping track of all the subtools (I was begining to wonder how you were not loosing your mind with all these subtools- ). Man, got a long way to go. Off to practice.
BTW, just watched Iron Man 2 (waited till it came out on DVD)… very cool.
Earthtriber, I use Flashcatch, but it cannot see it to download (works over at Youtube). I will try Flashgot with Firefox. Thank you for this great tip.
Good! 
thank you so much. its absolutely stunning… learning a lot from your tutorial. Just AMAZING.  small_orange_diamond
 small_orange_diamond
 small_orange_diamond
 small_orange_diamond